Easy Slow Cooker Butter Chicken

Before we had kids Andrew and I were supposed to spend 2 weeks backpacking through India. I had done so much preparation for this trip including painstakingly filling out probably 100 pages worth of Visa applications for us. Andrew’s idea of preparation was taking me to our local Indian restaurant to get a taste of the cuisine.

Andrew’s introducing me to Indian food opened my palate to a world of food I would come to absolutely love!

Unfortunately our trip got cancelled last minute, something I have yet to let Andrew live down many years later. Although it was a blessing in disguise because we ended up finding out I was pregnant with the twins right before we would have set off on this trip and I was miserable sick at the beginning of that pregnancy so it would have been a horrible trip for me. God cancelled my dream India trip and instead ended our fertility struggles with twins! We plan, God laughs. His plan is always always better!

This recipe is a classic butter chicken full of spice and flavor. Your entire house will smell wonderful while it’s cooking. It’s also SO EASY! I have 4 kids 4yo and under and am 8 months pregnant with #5, I promise if I think the recipe is easy right now, anyone can handle it with little effort!

Ingredients:

-4 large boneless skinless chicken breasts (I buy these frozen and usually put them straight into the slow cooker frozen, you just need to add about an hour extra to the cook time if you start with frozen chicken)

-1 small yellow onion

-1 Tablespoon coconut oil (If you don’t have coconut oil you can use Crisco shortening)

-4 cloves minced garlic

-1.5 Tablespoons curry powder

-1 Tablespoon garam masala

-1.5 teaspoons chili powder

-1 Tablespoon ginger

-3/4 teaspoon salt

-6oz tomato paste (this is about half of a small can, I just guess)

-4 cups raw cauliflower florets

-14oz (1 can) tomato sauce

-2 Tablespoons butter

-1/2 cup coconut milk (full fat)

-1/2 cup plain Greek yogurt

Directions:

-Dice the onion and mince the garlic then set aside.

-In a medium skillet heat the oil until hot then add the diced onion and cook until soft, about 5 minutes.

-Add in the garlic, ginger, curry powder, garam masala, chili powder, salt and tomato paste. Mix together and cook for about a minute.

-Place the onion mixture in the bottom of your slow cooker. I like to spread it out over the entire bottom. Place your chicken breasts on top then the cauliflower florets, then cover with the tomato sauce.

-Cut the butter into small cubes and place them over the top.

-Cover and cook on HIGH for about 2 hours or LOW for 4.

-When the chicken is done take the chicken pieces out and move them to a cutting board. Mix the slow cooker contents, recover, and let the cauliflower continue cooking.

– Cut the chicken into bite size pieces. Return the chicken pieces to the slow cooker and pour in the coconut milk.

-Turn the slow cooker off and give everything a good stir. Last stir in the Greek yogurt.

This is best served with Naan bread (also super easy to make) and rice. You can use any kind of rice, but I would recommend an aromatic like Jasmine or Basmati.

Potty Training Tips

Let me start this by saying I am by no means an expert. I’m not a pediatrician or a urologist and I do not have a degree in child psychology. What I am is a mother who has potty trained 5 children of both genders, that have all been potty trained by age 2. So while I’m not an expert, this is fresh in my skill set and I’ve been around the block a few times!

Every child is different. All 5 of mine have had very different potty training needs. This is not a list of hard and fast rules, this is a list of what has worked collectively for all of my kids so may be helpful to others.

1. Know when your child is physically ready. No matter what you do your kiddo will never be potty trained if their brain and bladder are not physically ready. Potty training requires the bladder to wait to void. Usually around 18m is when I notice that my kids are waking up in a dry diaper meaning their bladder is capable of holding it for 10+ hours. They also need to understand the feeling of needing to void.

2. Know when your child is mentally ready. This one is a little trickier than the physical signs of readiness. Does your toddler know when they have a dirty diaper? Do they tell you they want you to change their diaper? Can your toddler communicate with you enough to at least say pee pee or potty or some word to let you know they need to go? When my youngest 2 were about 18-20m and I knew they were physically ready I tried both of them on a little potty and they were completely against it, just cried and wouldn’t even sit down. They weren’t mentally ready yet so I shelved potty training for a few months and revisited it later.

3. Skip Pull-Ups. No Pull-ups, ever! Don’t come for me with pitch forks but this one actually is a hard and fast rule. Pull-ups are a crutch. Toddlers don’t understand the difference between pull ups and a diaper. It’s confusing and they will likely go in a pull up just like a diaper. I had been told this before and had read not to use pull-ups but I still tried them anyway with my first and that was just a bad idea. I never used pull-ups again and the rest of my kids were way easier.

4. Figure out how your child wants to potty. This is more for girls than boys because boys are pretty easy and can whip it out basically anywhere. 2 of my girls were complete opposites from each other. One of them was terrified of the big toilet and would only use a little potty chair when she first started. The other hated the potty chair and refused to sit on it, she only wanted to sit on the big toilet. The latter was much easier because cleaning those little potty chairs is such a pain.

5. Spend a weekend at home and ditch the diapers for good. This is my best piece of advice and has helped me the most with all my kids. Once I know they are “ready” I take away the diapers and don’t look back. For all 5 of my kids this has been around 20-24 months old. We spend about 3 days not leaving the house and only focusing on going potty. You will probably have to clean up some accidents especially the first day but this is the quickest way. I seriously mean ditch the diapers. Take them away the day you start and do not give them back, not even for naps or bedtime. This should not be an issue if your child’s already been sleeping with dry diapers. I don’t do underwear or panties until we get past these first several days because I’ve found they treat underwear like diapers too and will just go in them. We just stay home for a couple days and they figure it out. You will need to ask the child every 30 minutes or so if they need to go potty but it really only takes a couple days before they’re rockstars at it! This method has REALLY worked well for us. For example with #4 I took her diapers away and 5 days later we went to Disney World for a week and she didn’t have one single accident. With #5 I took his diapers away & we spent all day at church 4 days later where he went on the big toilets there multiple times with no accidents.

6. Don’t be afraid of bribery. During your few days at home, it’s okay to bribe your toddler to potty. I’ve used everything from Hershey kisses, stickers & my 5th was motivated by raspberries haha. Every time they sit on the potty & actually go, even if it’s just a few dribbles they get the reward. Make a big deal about it. It’s exciting to get a raspberry every time they go! Obviously don’t give out the rewards any other time during this process.

You know your child & your family’s needs best! Only you can decide what works or doesn’t work for you! Feel free to ask questions or leave tips that have worked for you in the comments!

Bugaboo Donkey2 Stroller Review

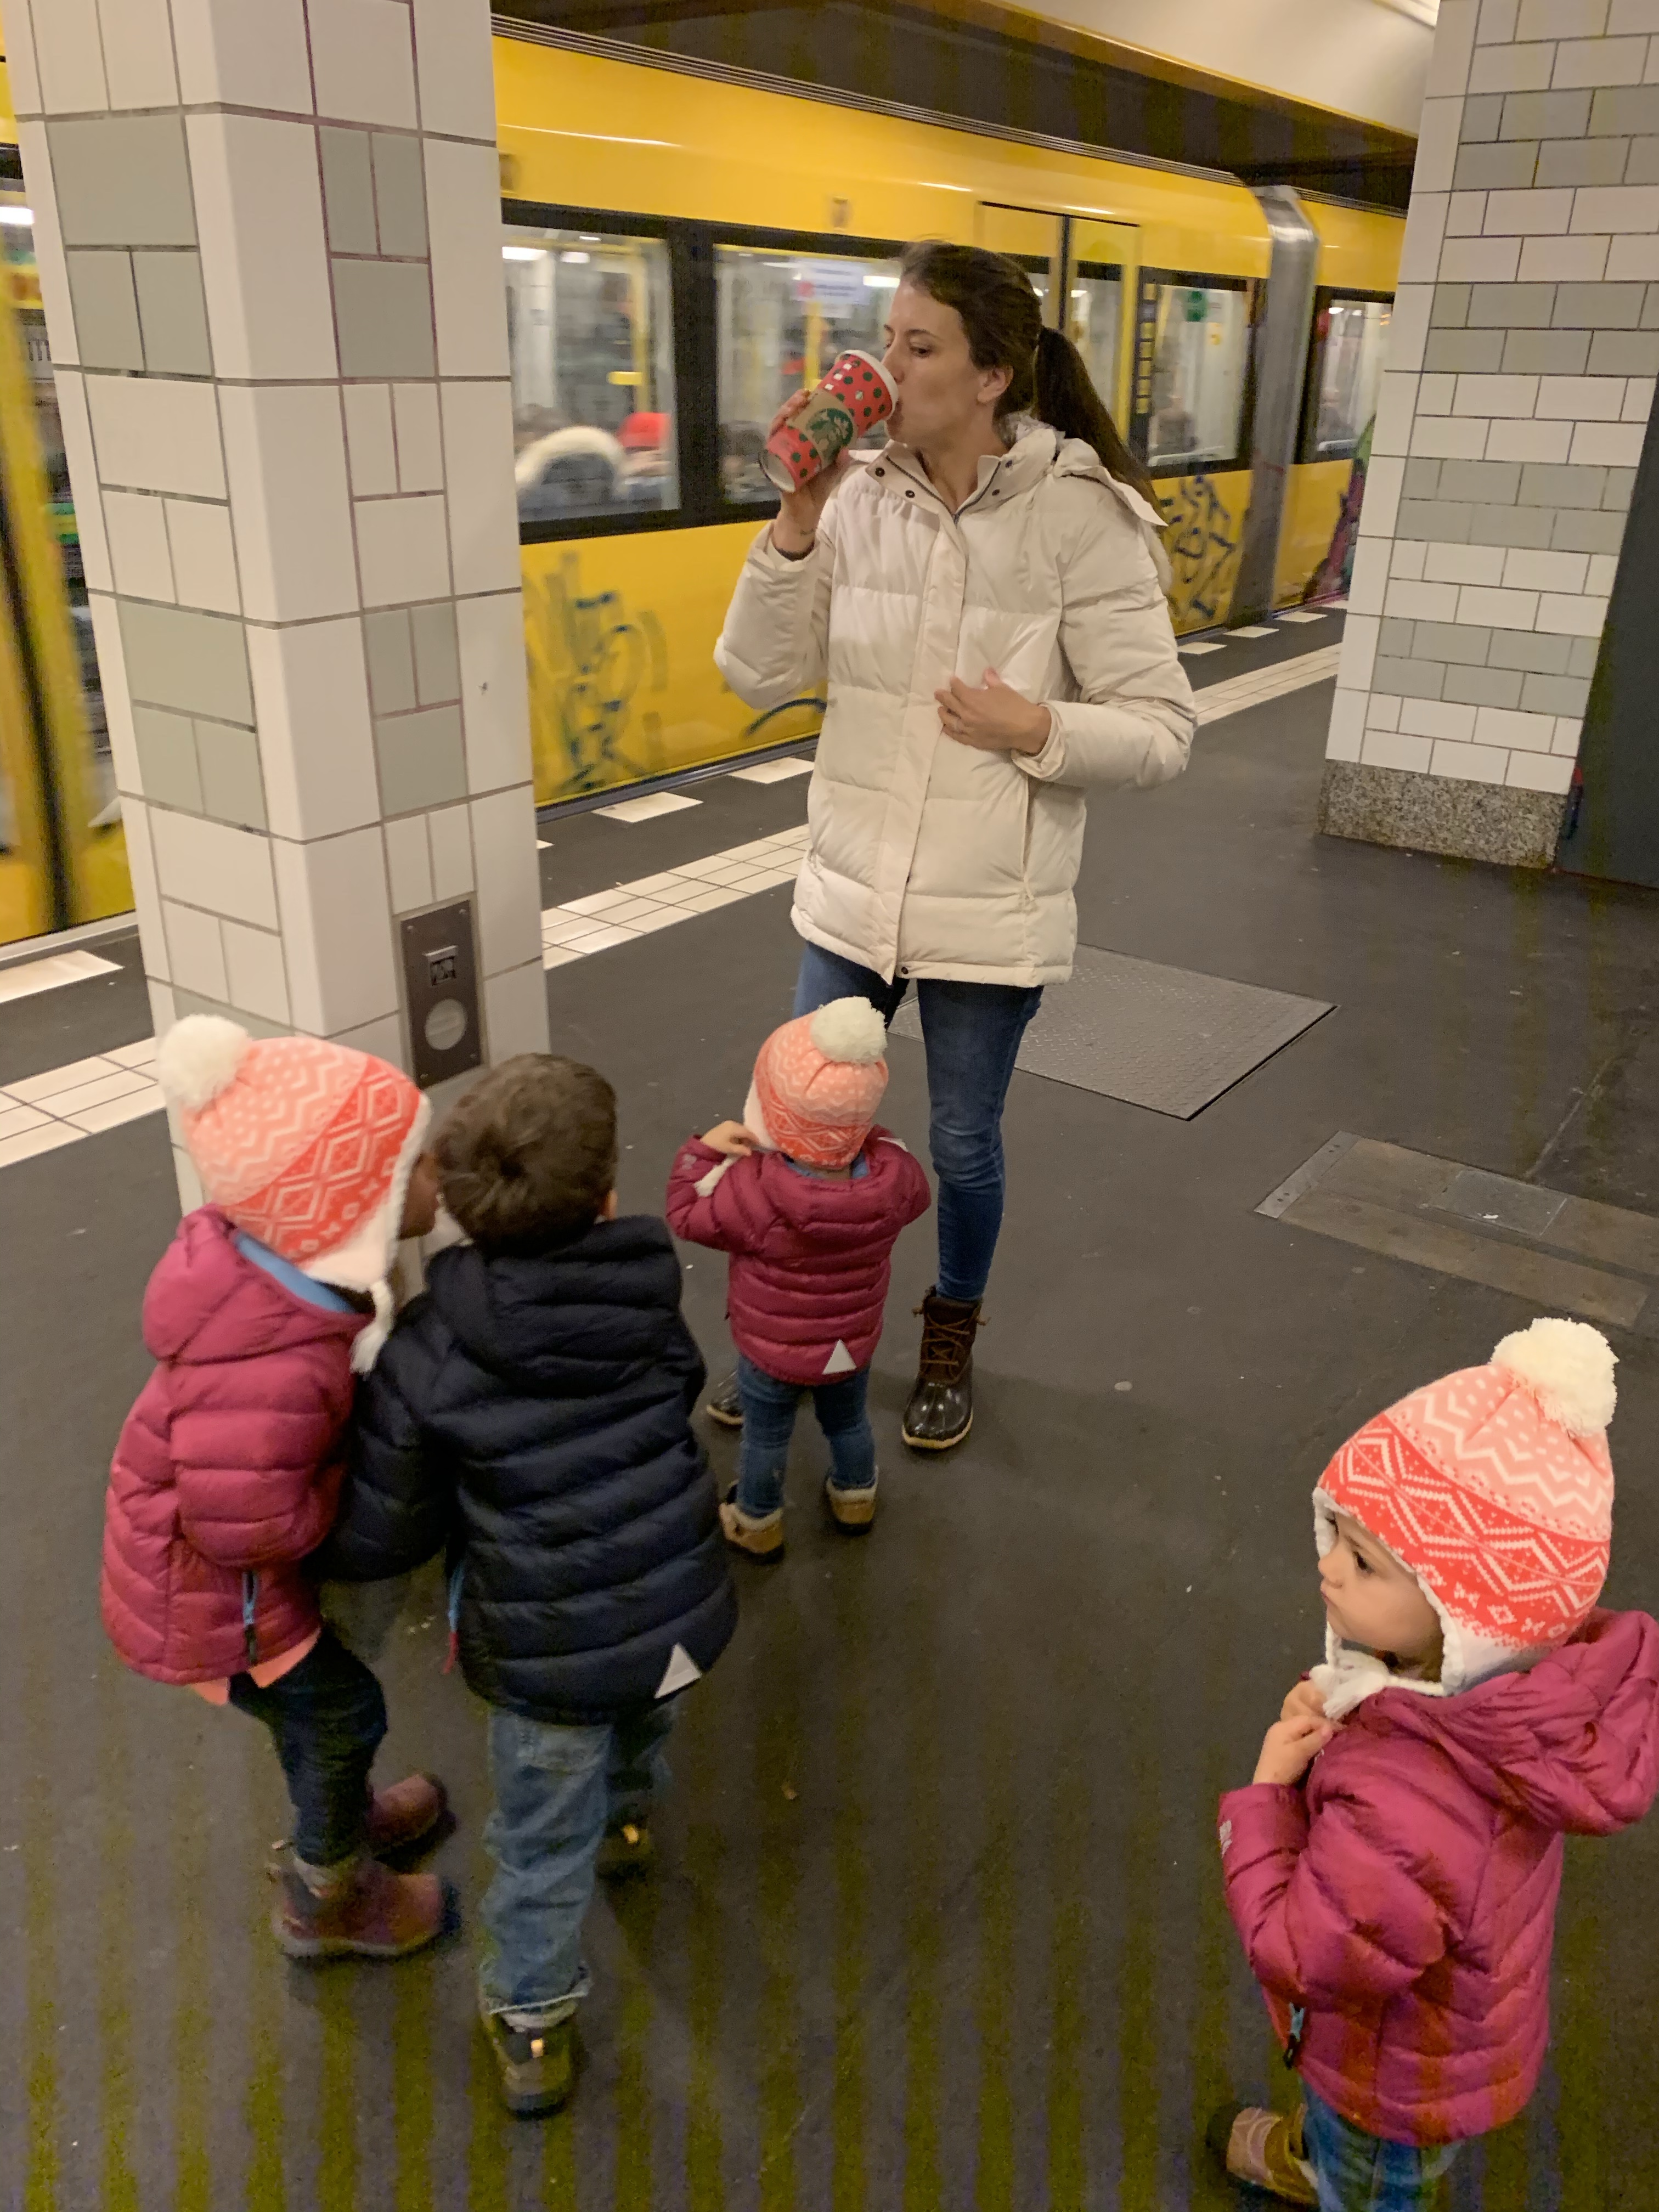
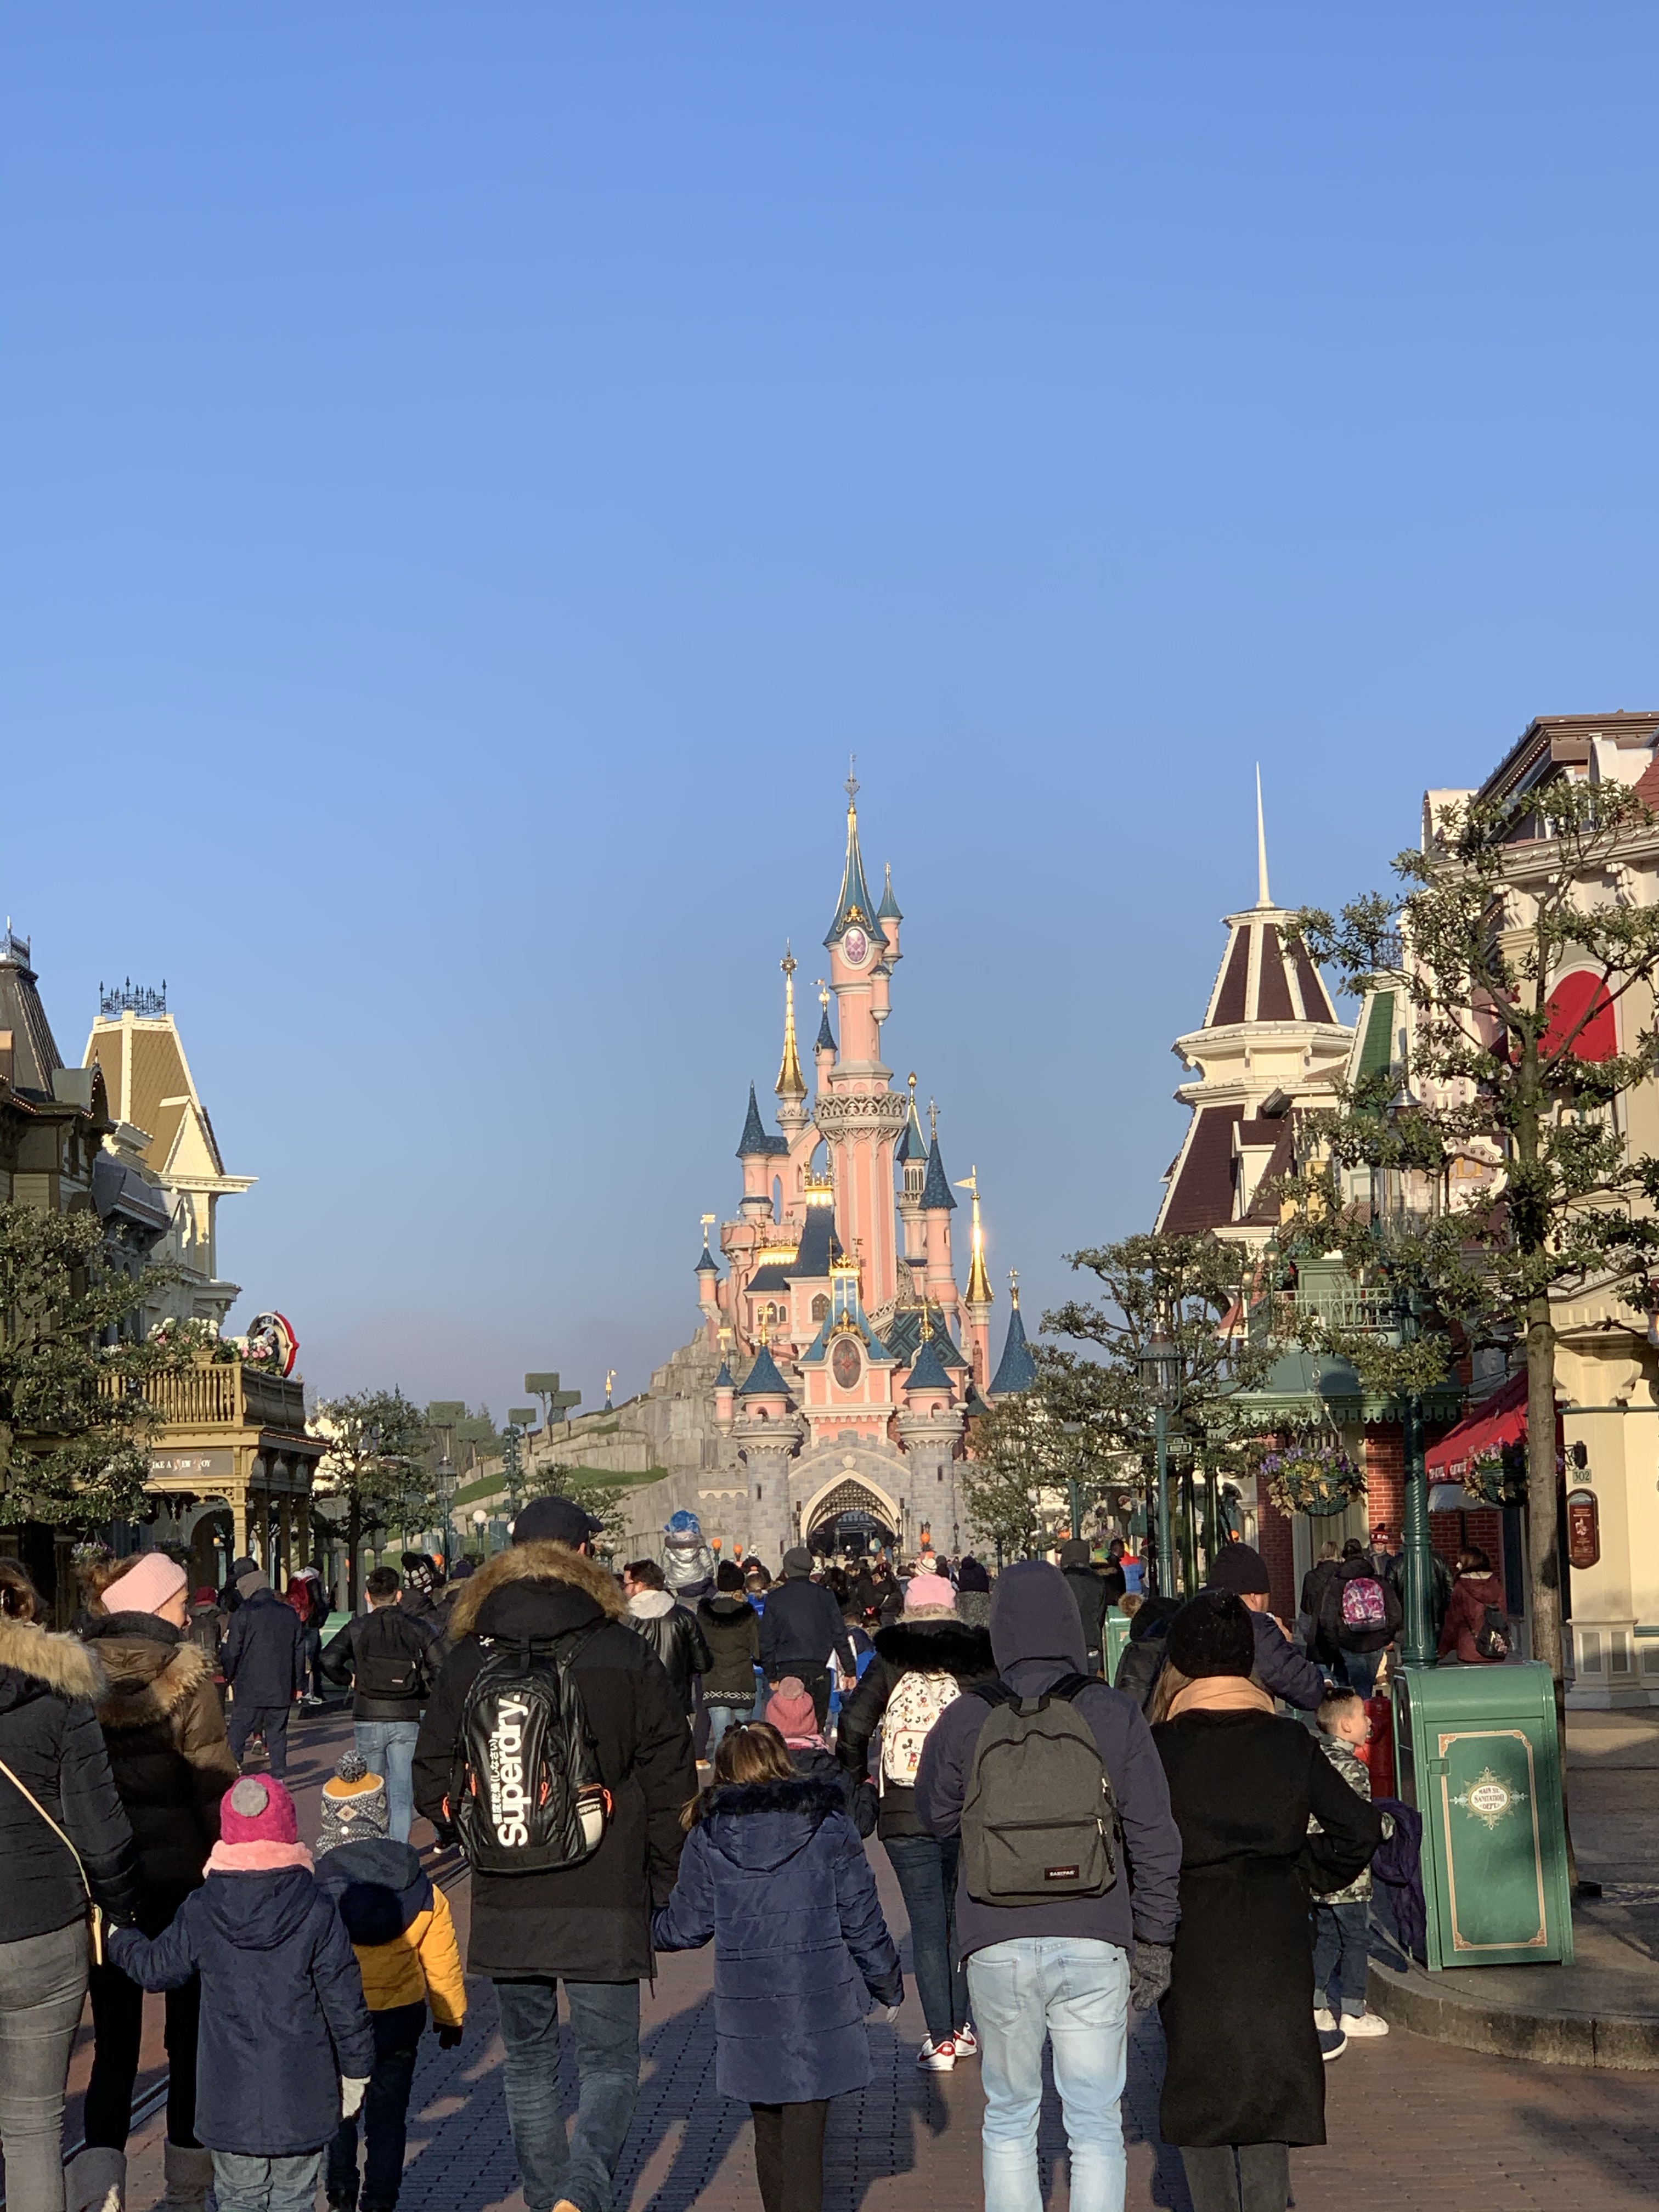
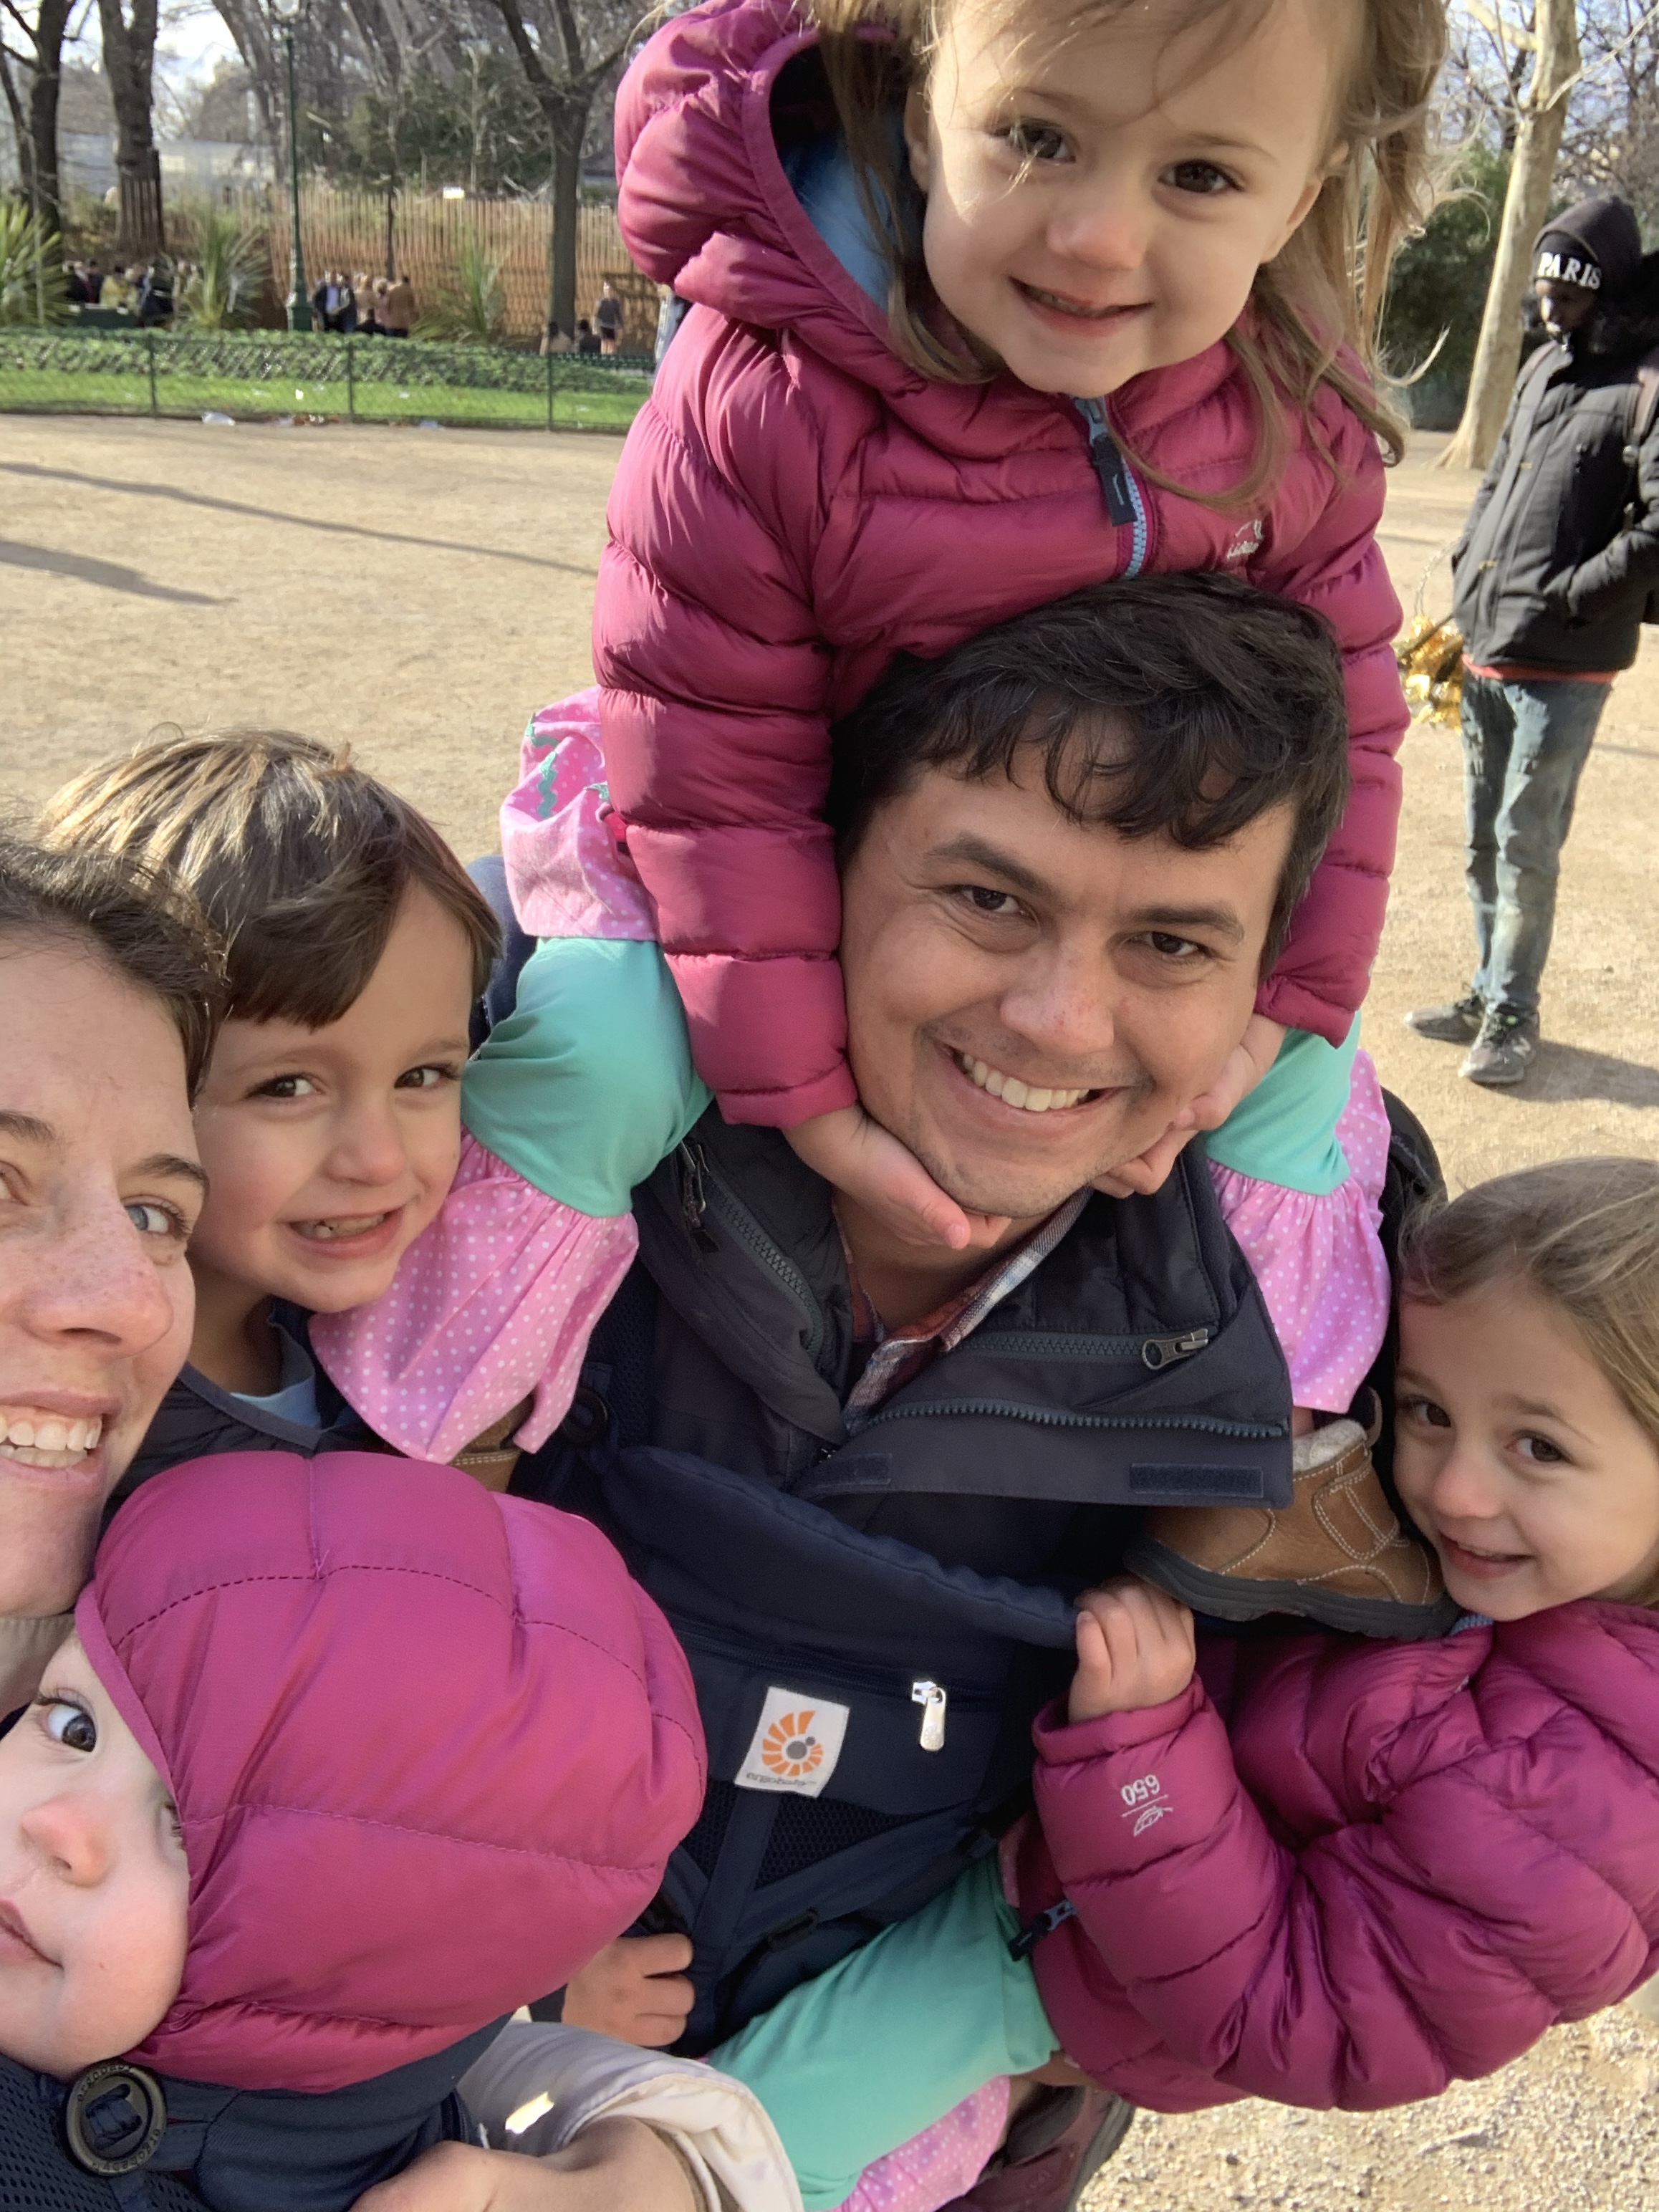
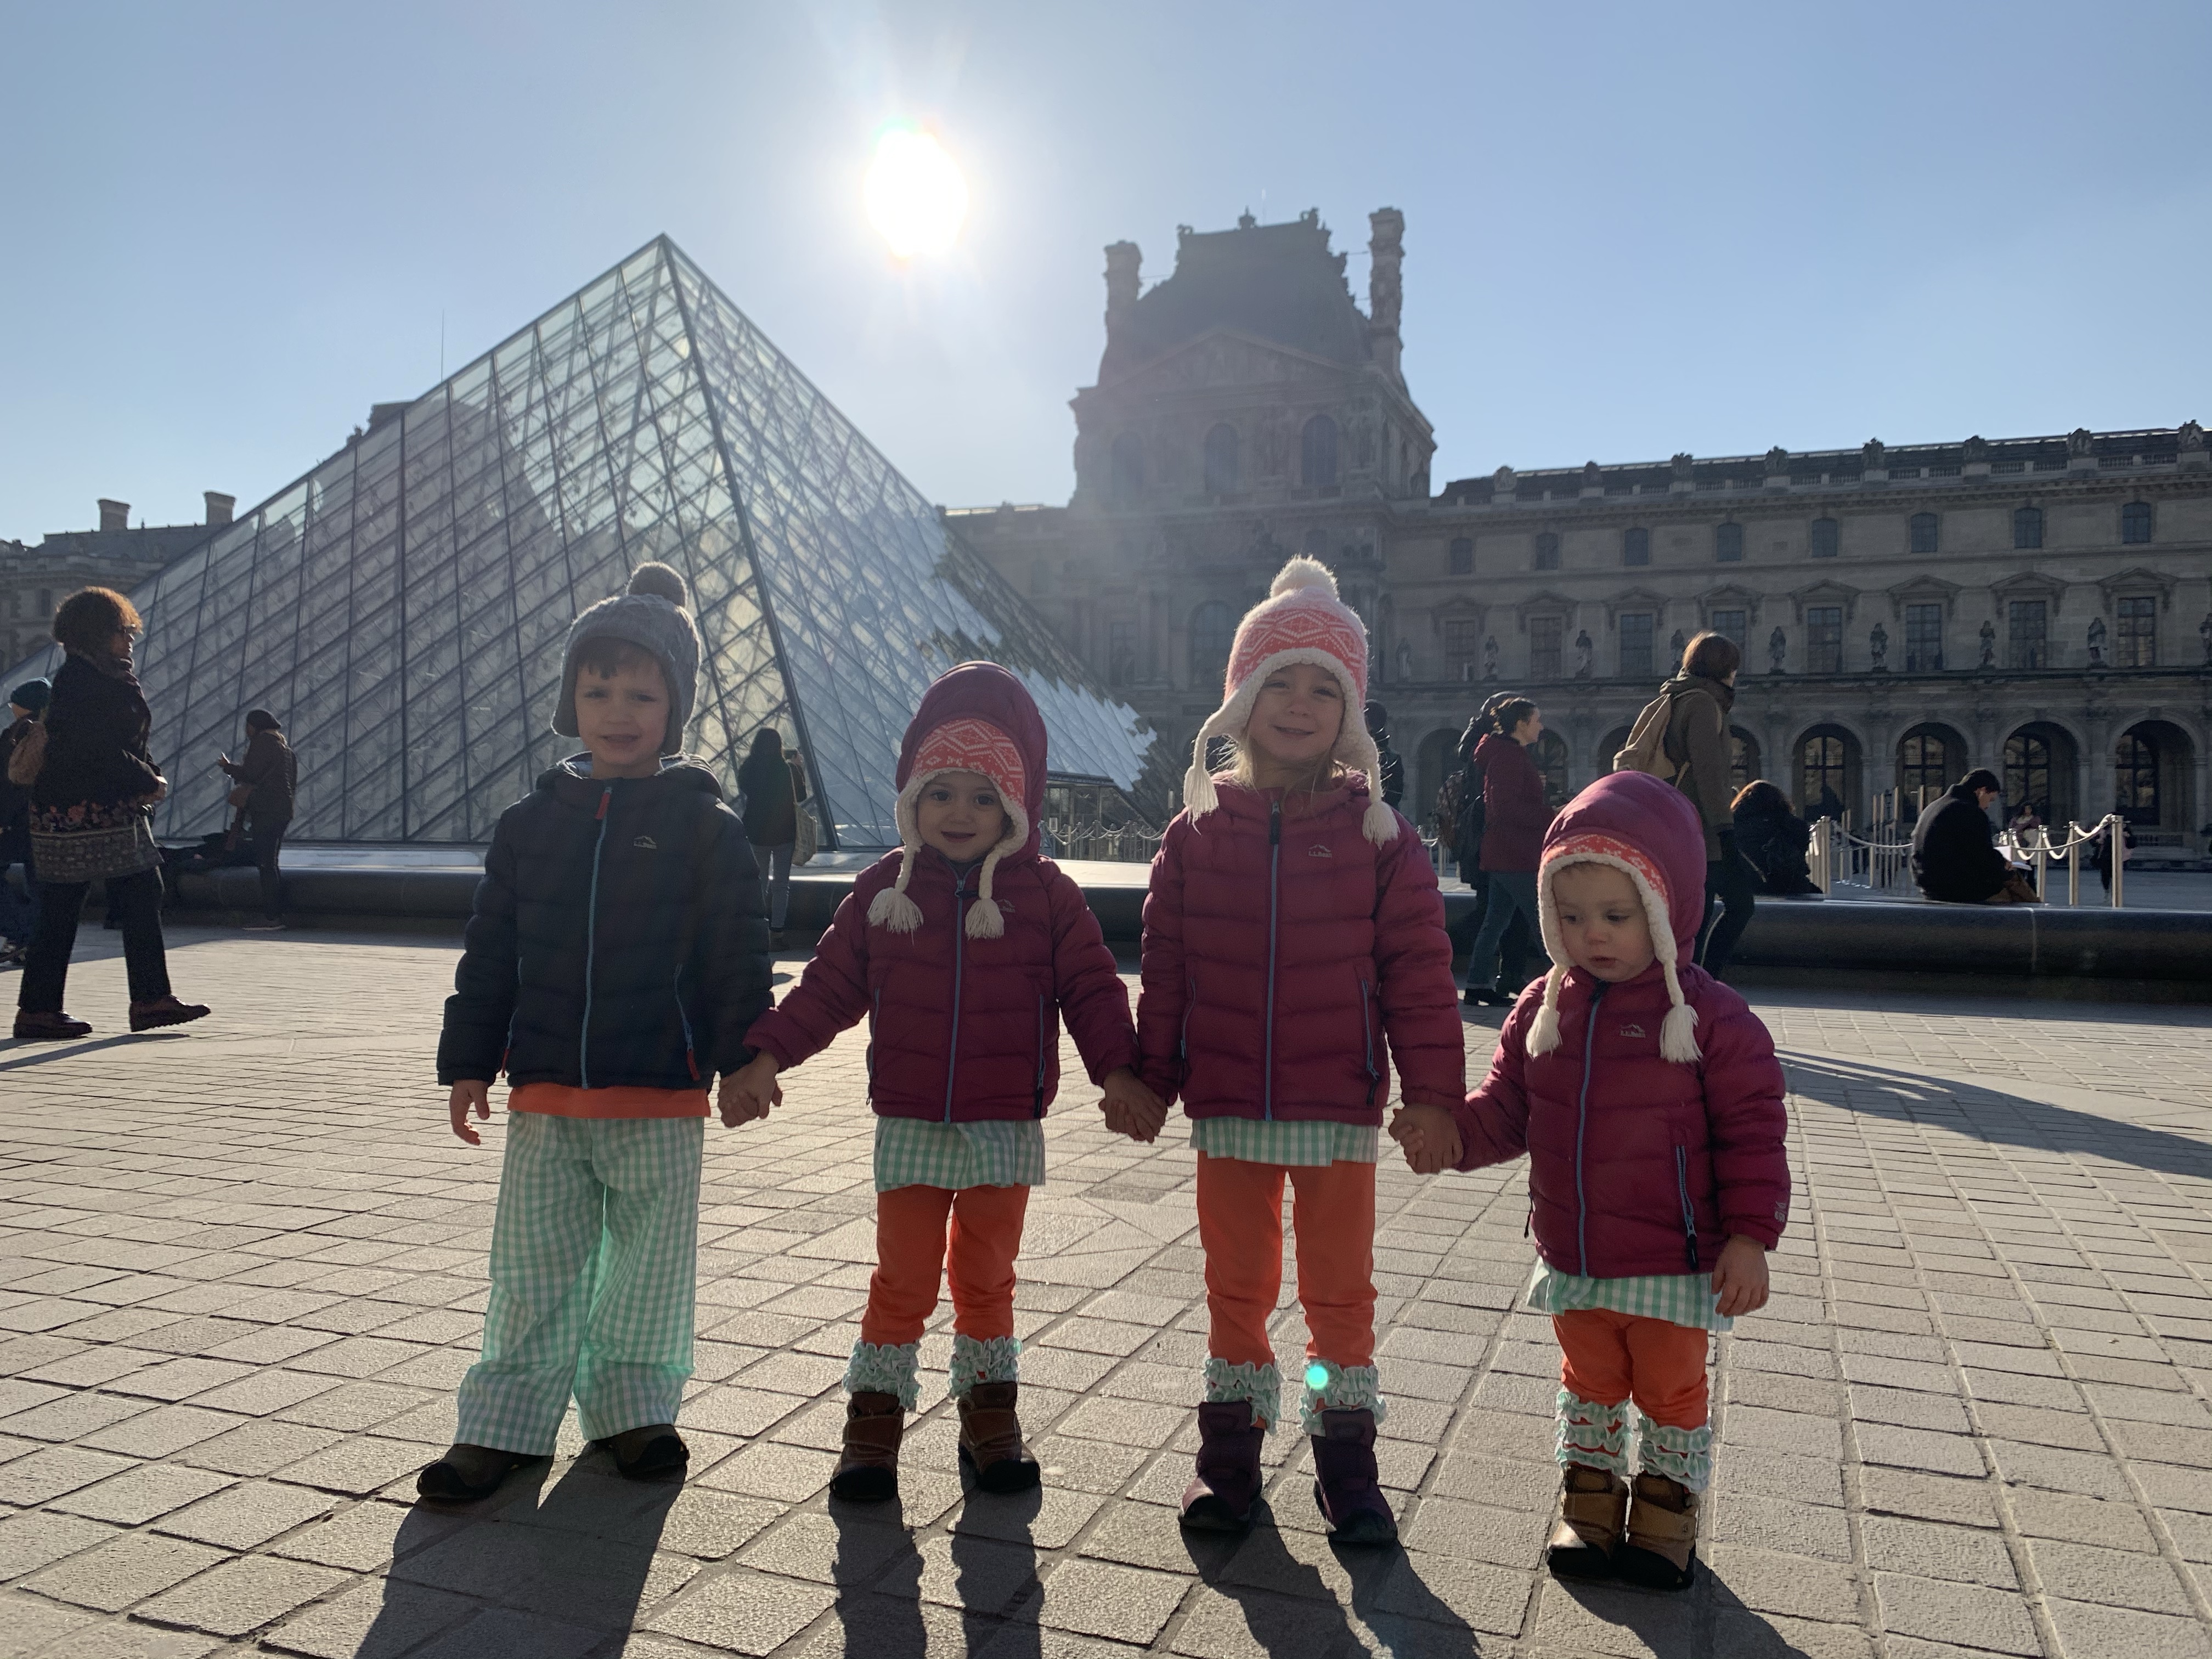
It’s safe to say we’ve gone through a lot of strollers this year. With soon to be 5 kids under 5 we have been on the search for the best stroller so we’ve tried several!

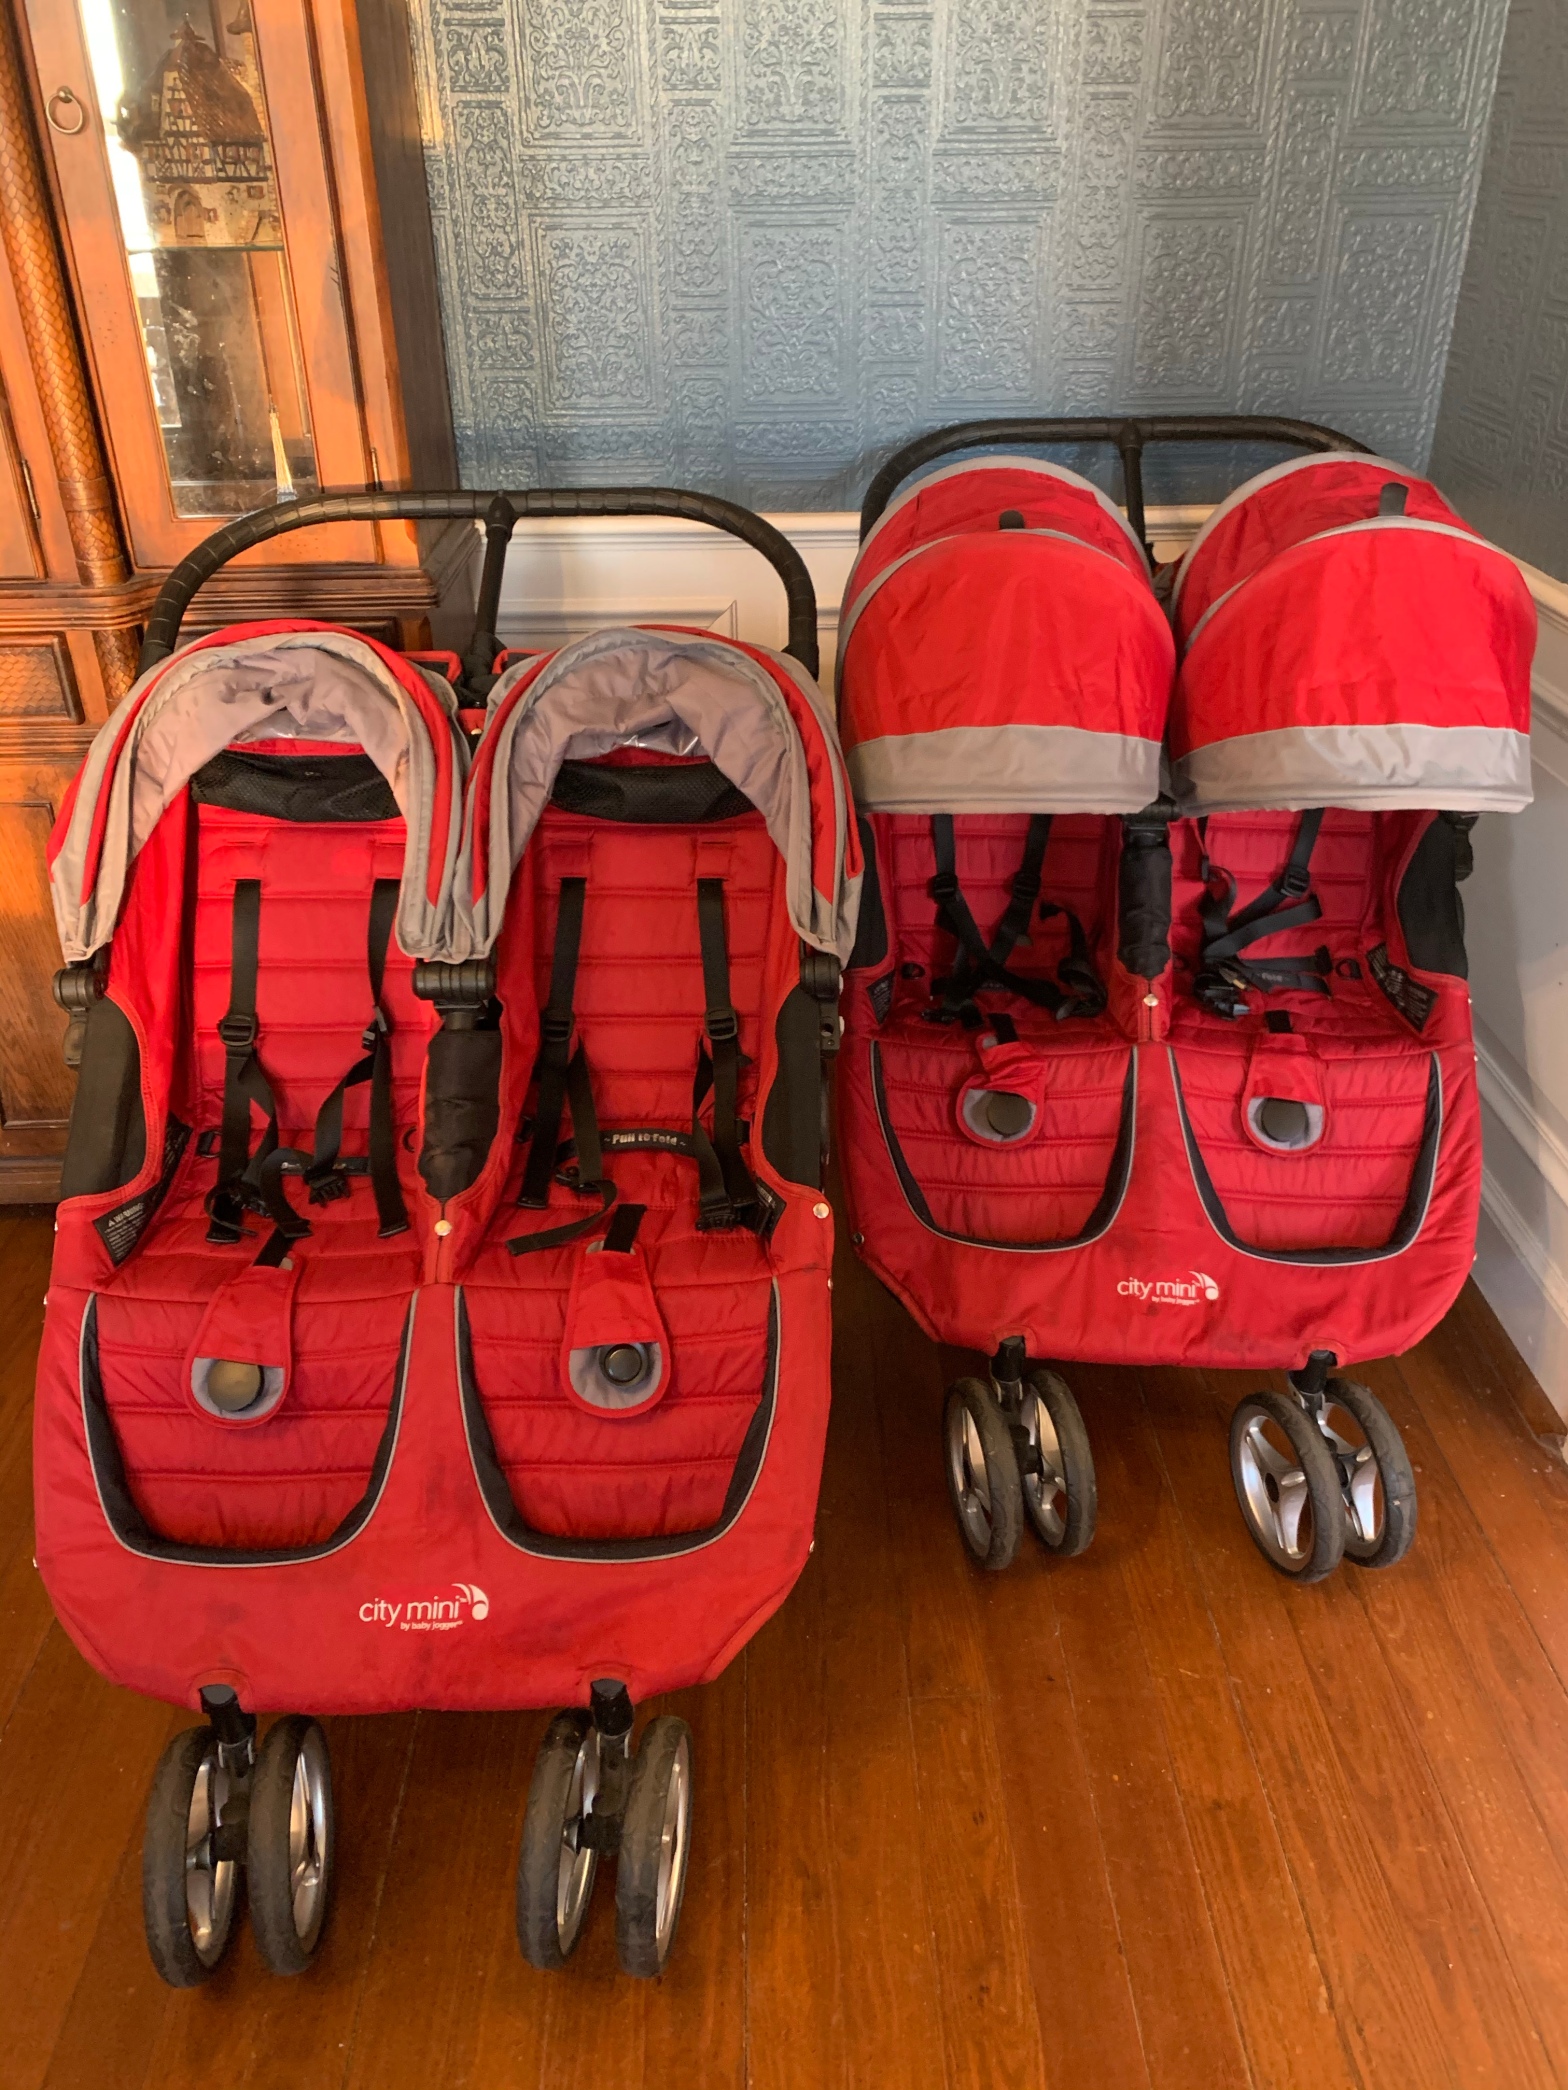
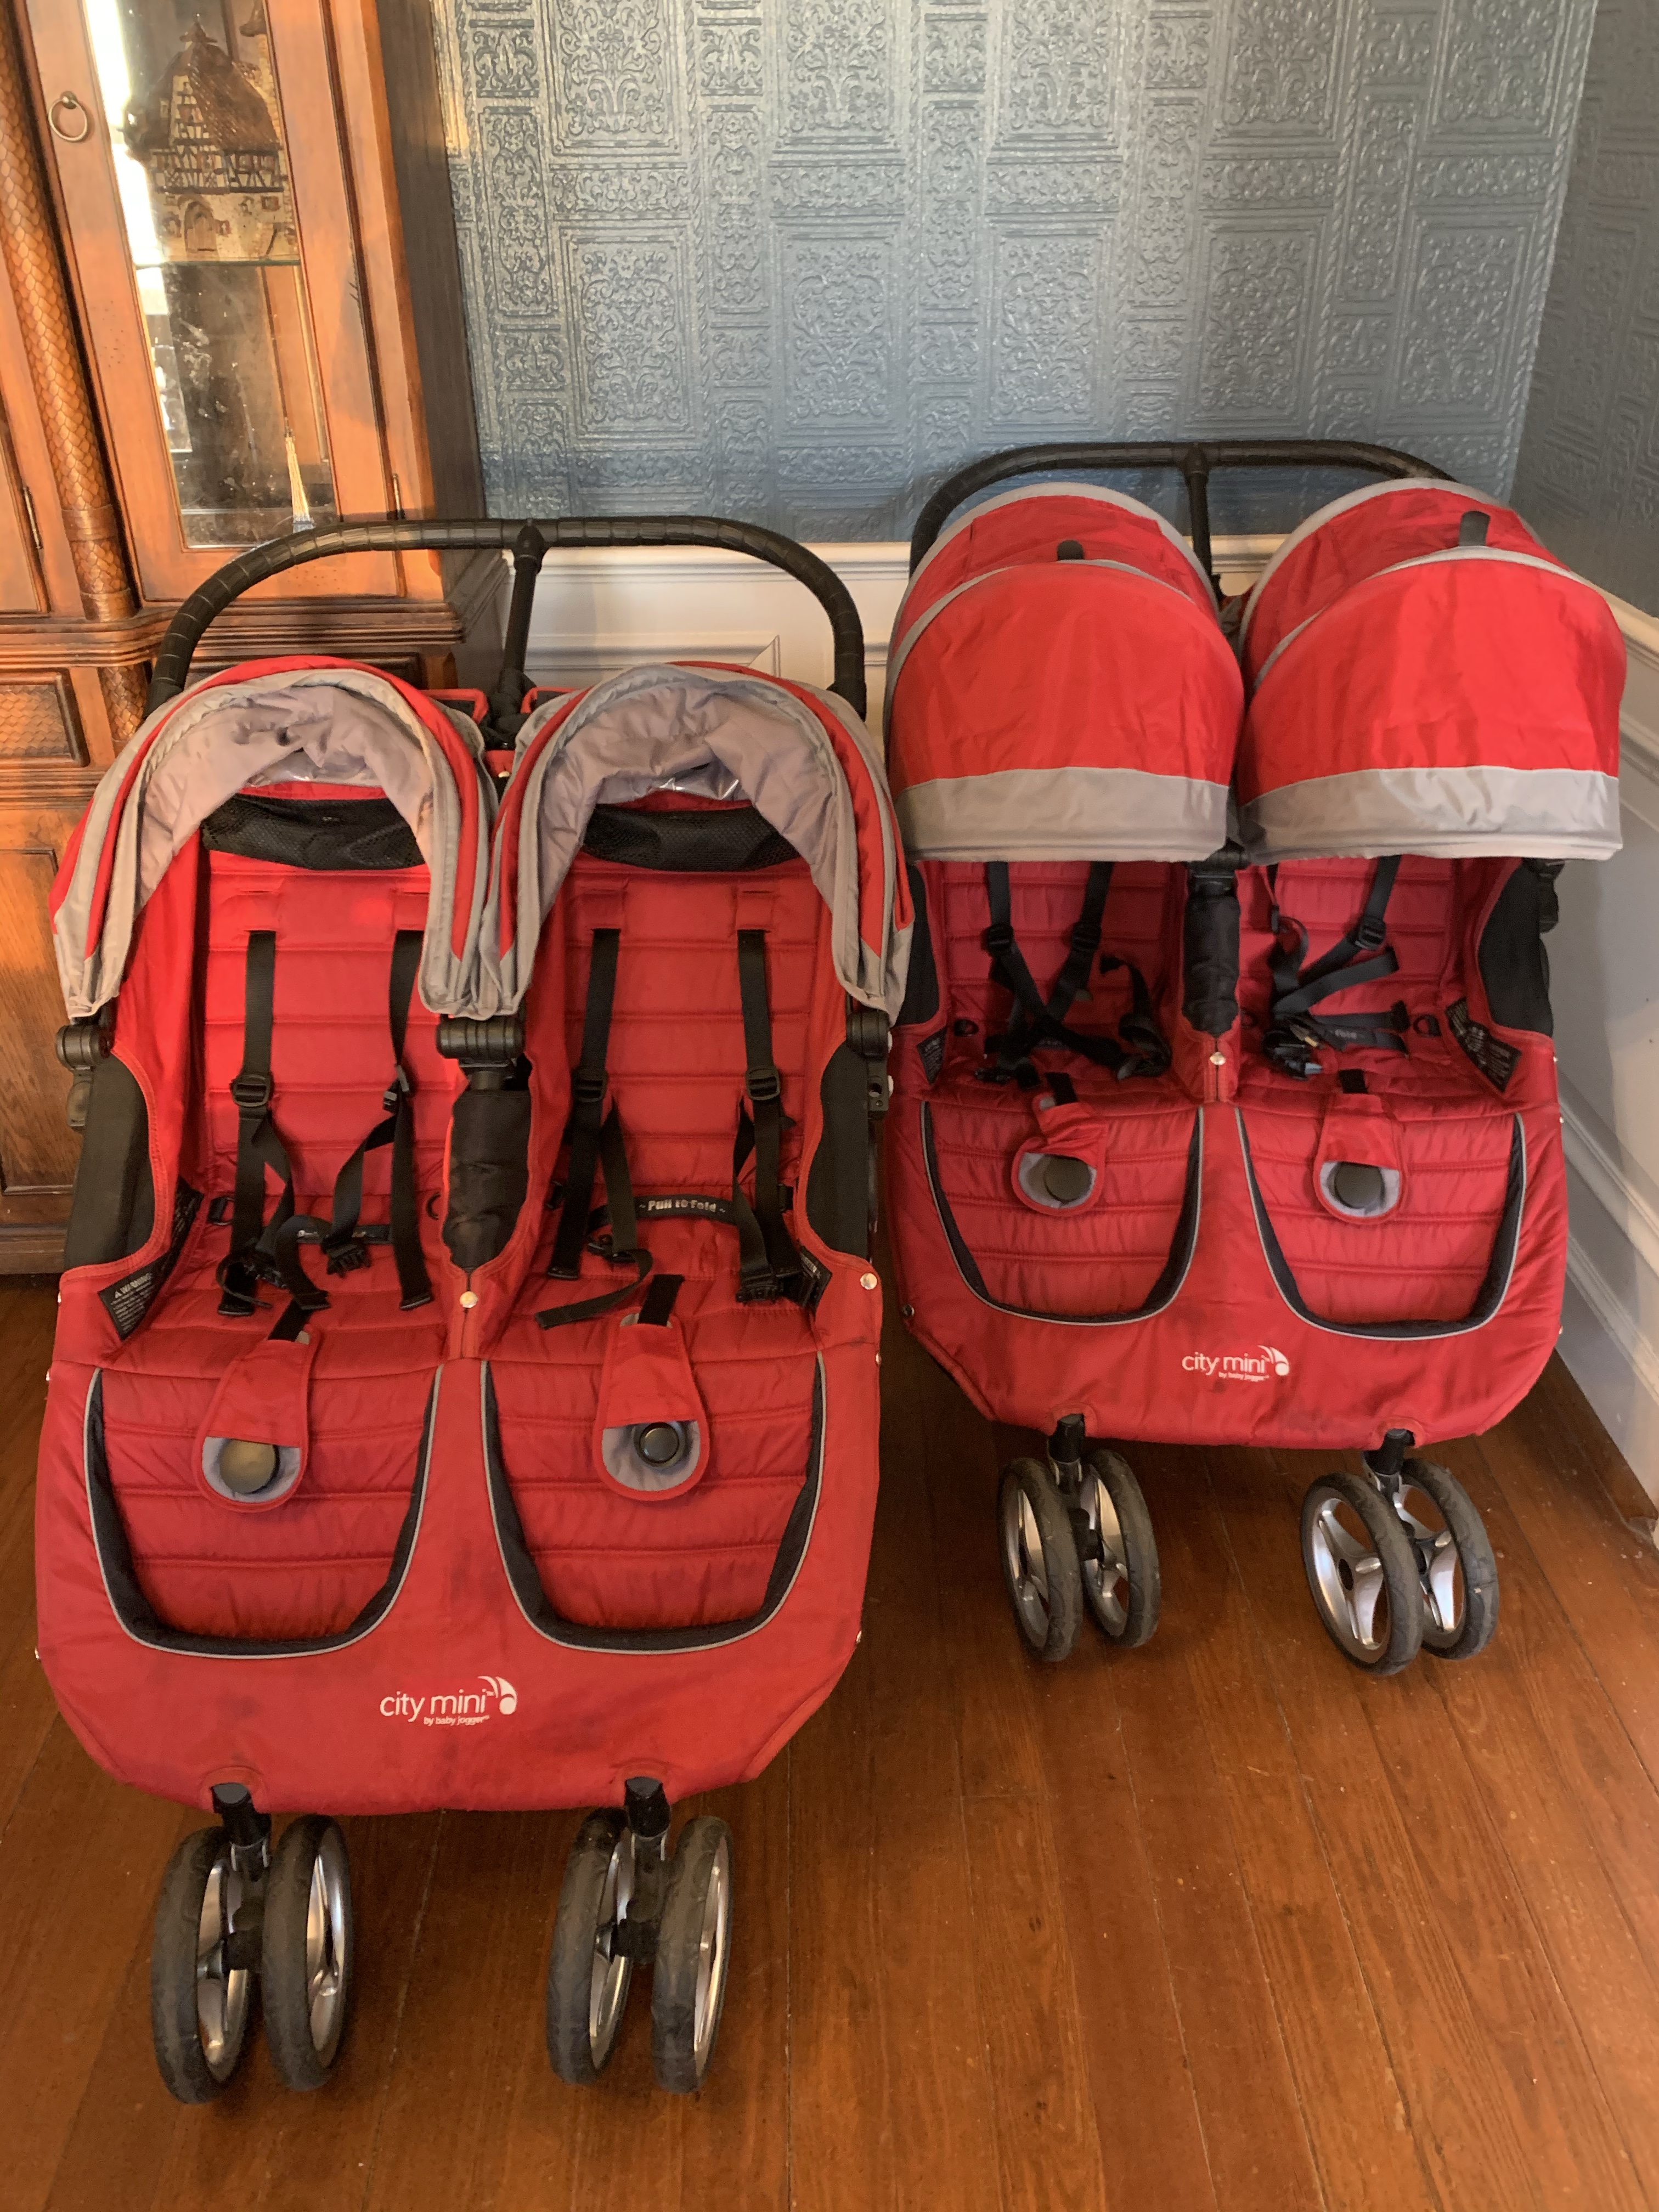
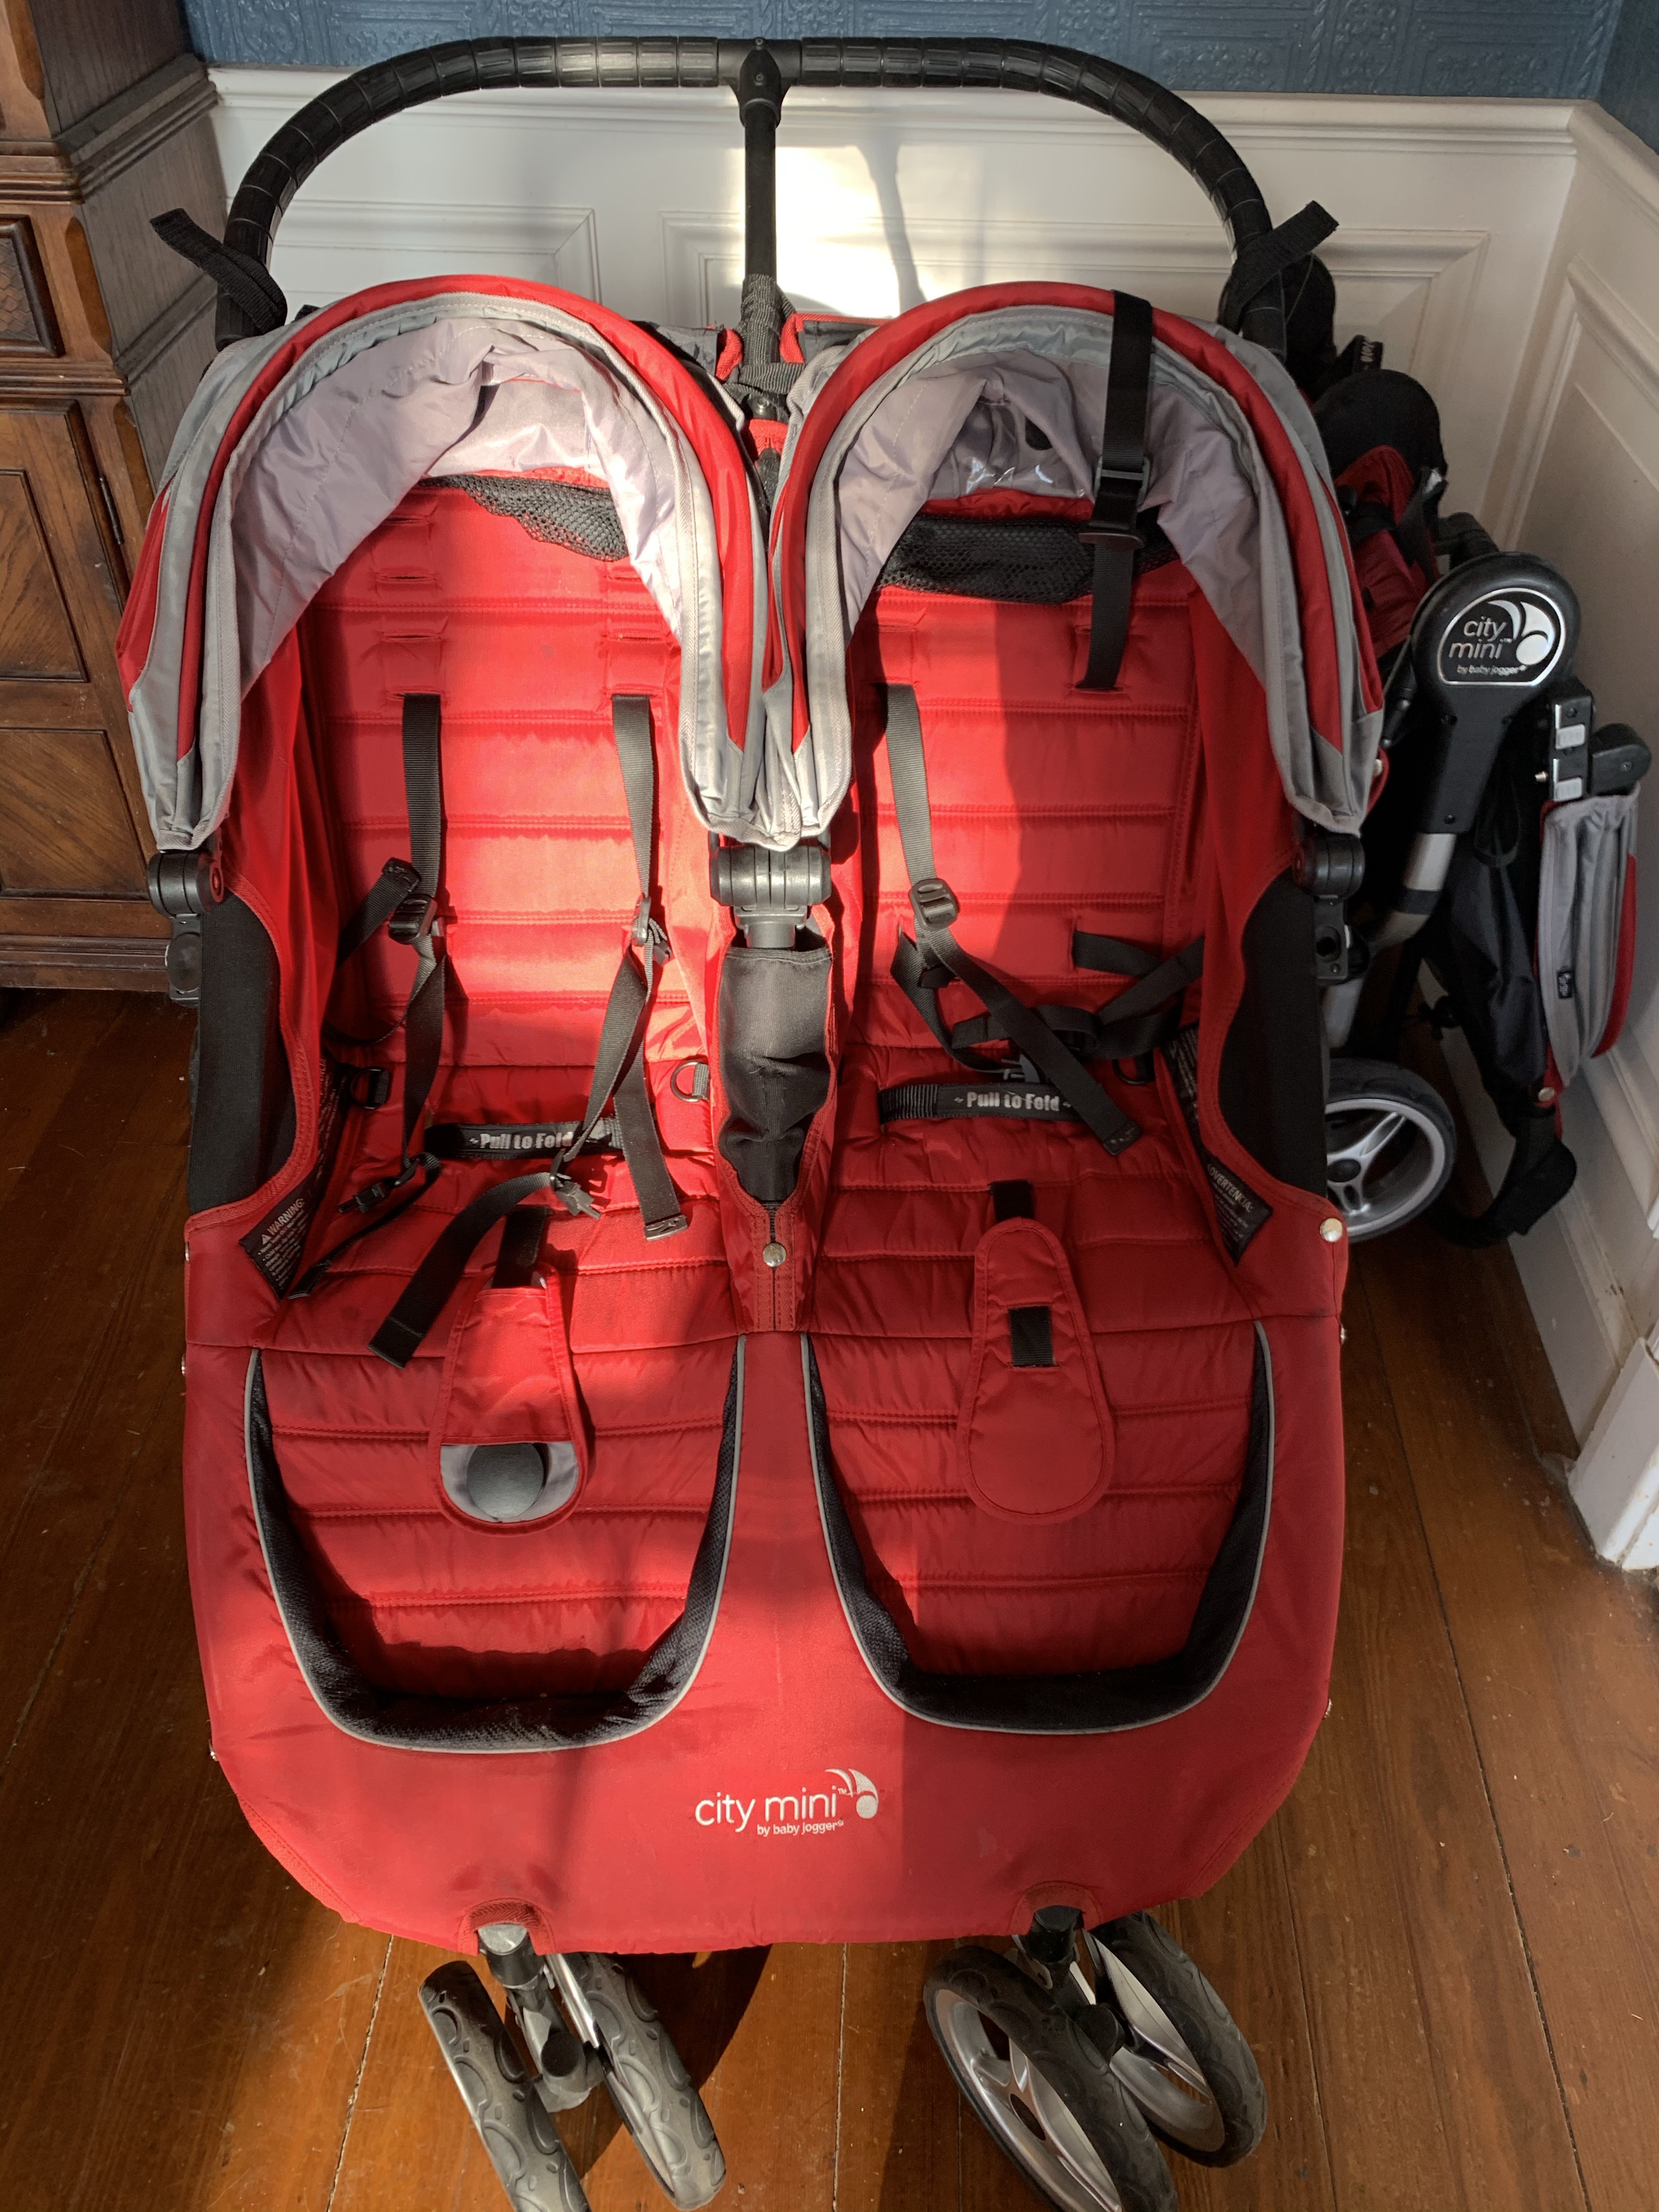
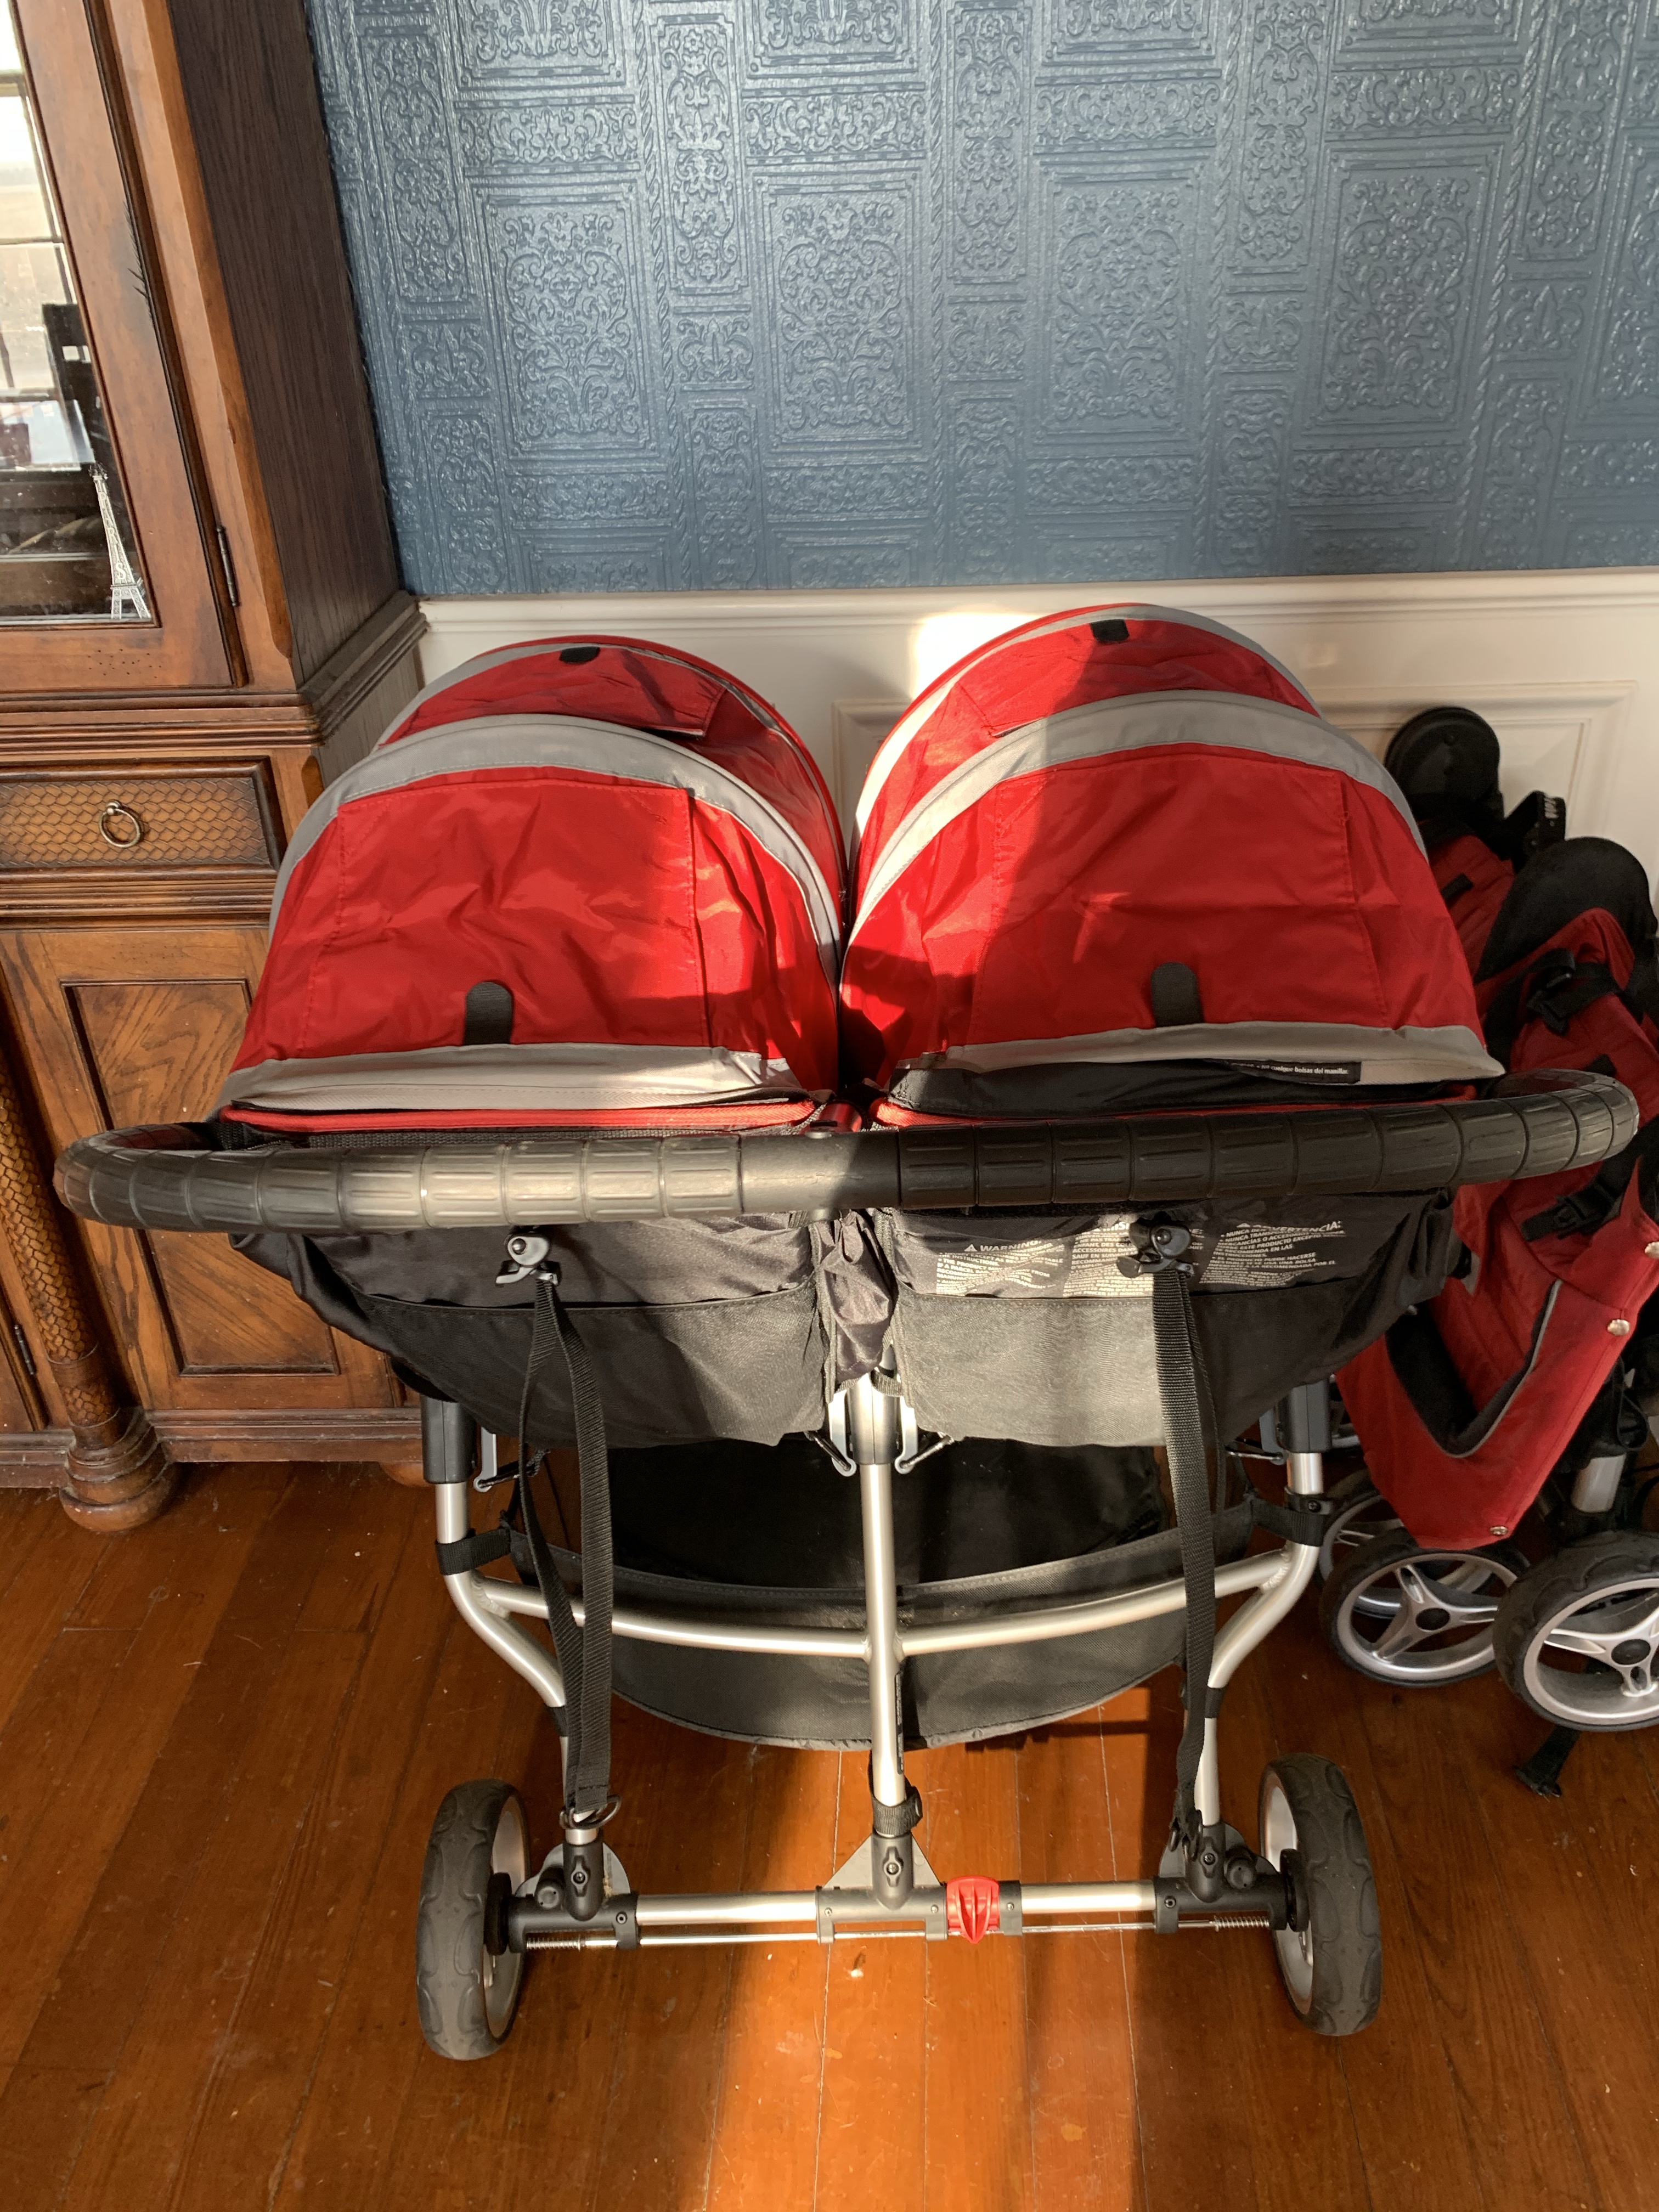
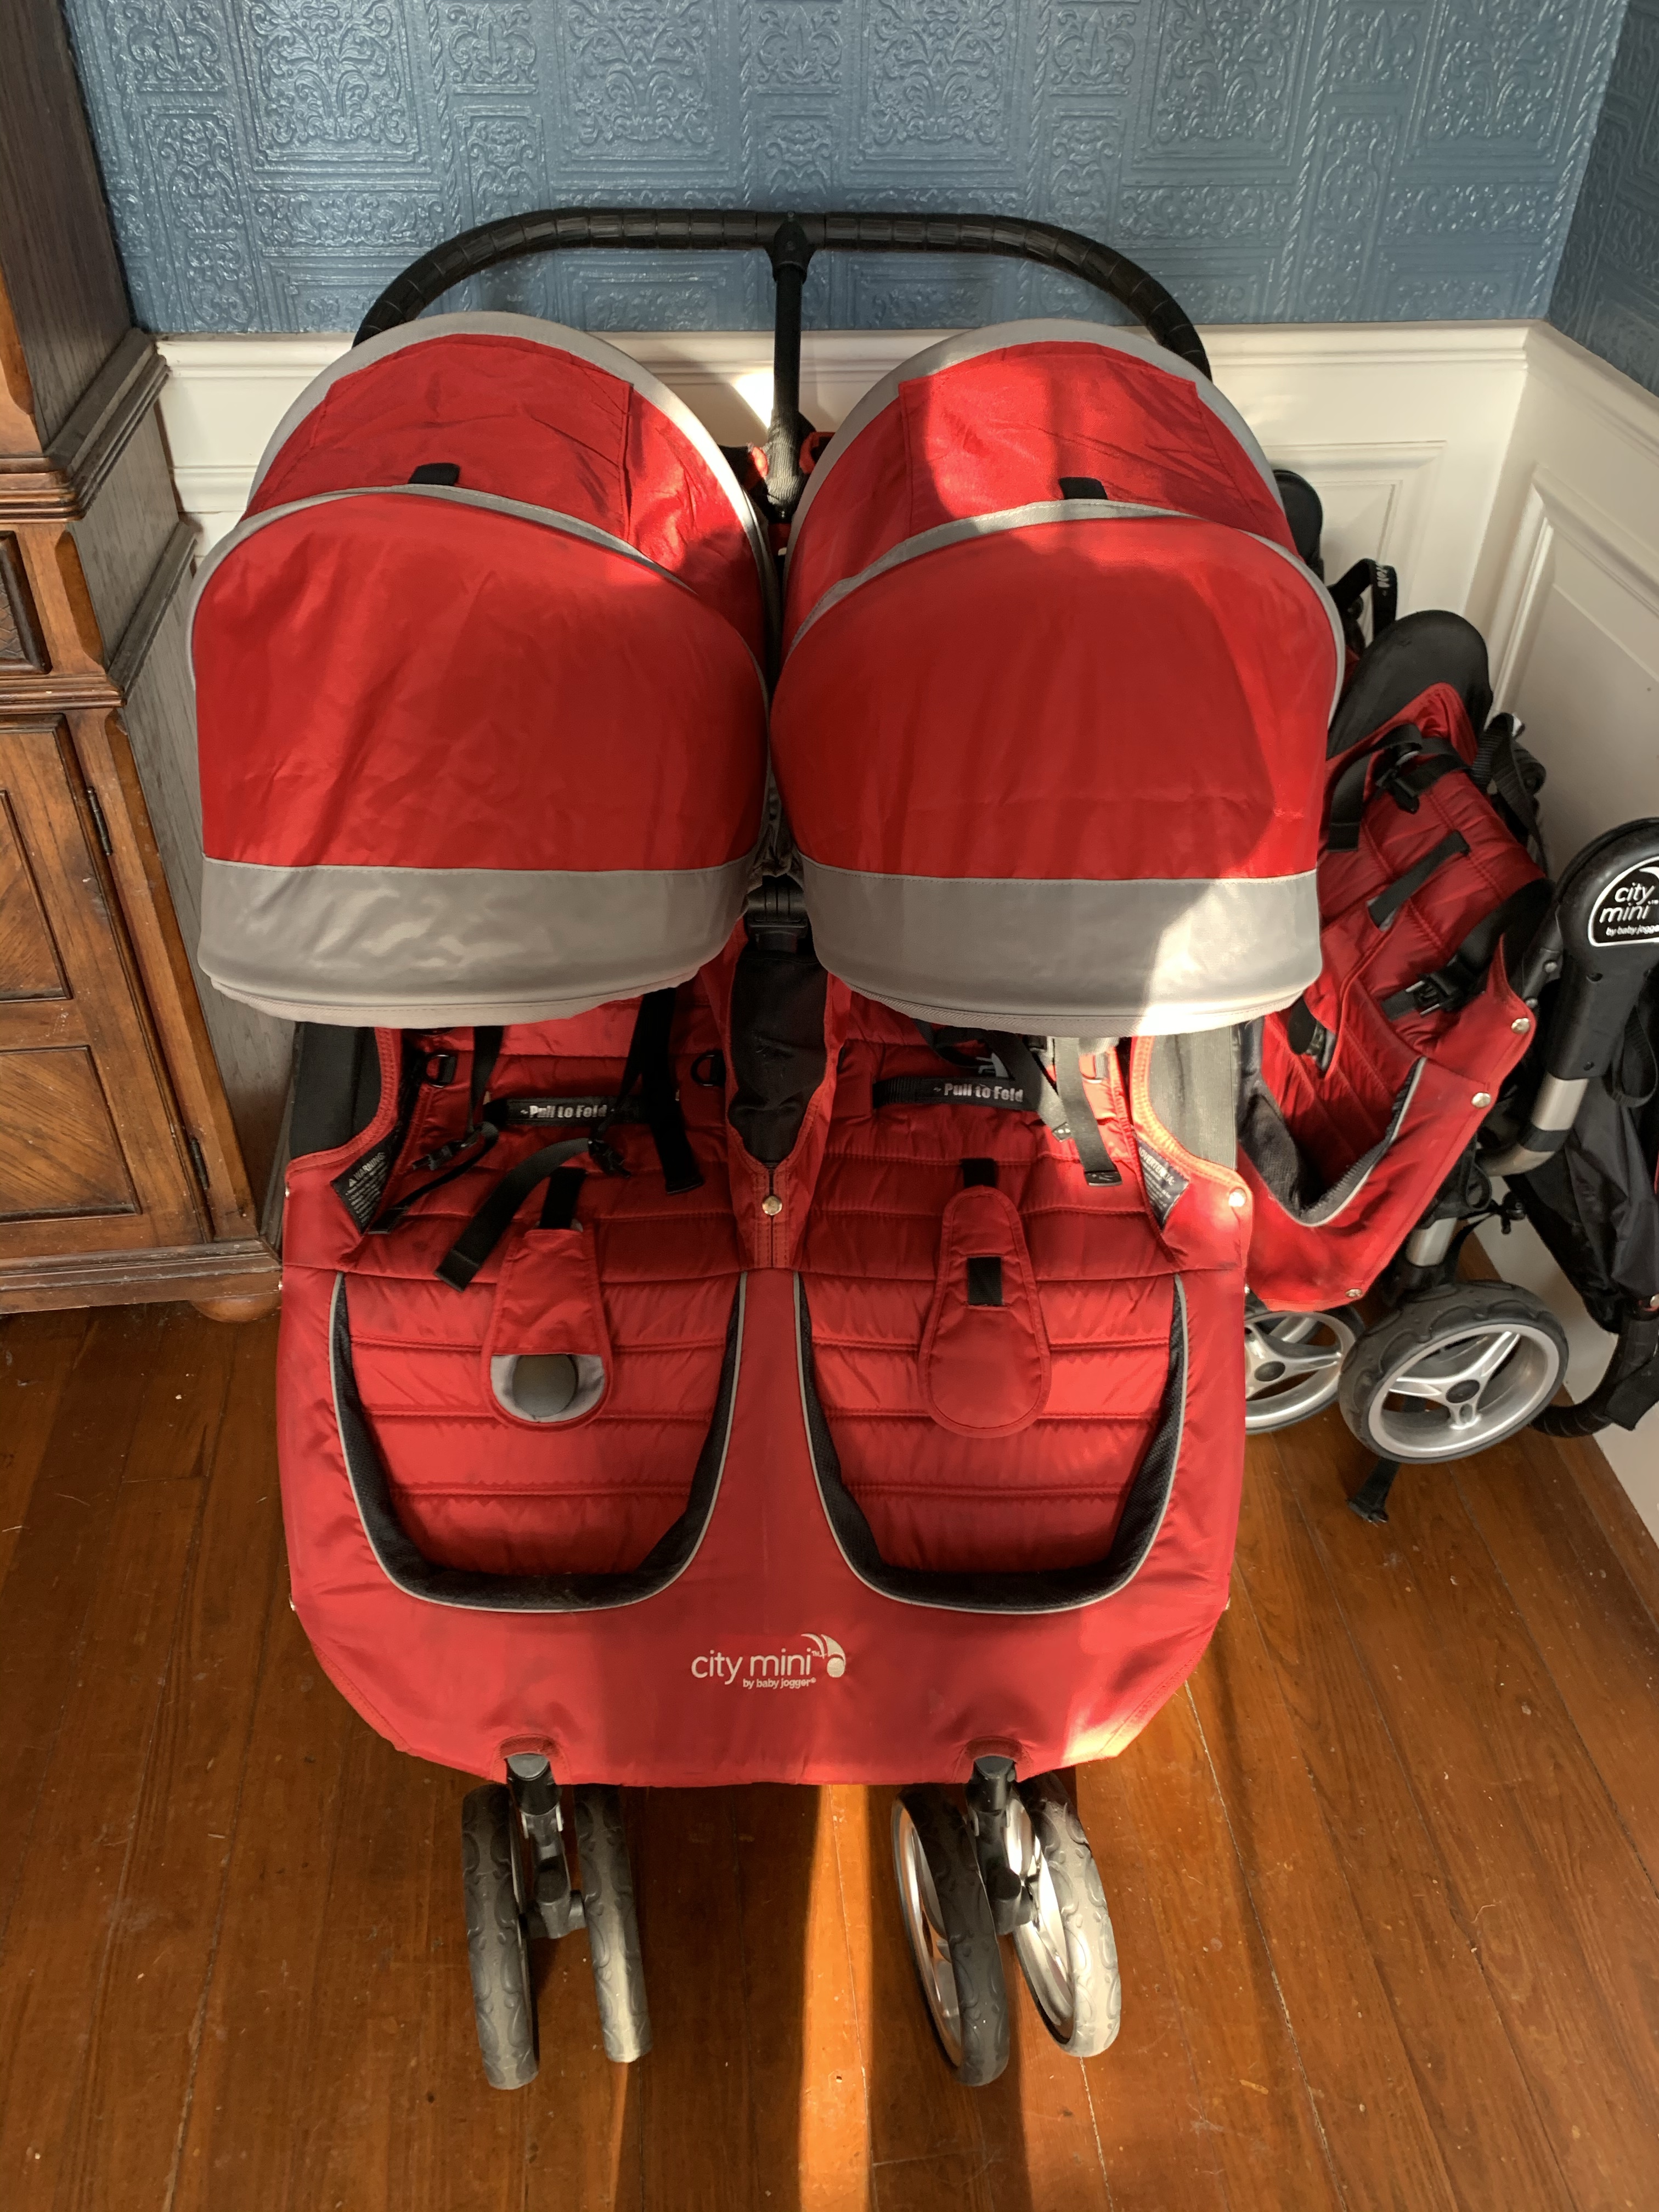
It all started when we realized our original double stroller, a Graco, was actually a giant piece of junk. We moved on to a 2016 model Baby Jogger City Mini double that we actually LOVED. You can read about it HERE. We kept the city mini for a few years and they traveled many places with us. When Baby Jogger announced a new body style City Mini in late 2019 we decided this was the perfect opportunity to upgrade the strollers we loved. So we sold our old city minis and bought the brand new body style only to find out that all the new changes they made were horrible and we really regretted that purchase. You can read about that HERE. After that I was open to other strollers and did so much research trying to find the perfect one for our needs which is what this post is actually about!

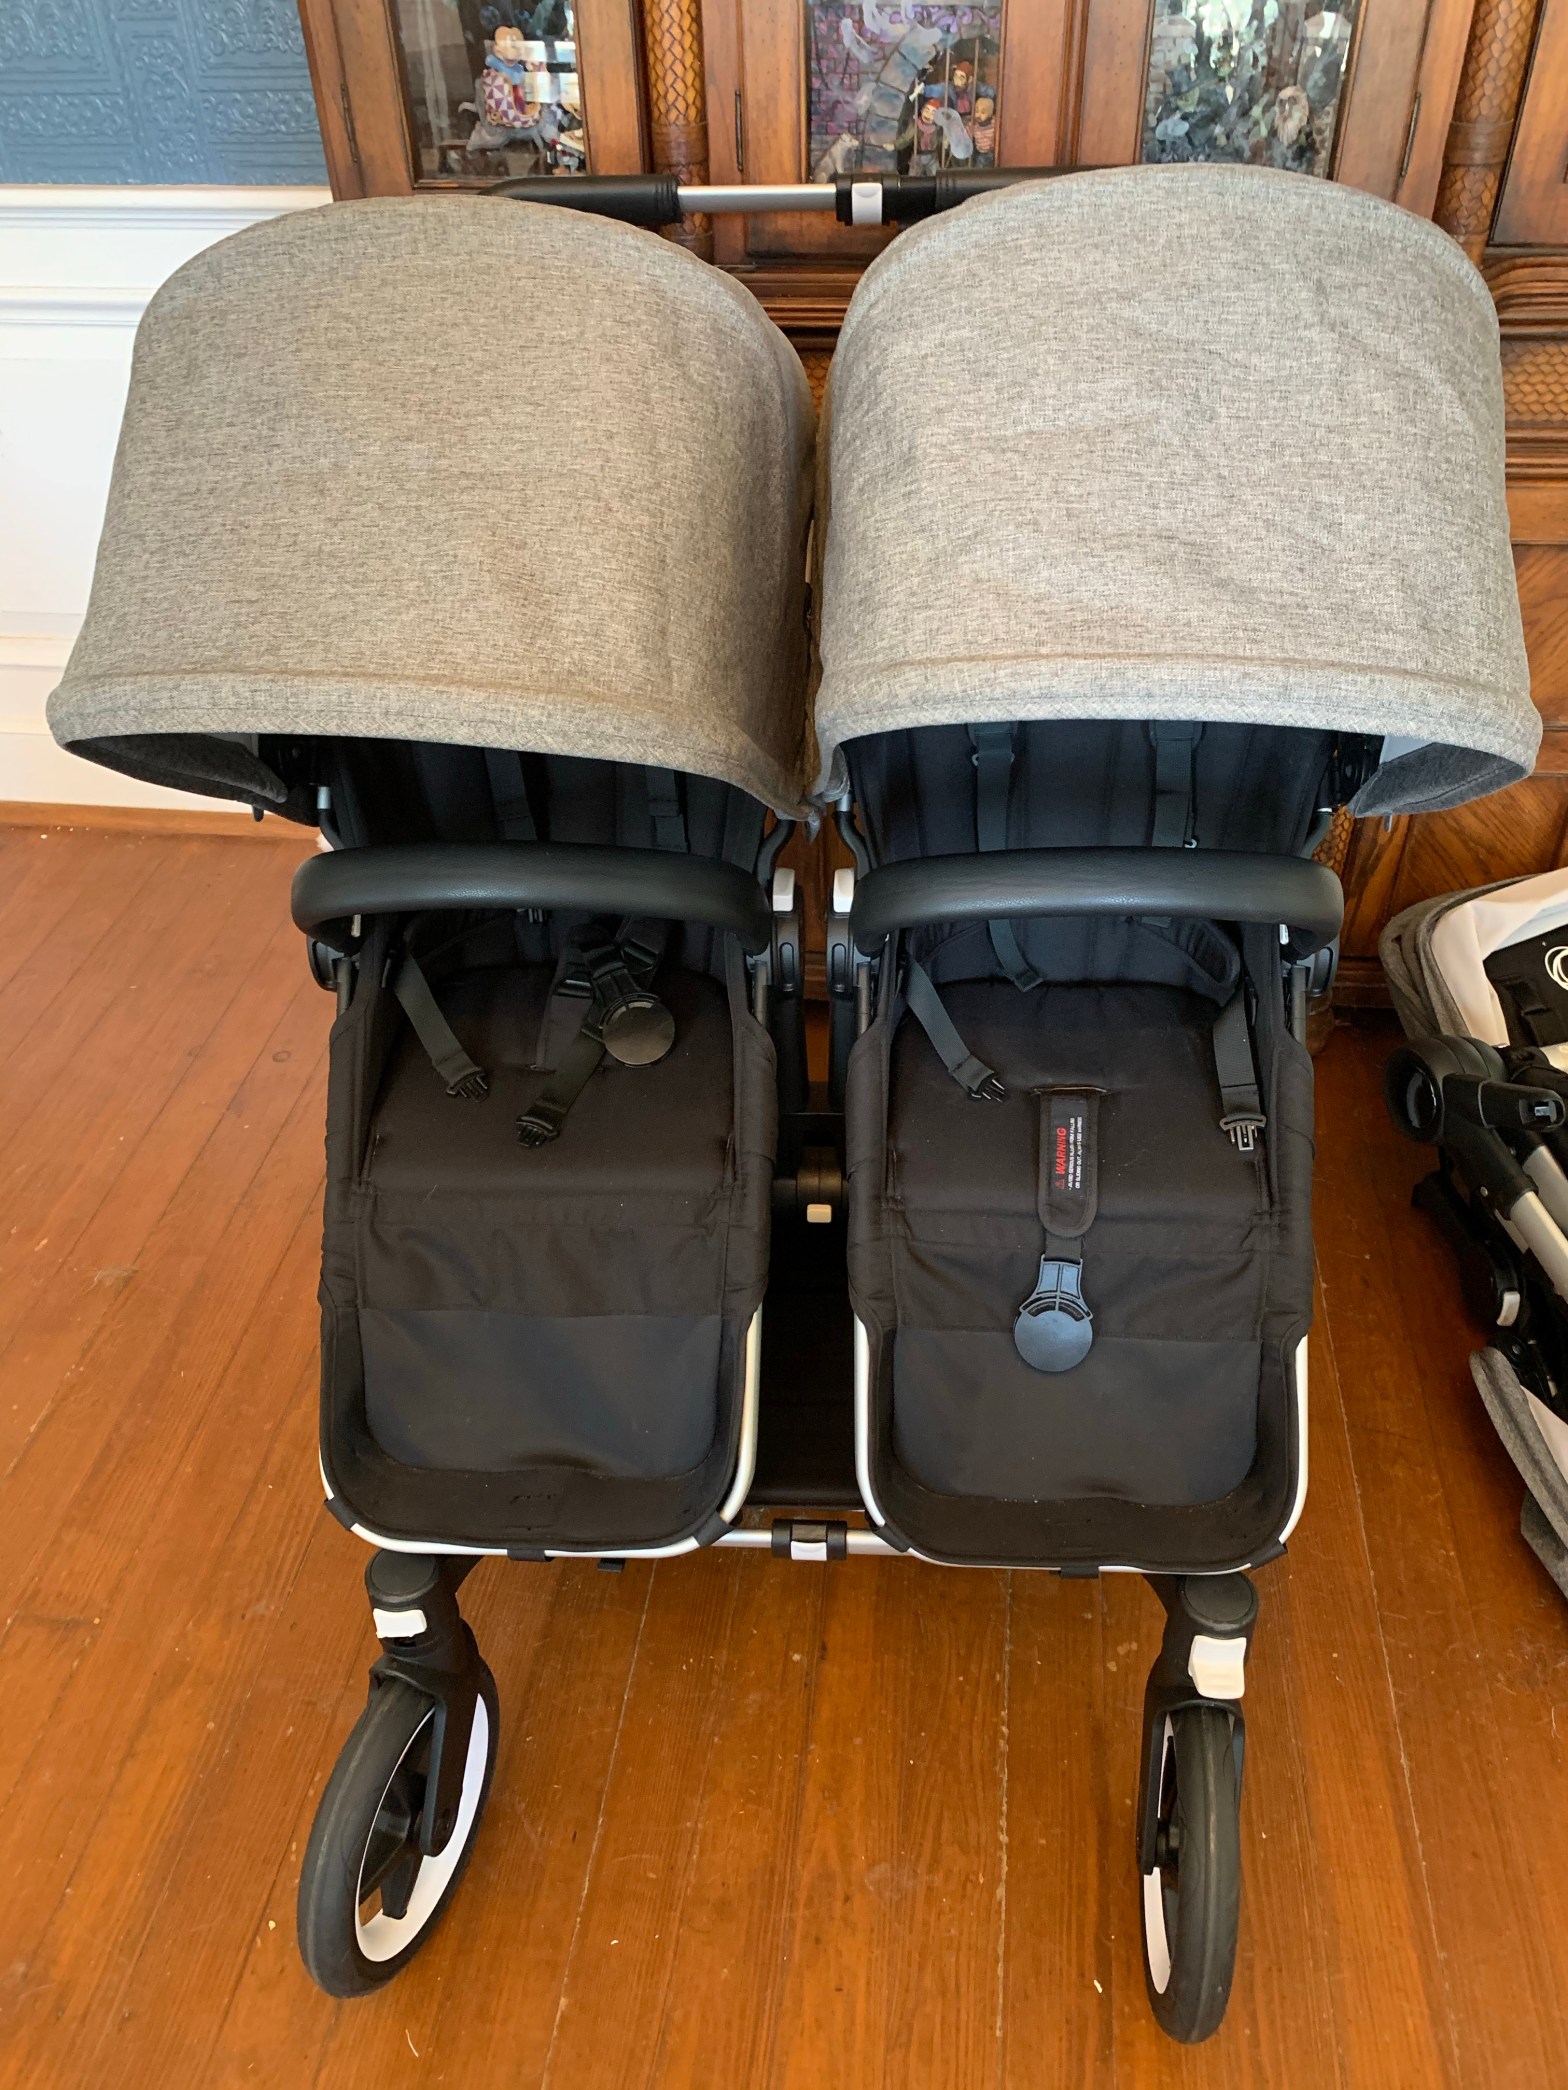
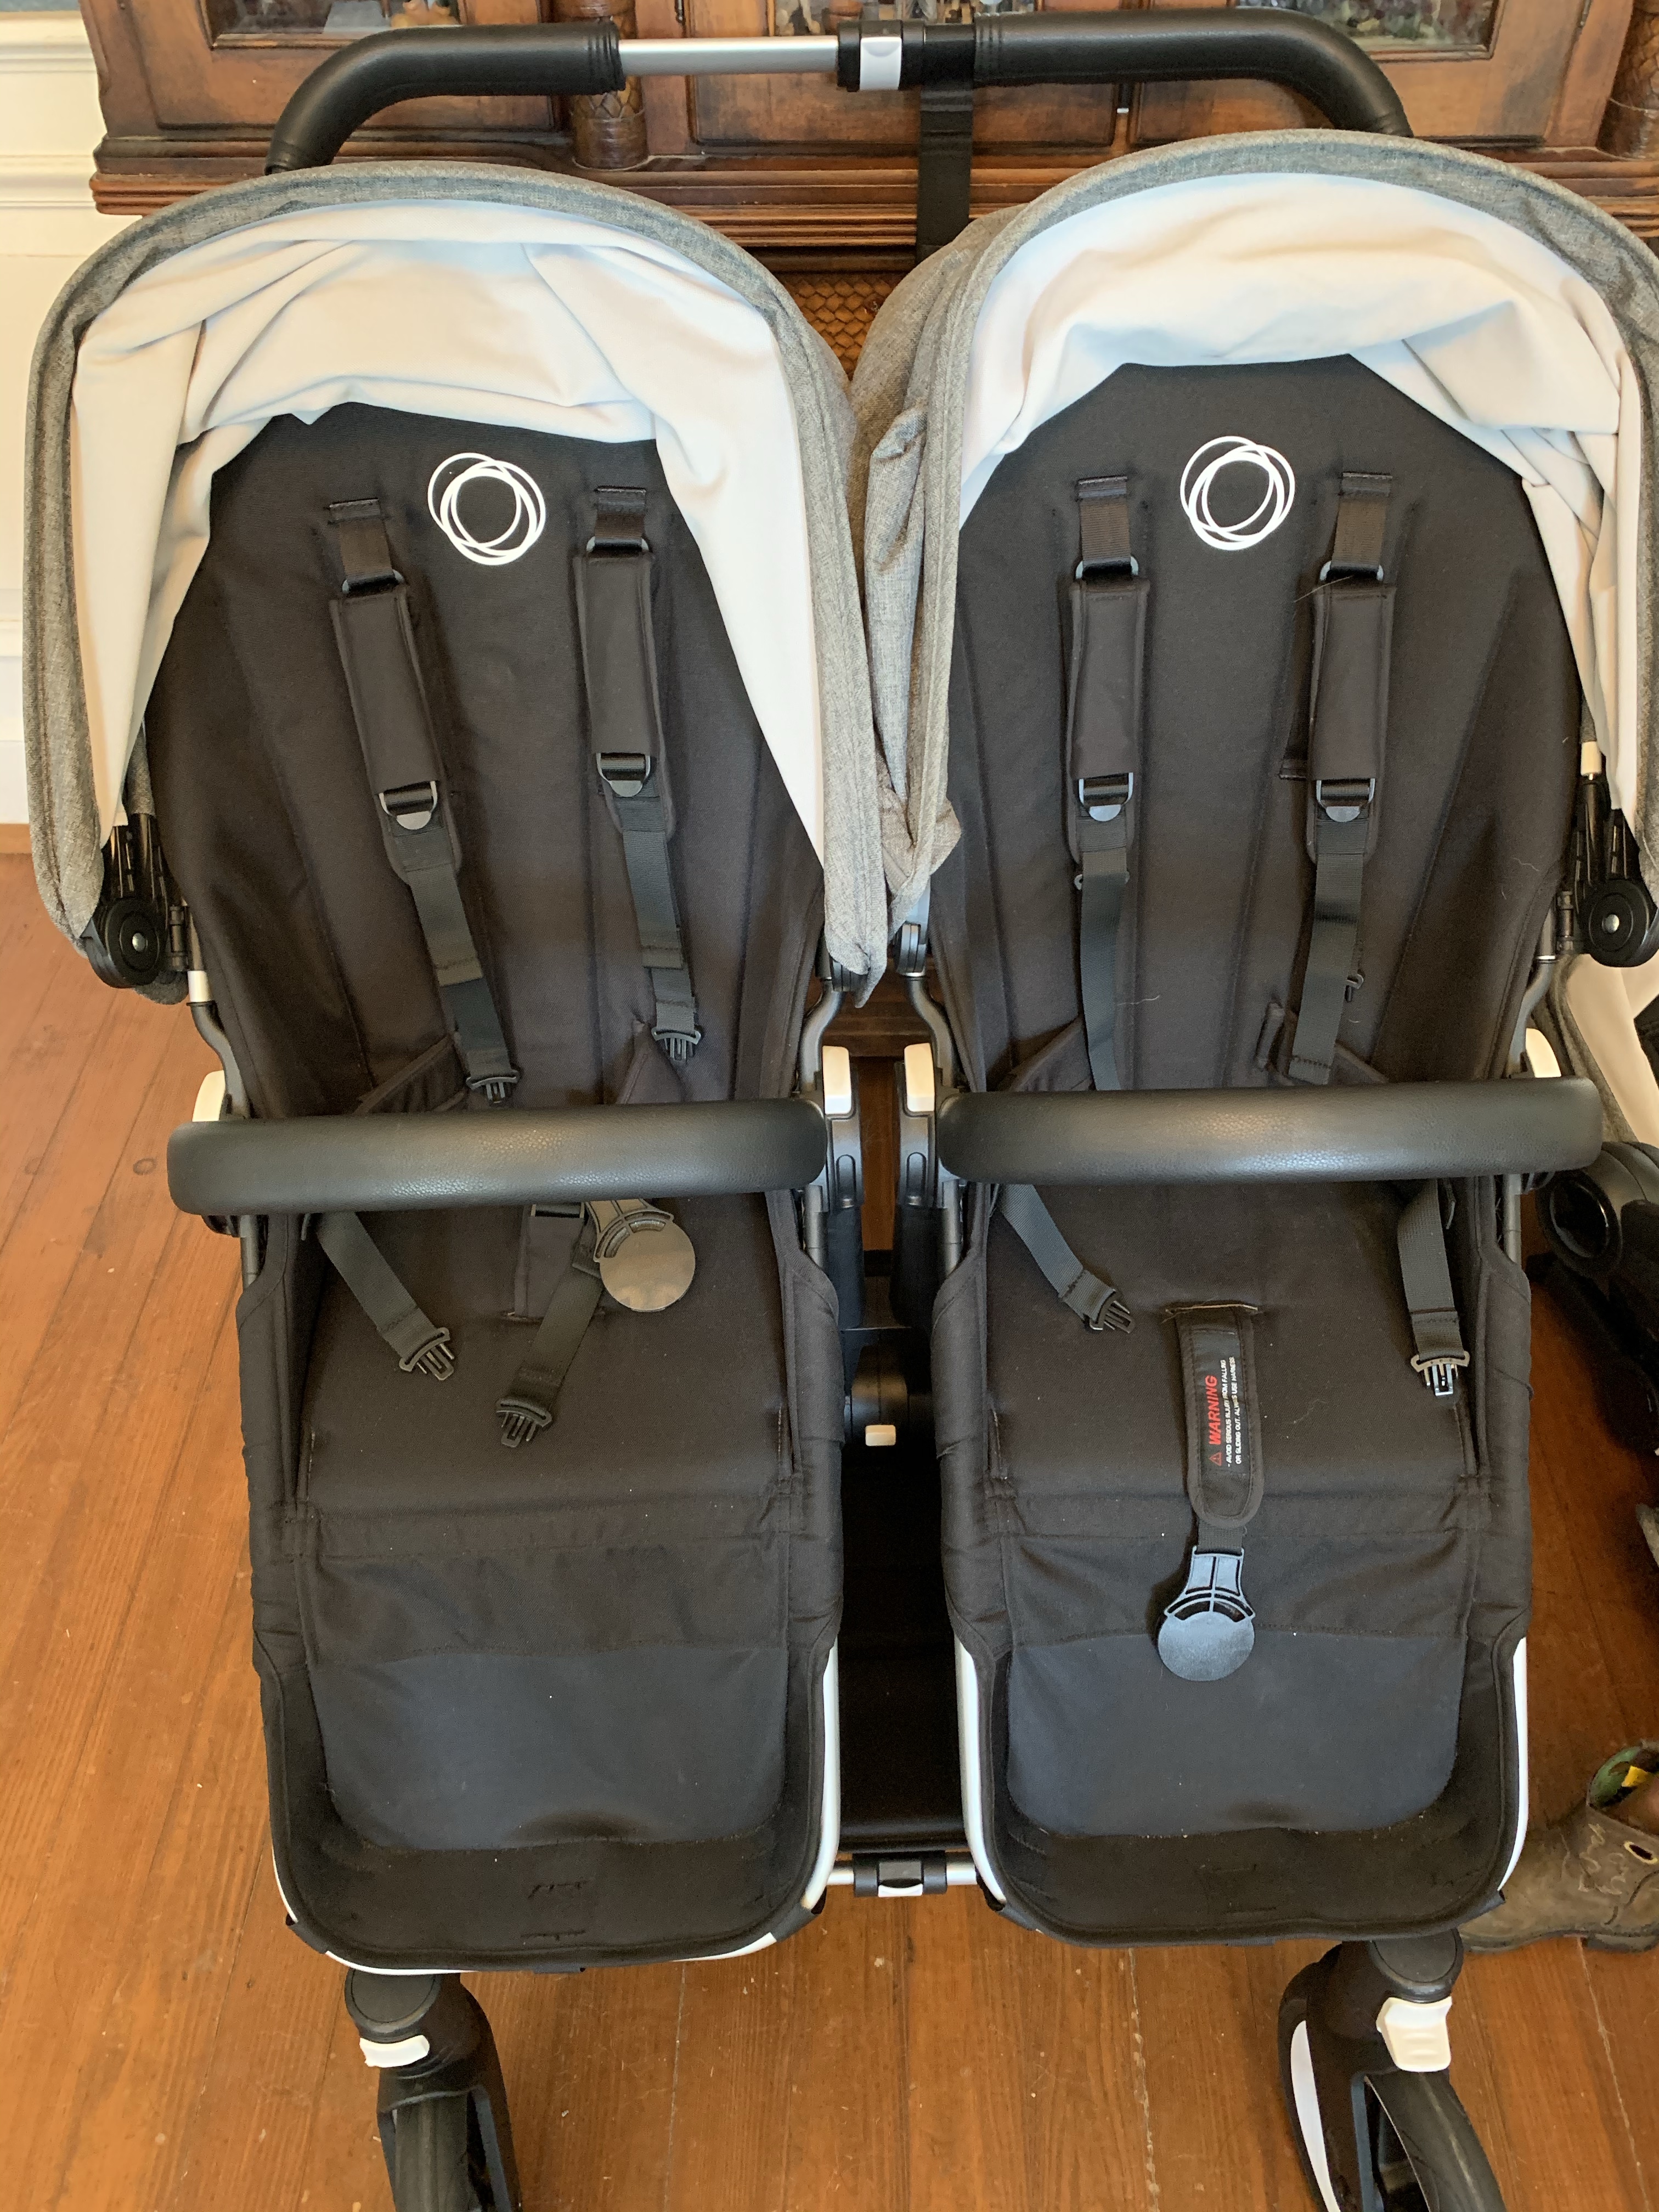
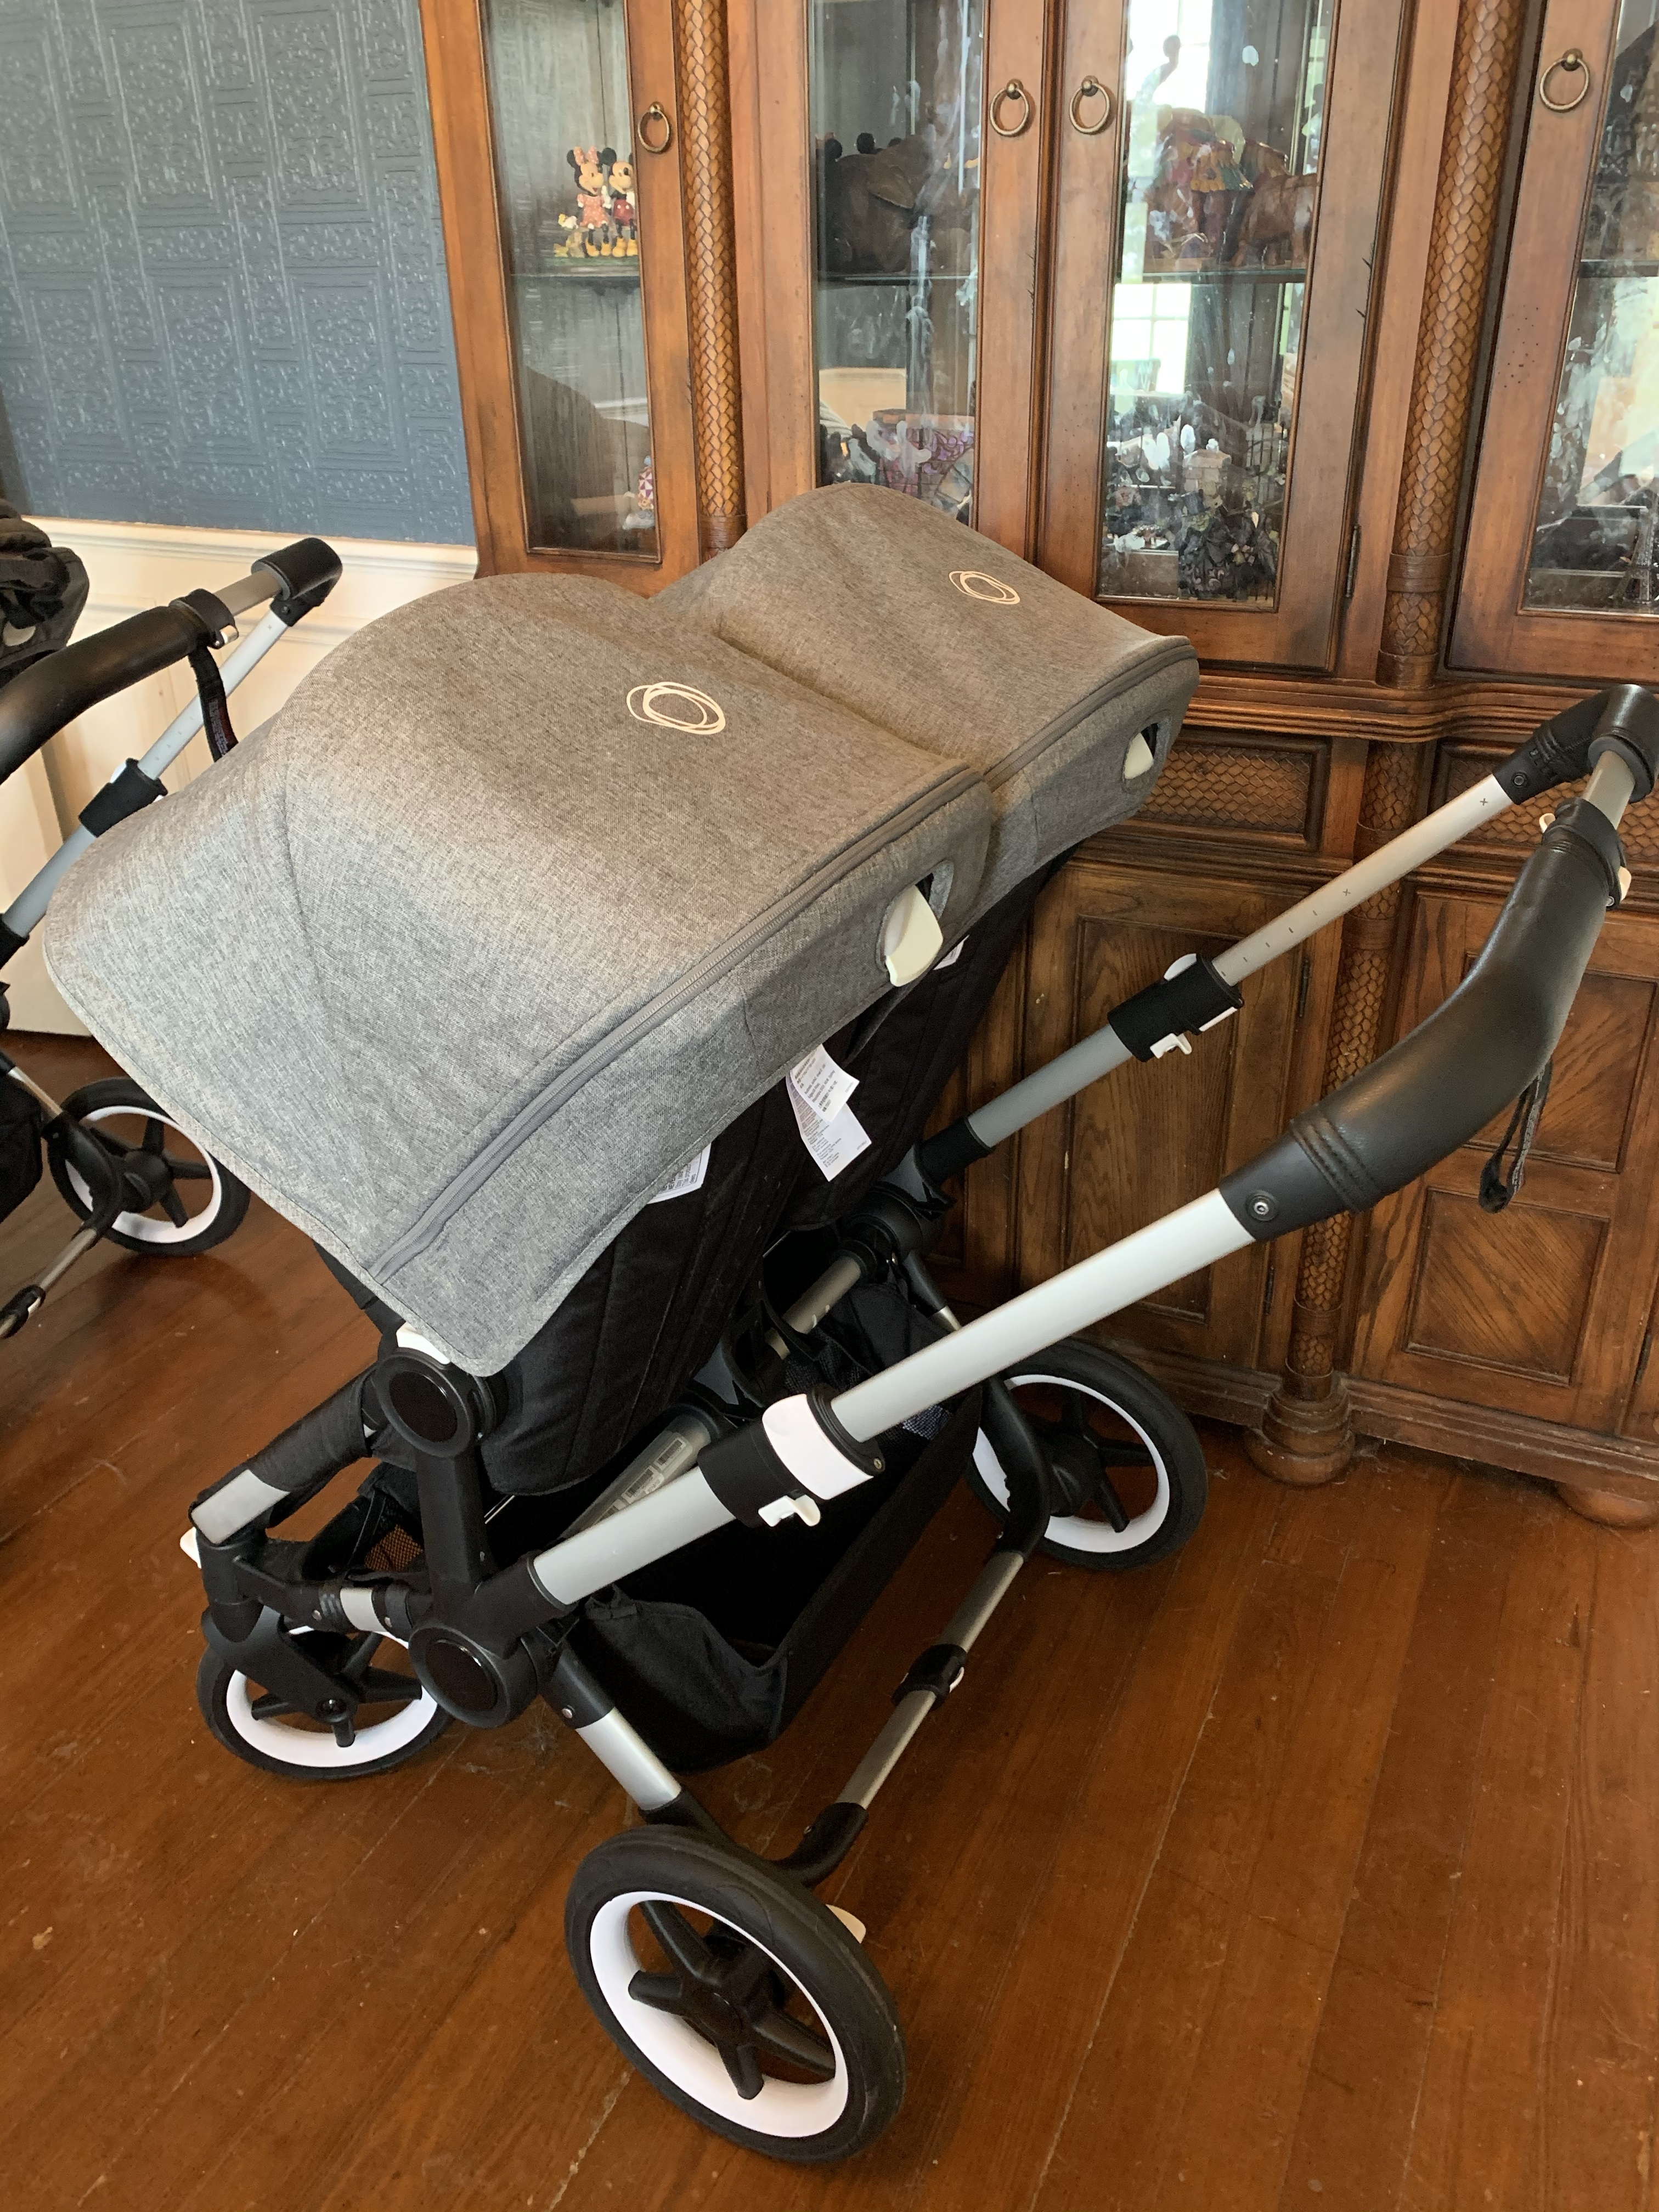
After much research I decided to purchase two Bugaboo Donkey2 Duo strollers. These strollers are extremely pricey, but I hoped it would be our last stroller purchase ever. Unfortunately this stroller was a major flop also. I intended to do a video along with this post but I put them up for sale the second we got back from Disney and they immediately both sold before I could get to making a video. I’m just happy to be rid of them though!

PROS:

One of the main reasons I liked the Donkey and thought it would be our last stroller purchase was because it converts from a single stroller to a double stroller and also has an awesome glider board with a seat for a third kid.

The toddler seats hold up to 50lbs each and fully recline for sleeping littles

Comes with 1 bassinet attachment for newborns and tiny babies.

Huge multistage sun canopy for optimal sun coverage

Adjustable height handle bar comes up plenty tall enough for Andrew and I both to comfortably push.

Narrow! For a full size double stroller the frame is narrow and you will have no trouble fitting through single doorways.

5 point harness. I actually never buckle my kids in because that’s a waste of time they all know how to get out but I know this is an important feature to a lot of people and I would want the 5pt harness if I had a smaller baby.

CONS:

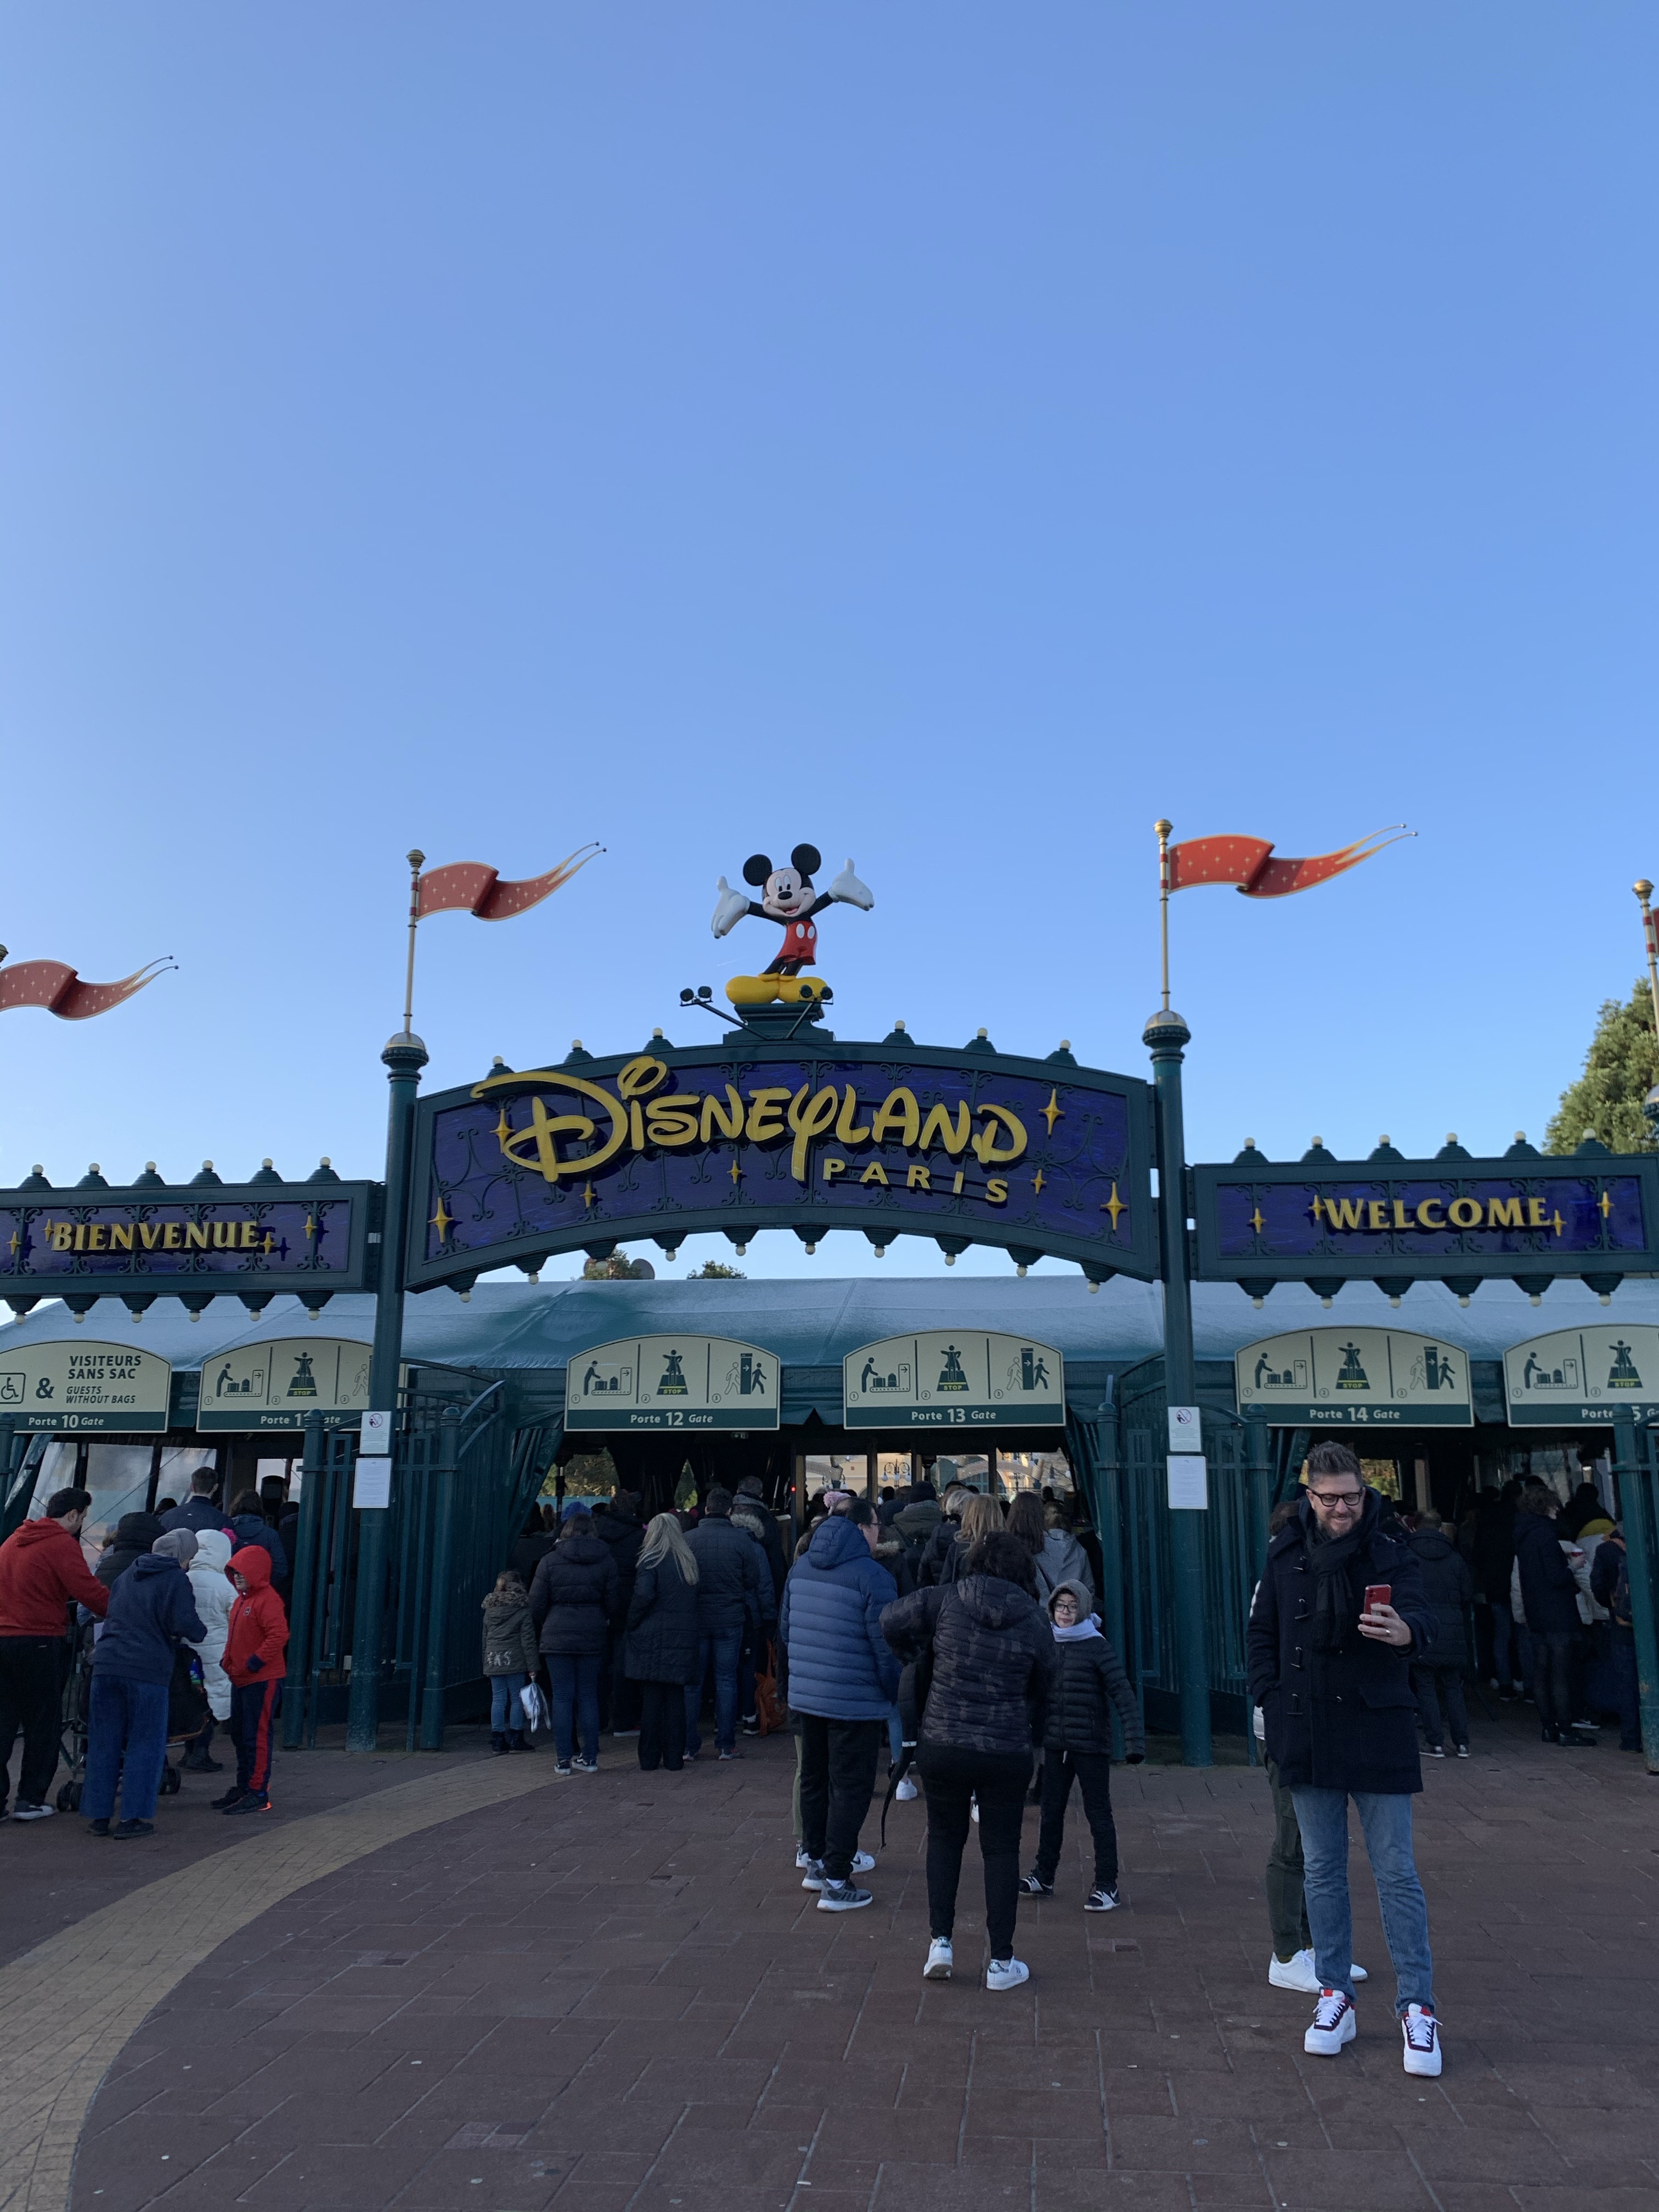
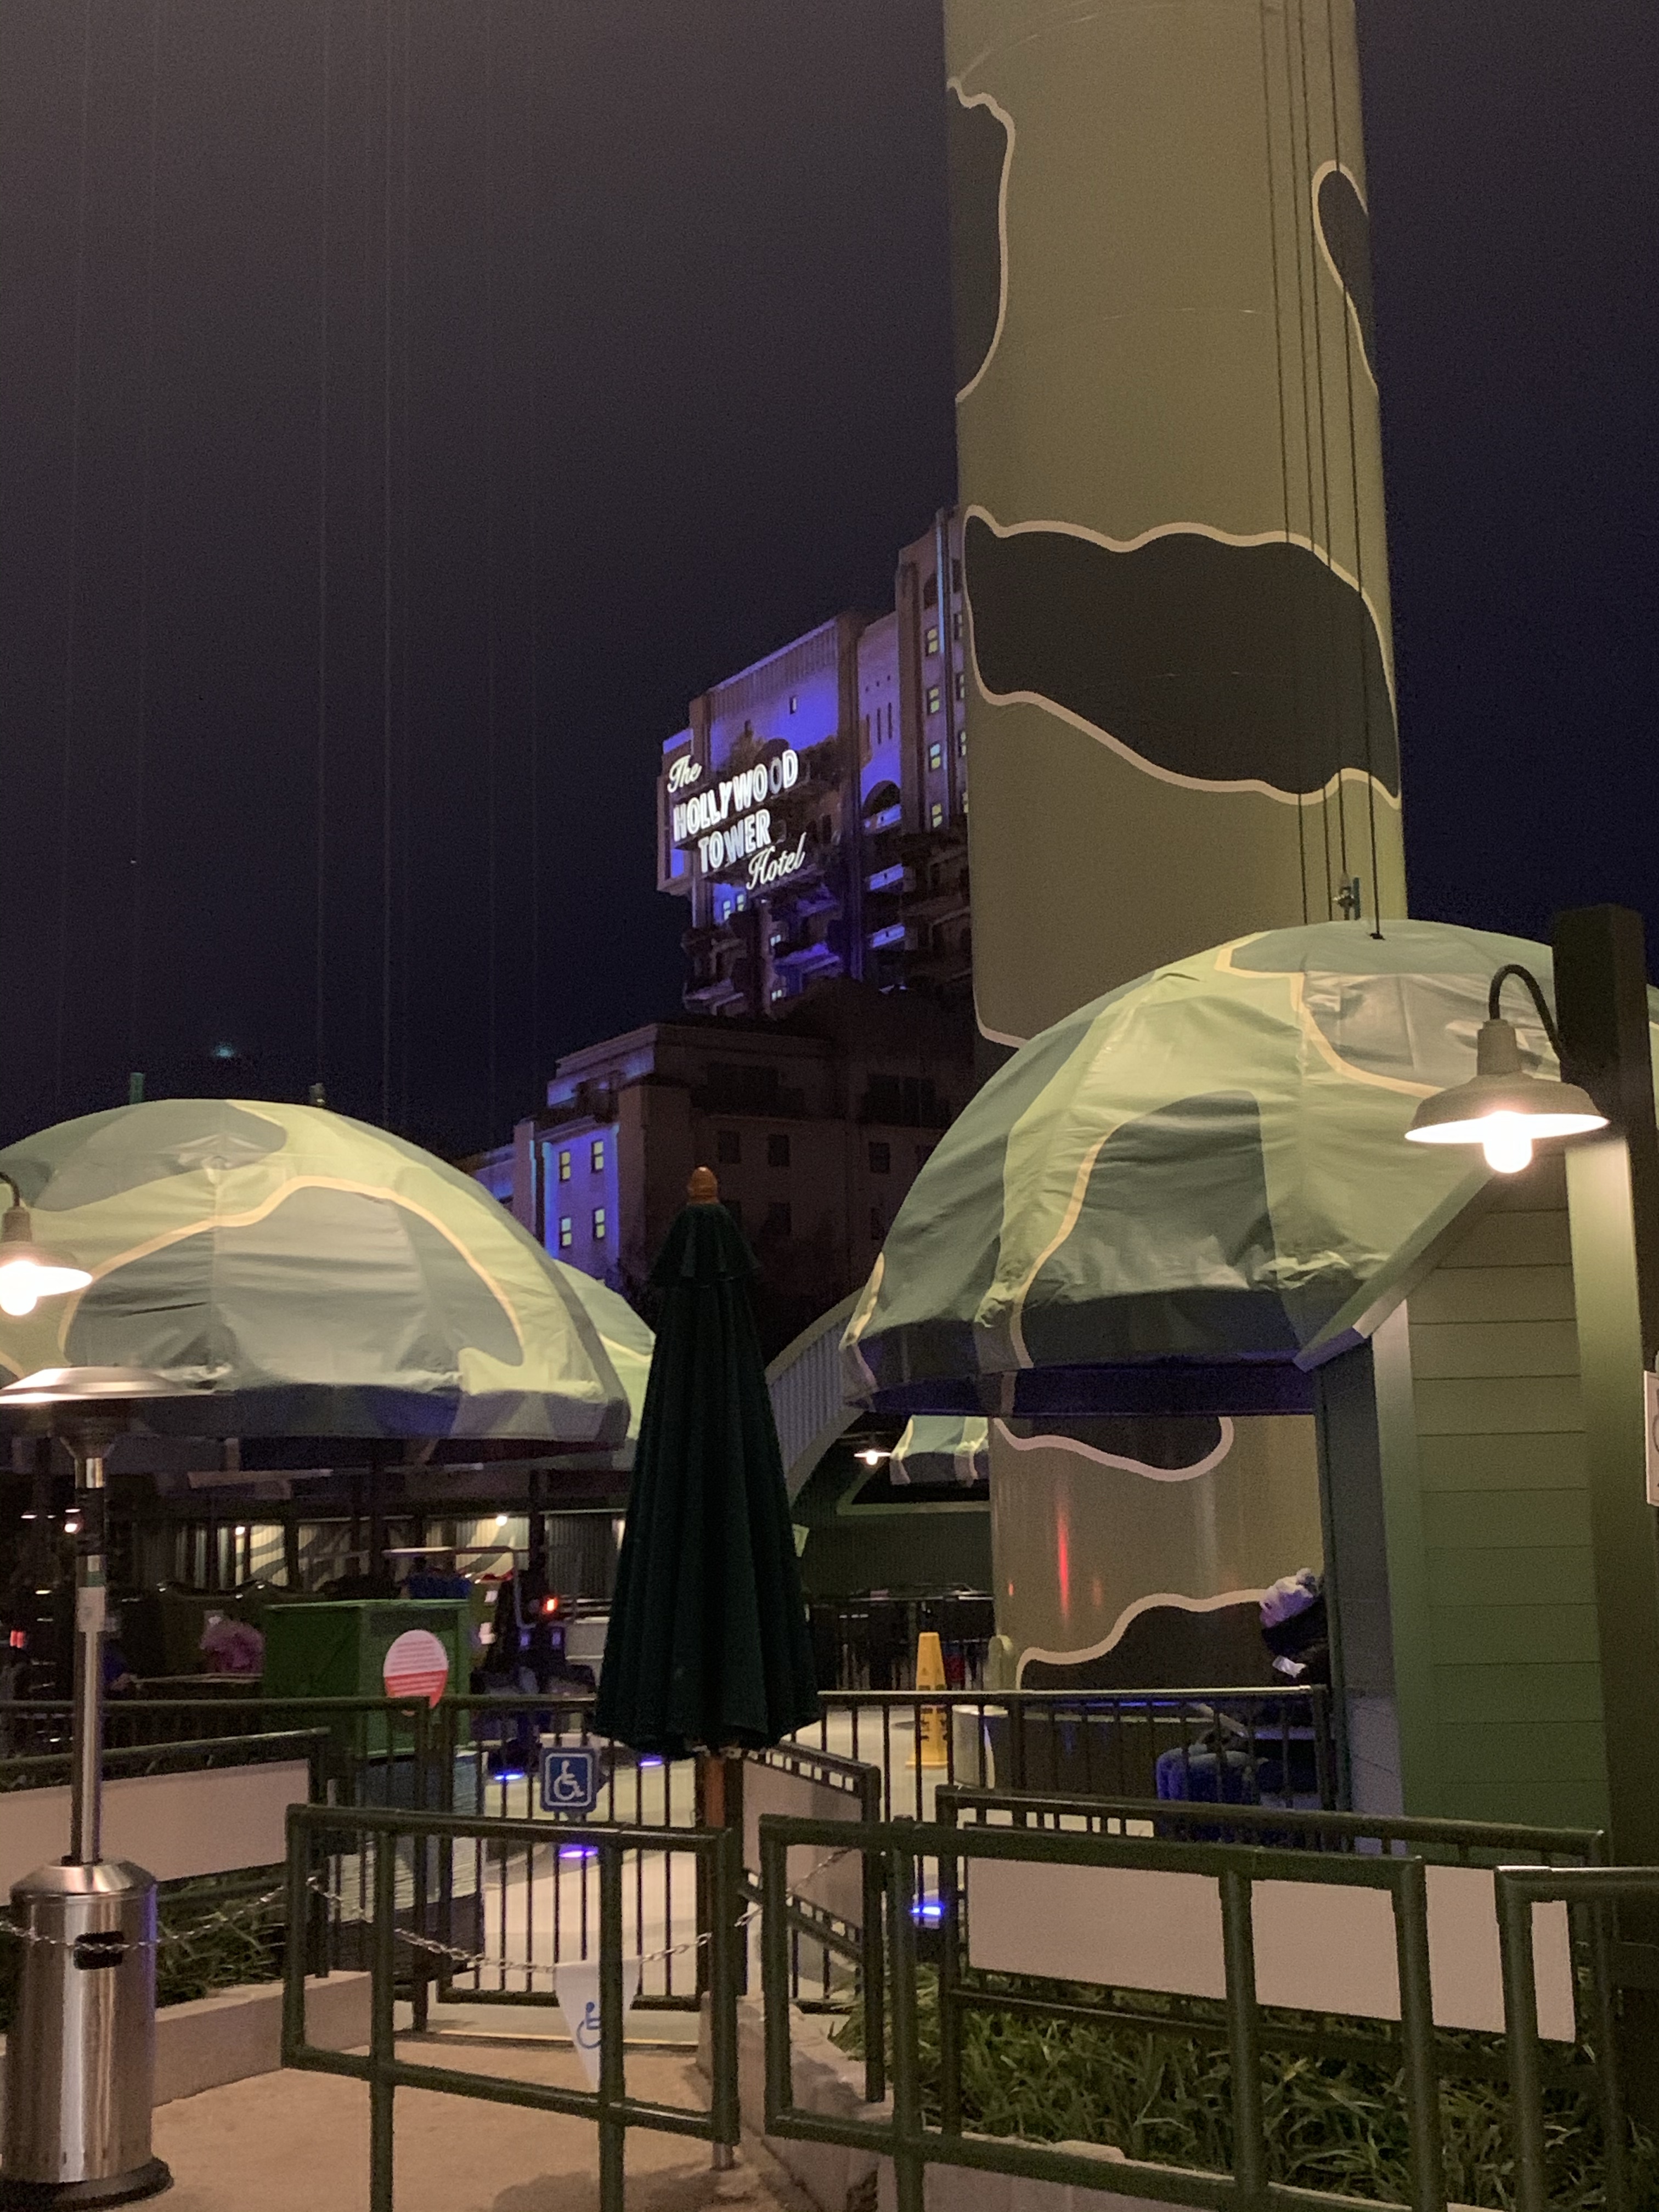
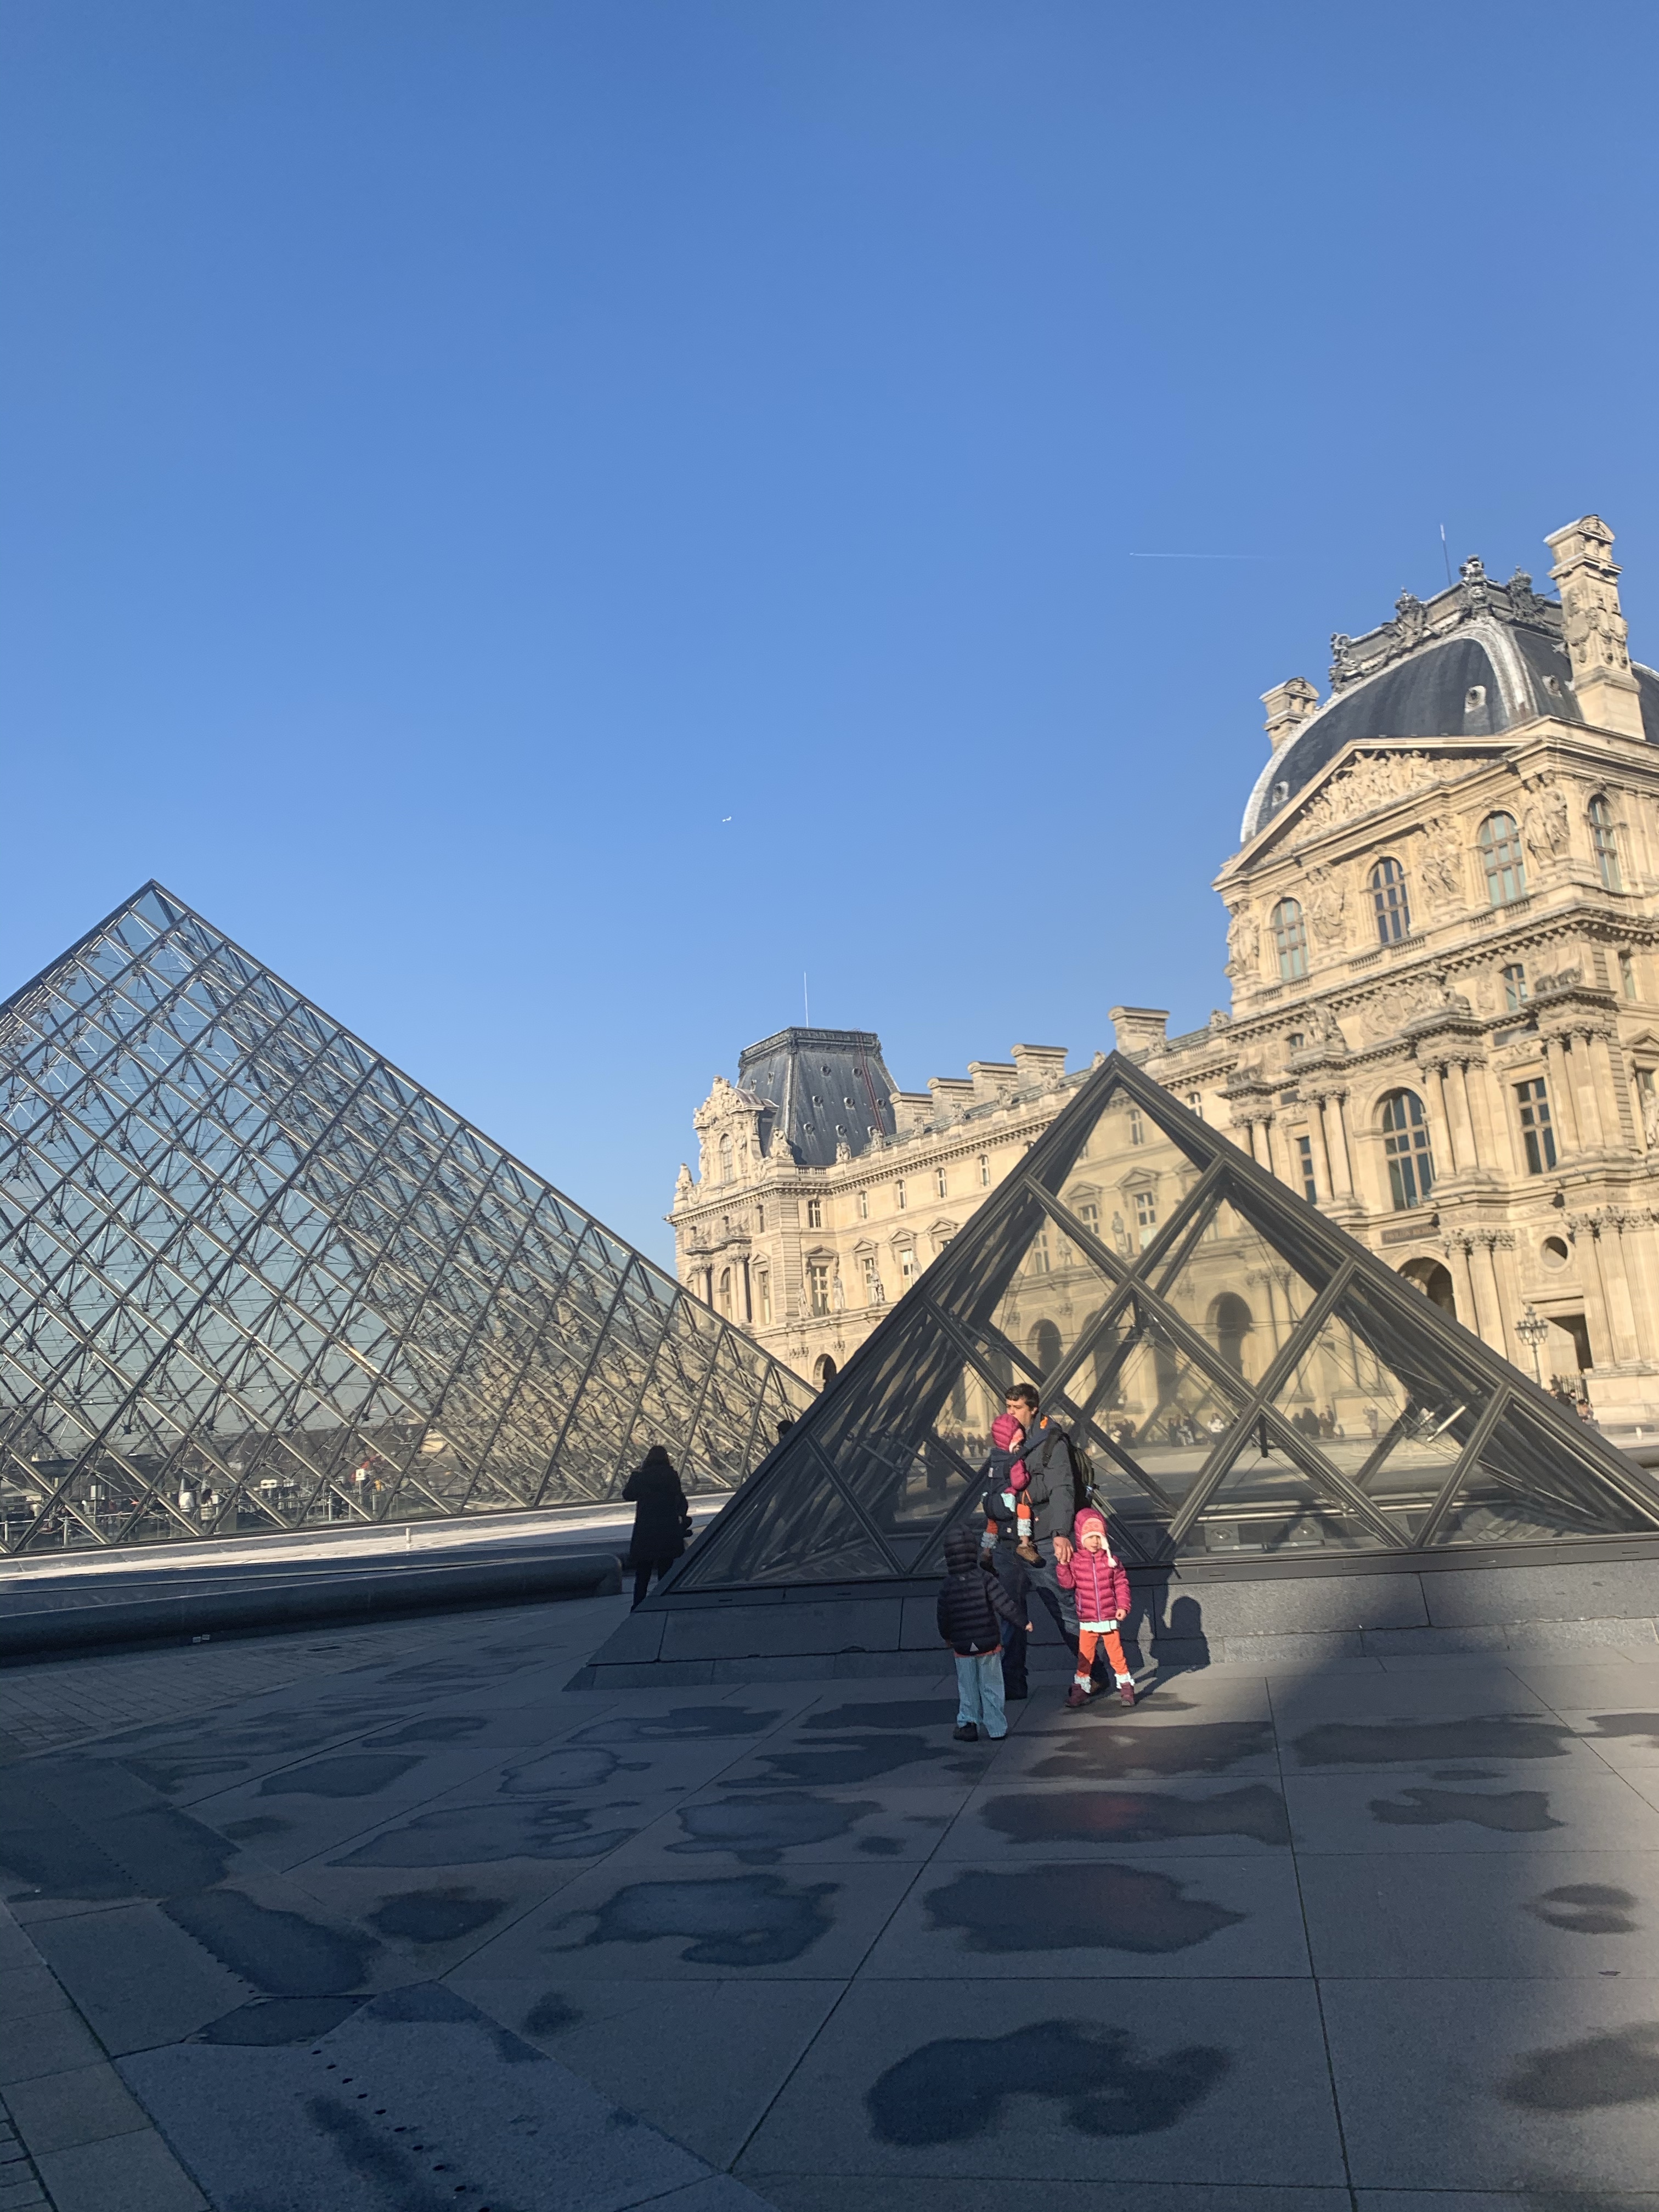
Huge and bulky! Since I couldn’t actually see this stroller in person before buying it I had to rely on dimensions posted online. I scoured the internet trying to find accurate dimensions of this stroller and even emailed customer service to get dimensions and weight with both seats attached, folded up, and all wheels attached. Ultimately the dimensions i was given from Bugaboo were not accurate. I was given dimensions of the stroller broken down so I was deceived into thinking it was smaller than it is. This stroller does not fold up well at all. Unless you remove both the seats, put it into single mode, and remove all the wheels, it is HUGE! It will not fit through the back half of the Disney buses. I’m SO GLAD we went to Disney during COVID-19 because the buses were empty and it wasn’t an issue for us to need to sit in the wheelchair spot for our strollers to even fit on the dang bus! It was such a nightmare having these strollers at Disney and having to fold them up. They also take up so much space in the back of my Yukon XL. I can’t fit them in my trunk unless they are completely broken down with all the seats removed

Hard to fold/unfold! Folding these beasts is work! You have to unlock the handle bar, fold the handle bar all the way in, push and pull a button and lever on both sides of the stroller at the same time and then push the entire stroller frame down and together while holding those levers and buttons down. Once folded down it’s still humongous. Unfolding is just as bad. You have to push the 2 buttons on both sides while pulling up on the 2 levers all at the same time while simultaneously pulling the stroller frame apart. If you don’t do this just right the wheels will lock up and not fold all the way out. Then you have to unlock both sides of the handle bar and pull it back out.

HEAVY! Same as the size dimensions, the weight I was given was also not accurate. I could tell when we got it that it felt a lot heavier than even our new City Mini so I weighed it at home and sure enough it’s the heaviest stroller we’ve ever had.

Hard to maneuver. It’s very easy to push and make wide turns with but the handle bar is flimsy and short turns or quick moves are lost on it.

Flimsy seat recline. The handle that reclines the seats feels like it might break every time you touch it.

Cheaply made. For a very expensive stroller, it’s pretty junky. The front wheel brake piece broke off randomly one day just by being touched. Apparently this is a common issue because you can buy that replacement piece. The seat recline handle felt the same and overall the frame felt weak and flimsy.

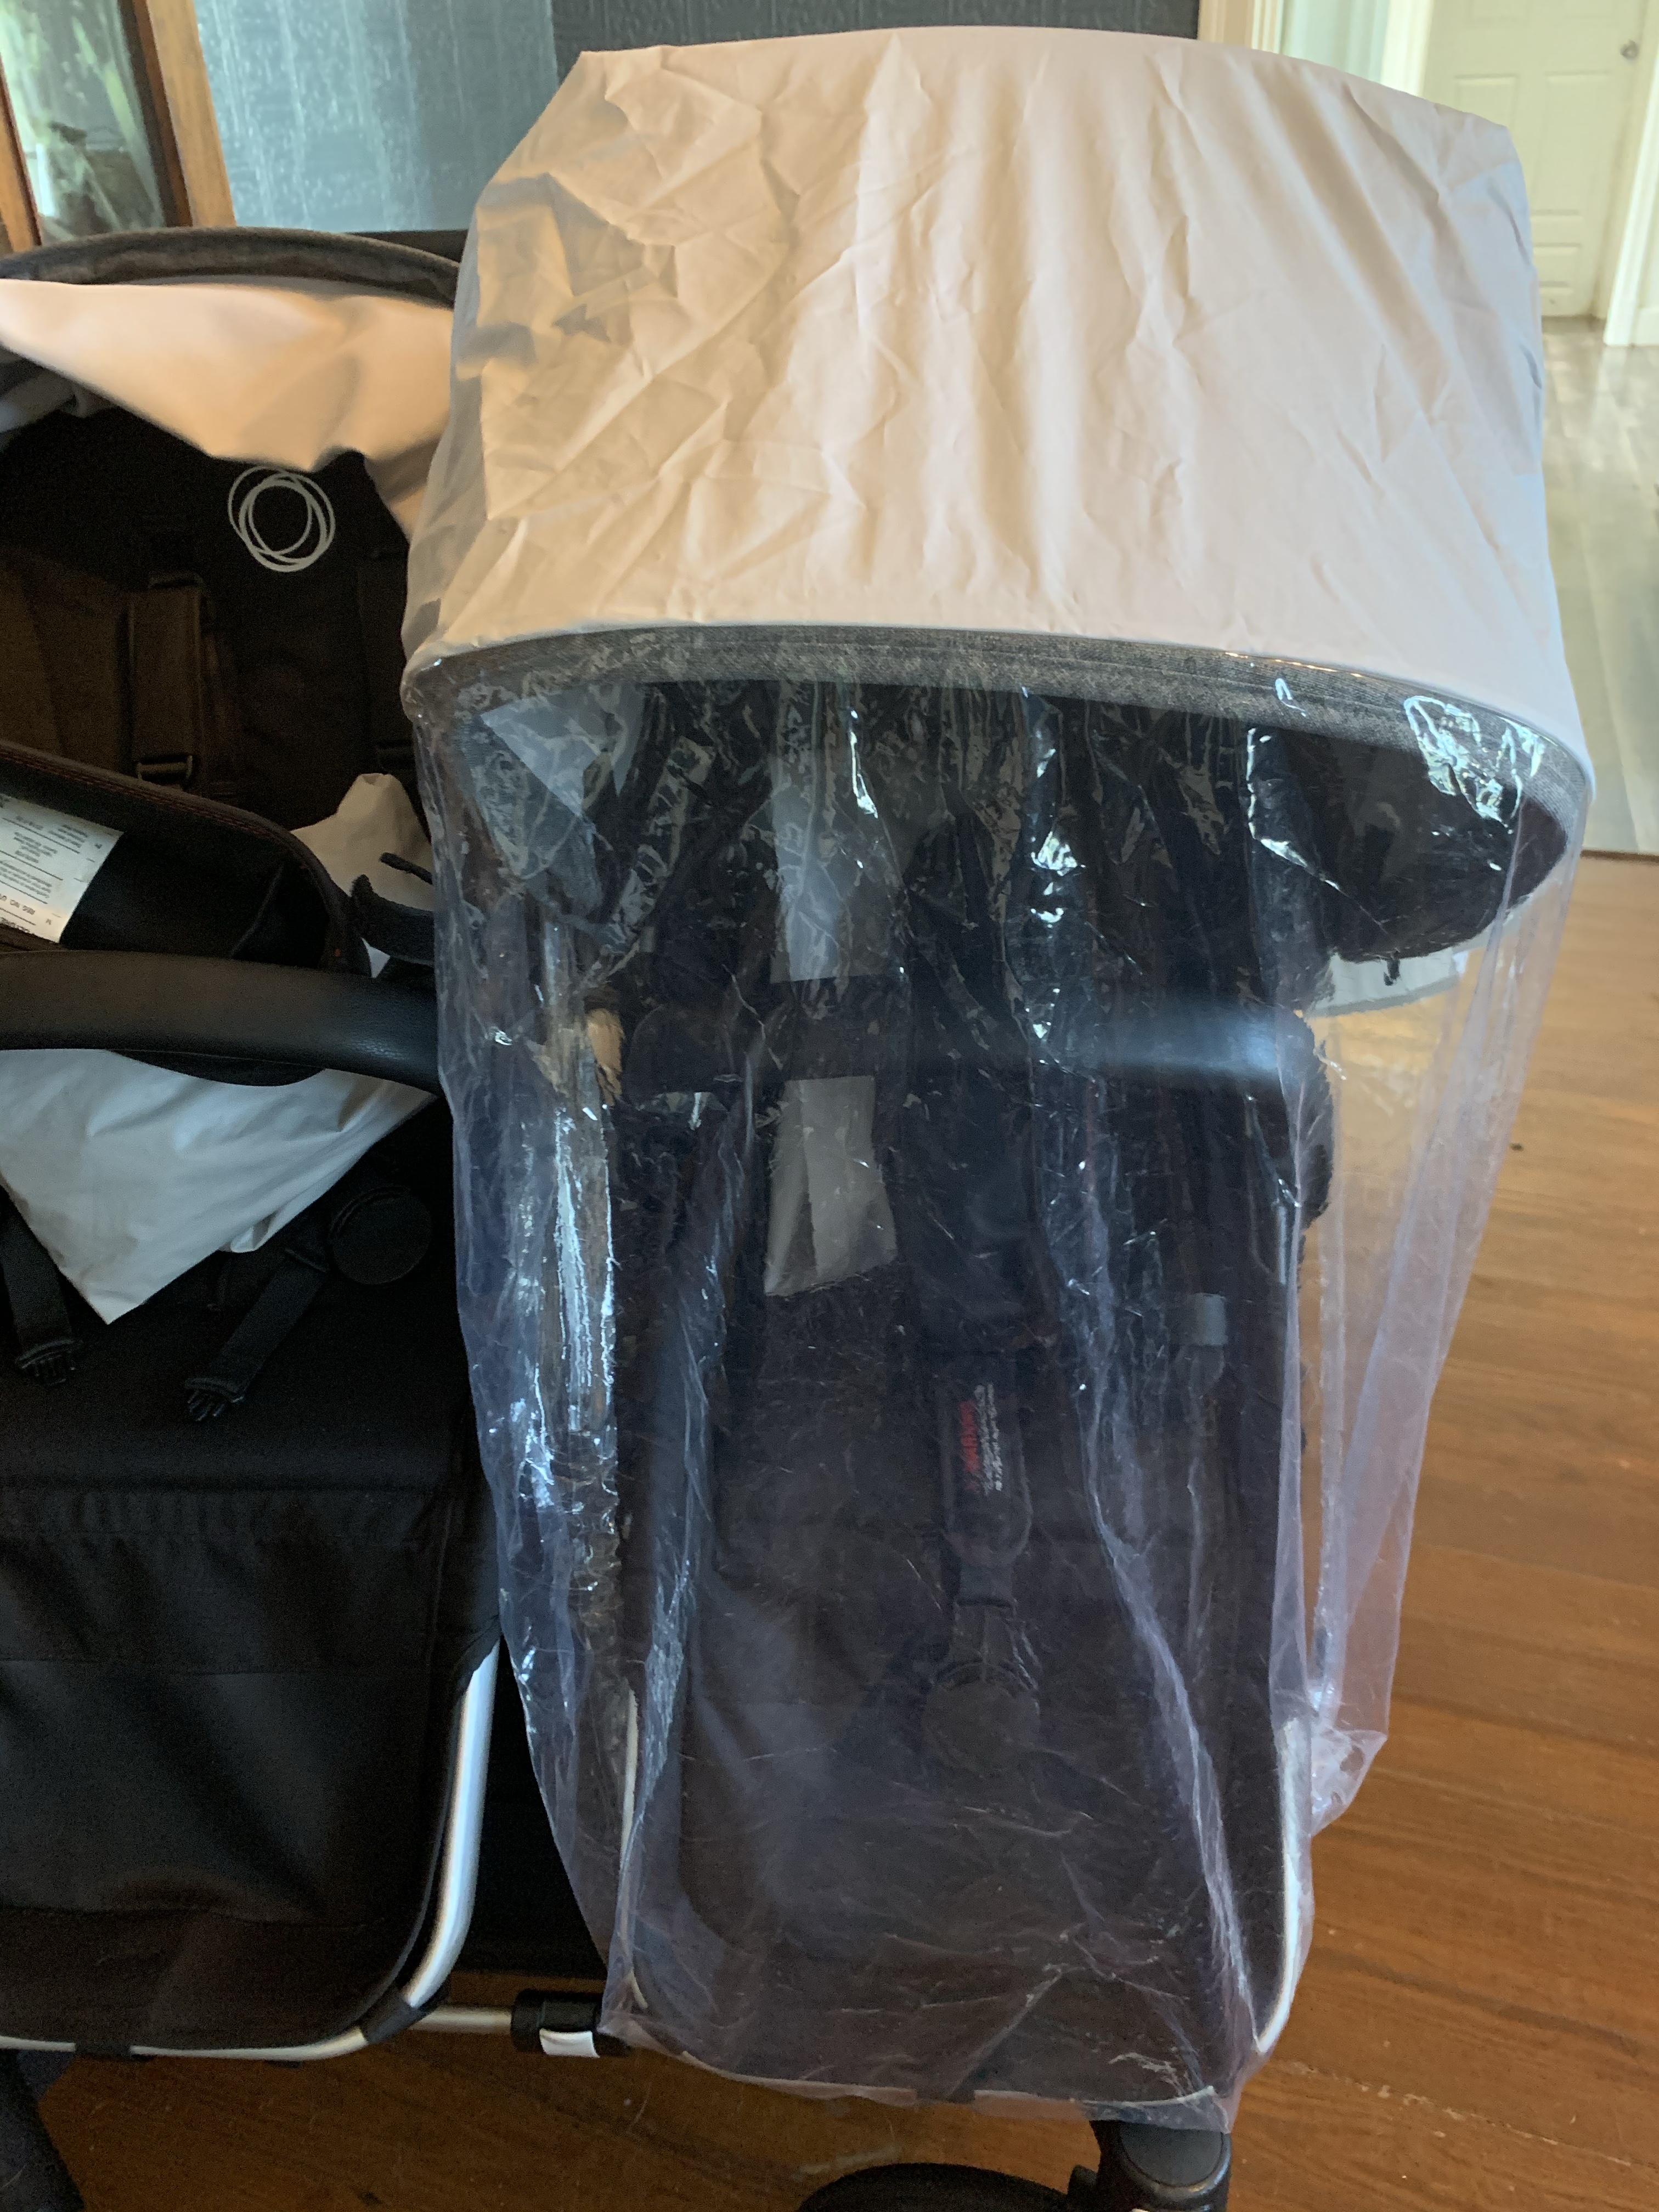
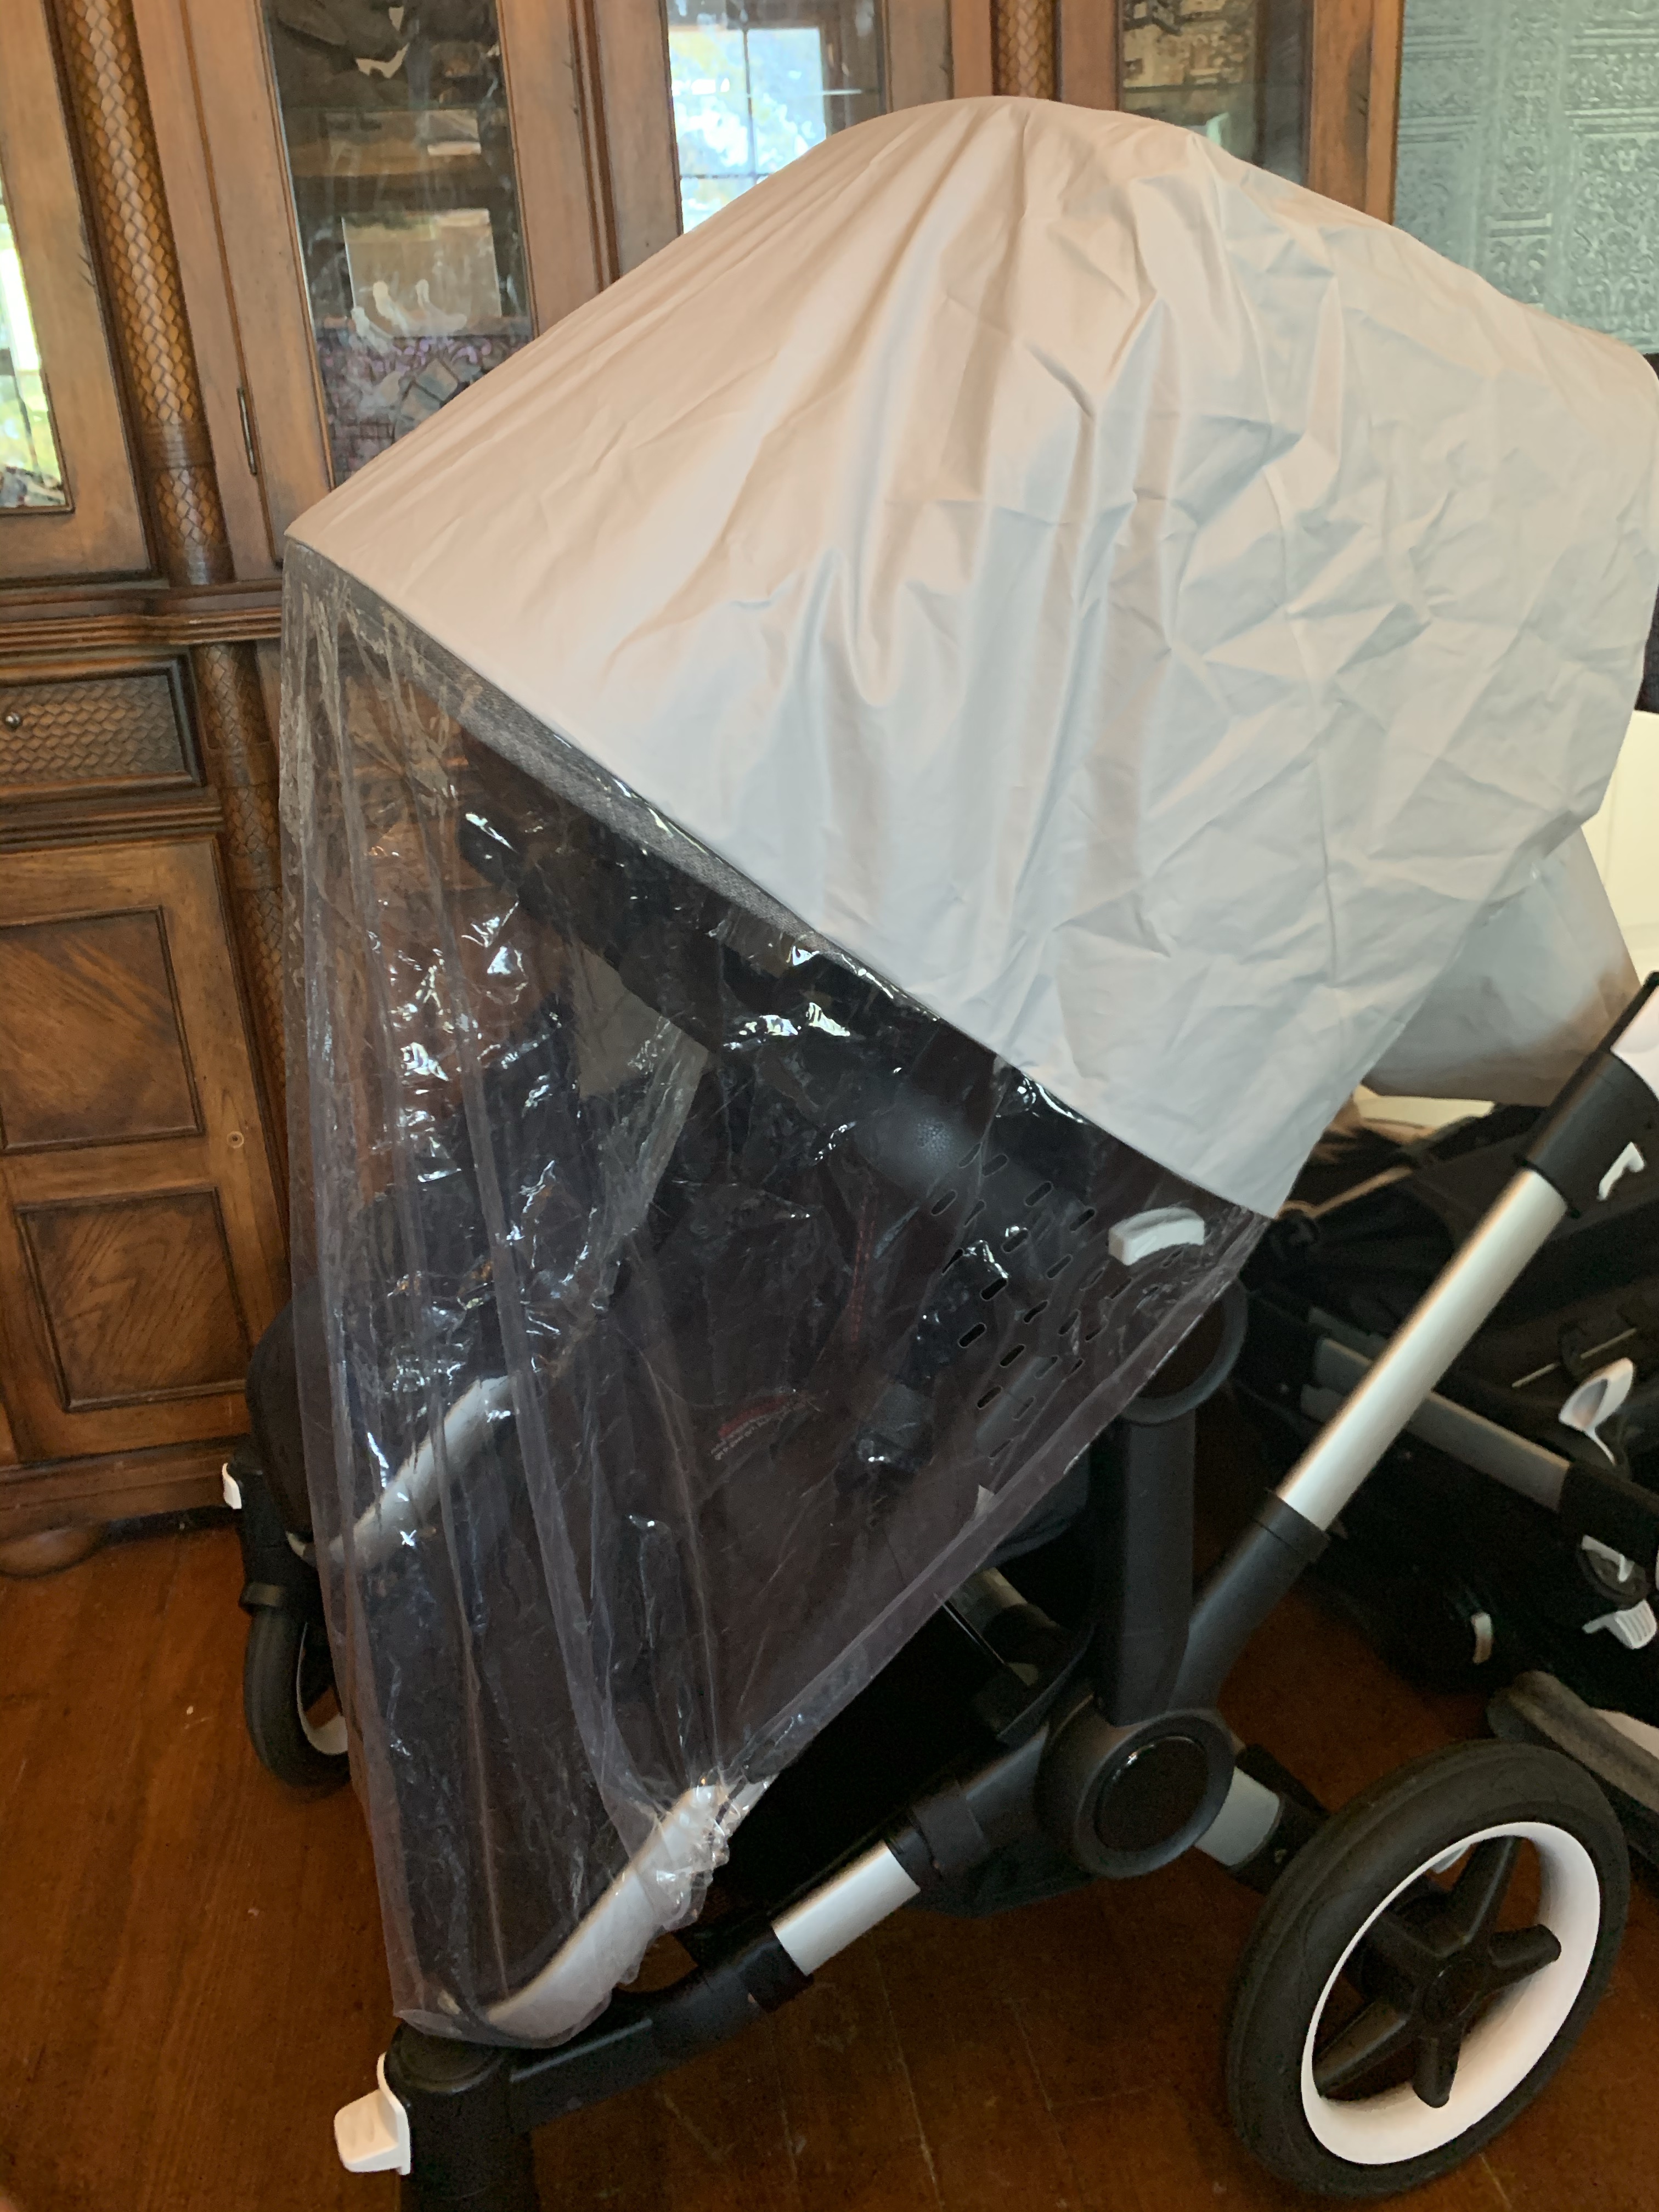
Rain cover only covers the actual child in the seat. This probably wouldn’t make a difference to most people if they didn’t know better but our other strollers had rain covers that covered the entire stroller including the handle bar organizer and under storage basket. The Donkey rain covers only cover the individual seats.

No parent consoles. Bugaboo does not make a good parent console or cup holders for this stroller. I returned the Bugaboo brand cup holder and organizer because they were useless. I ended up buying a different brand but it was still difficult to use.

Sun Canopies. The sun canopies only C-hook onto the frame so they fall off constantly. If you or a kid touches it, it falls off. If you need to fold the stroller, the canopies fall off. They also have no peakaboo window or ventilation.

Belly bars. This is a personal preference because I know some people like belly bars but these were such a pain for us! Our kids are capable of getting in and out by themselves but these belly bars are separated by seat so you have to pick the child up or take them off each time they need to get in or out because they’re small. I’d prefer not to have a belly bar at all.

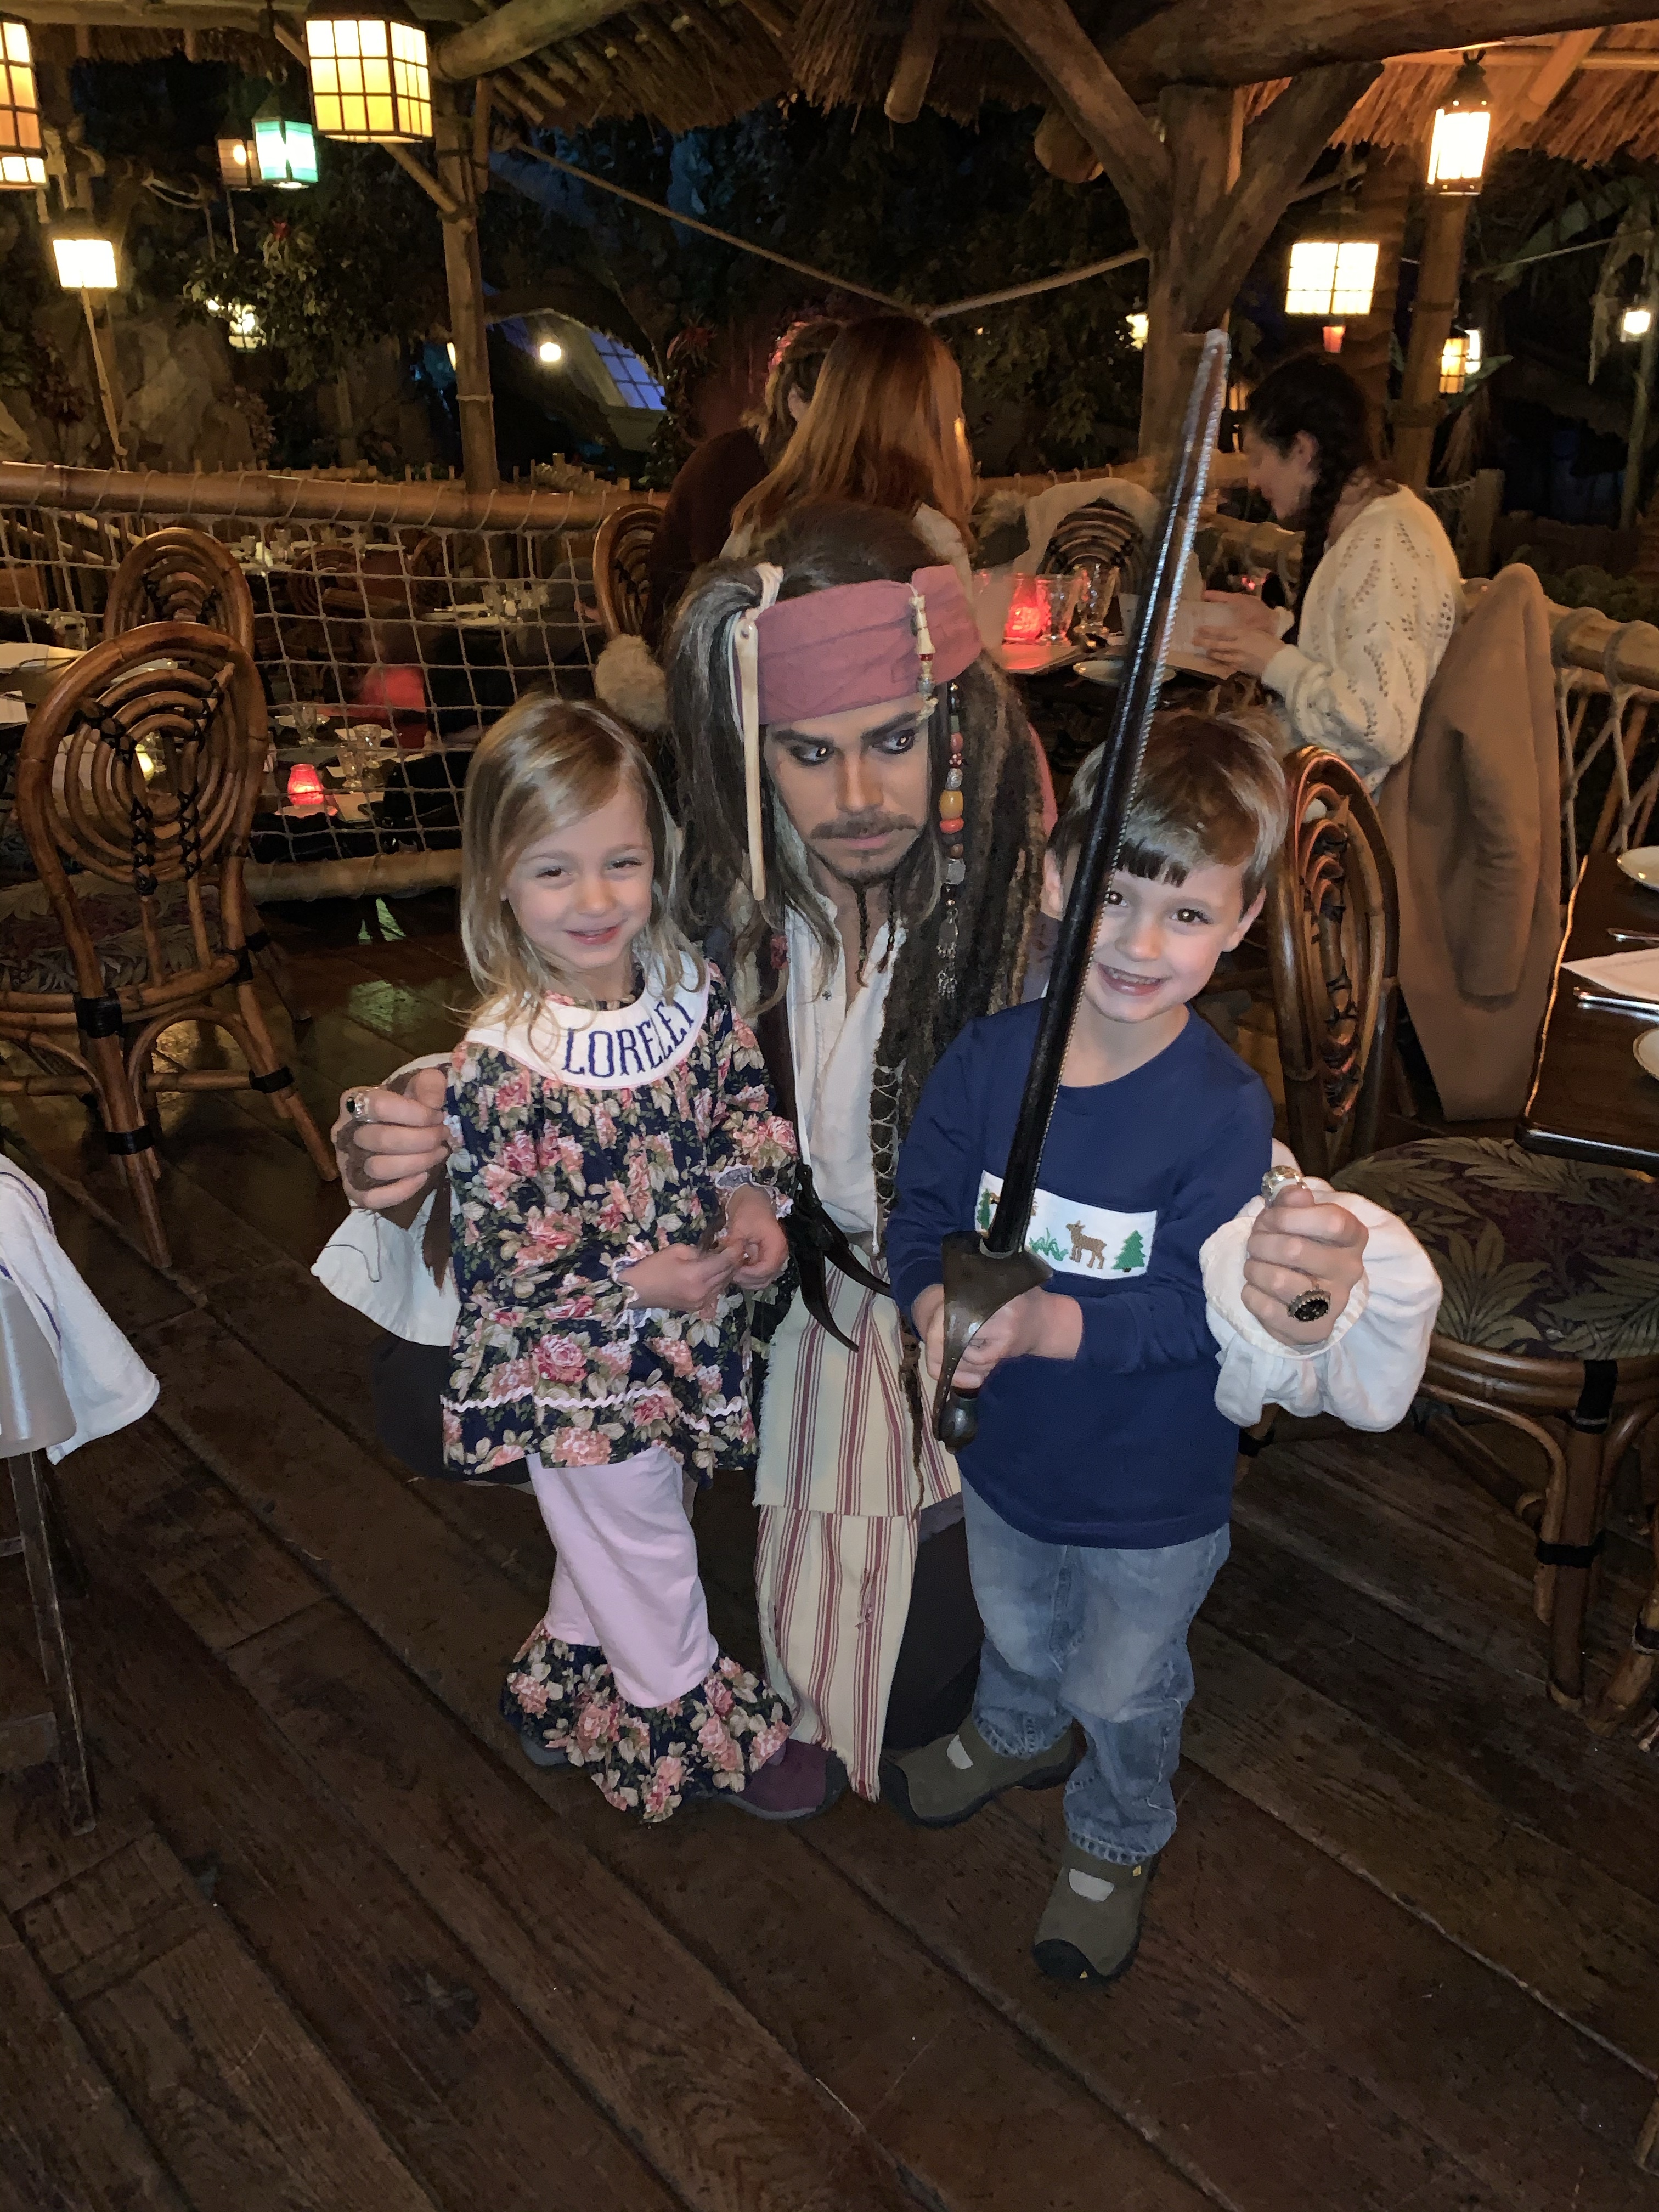
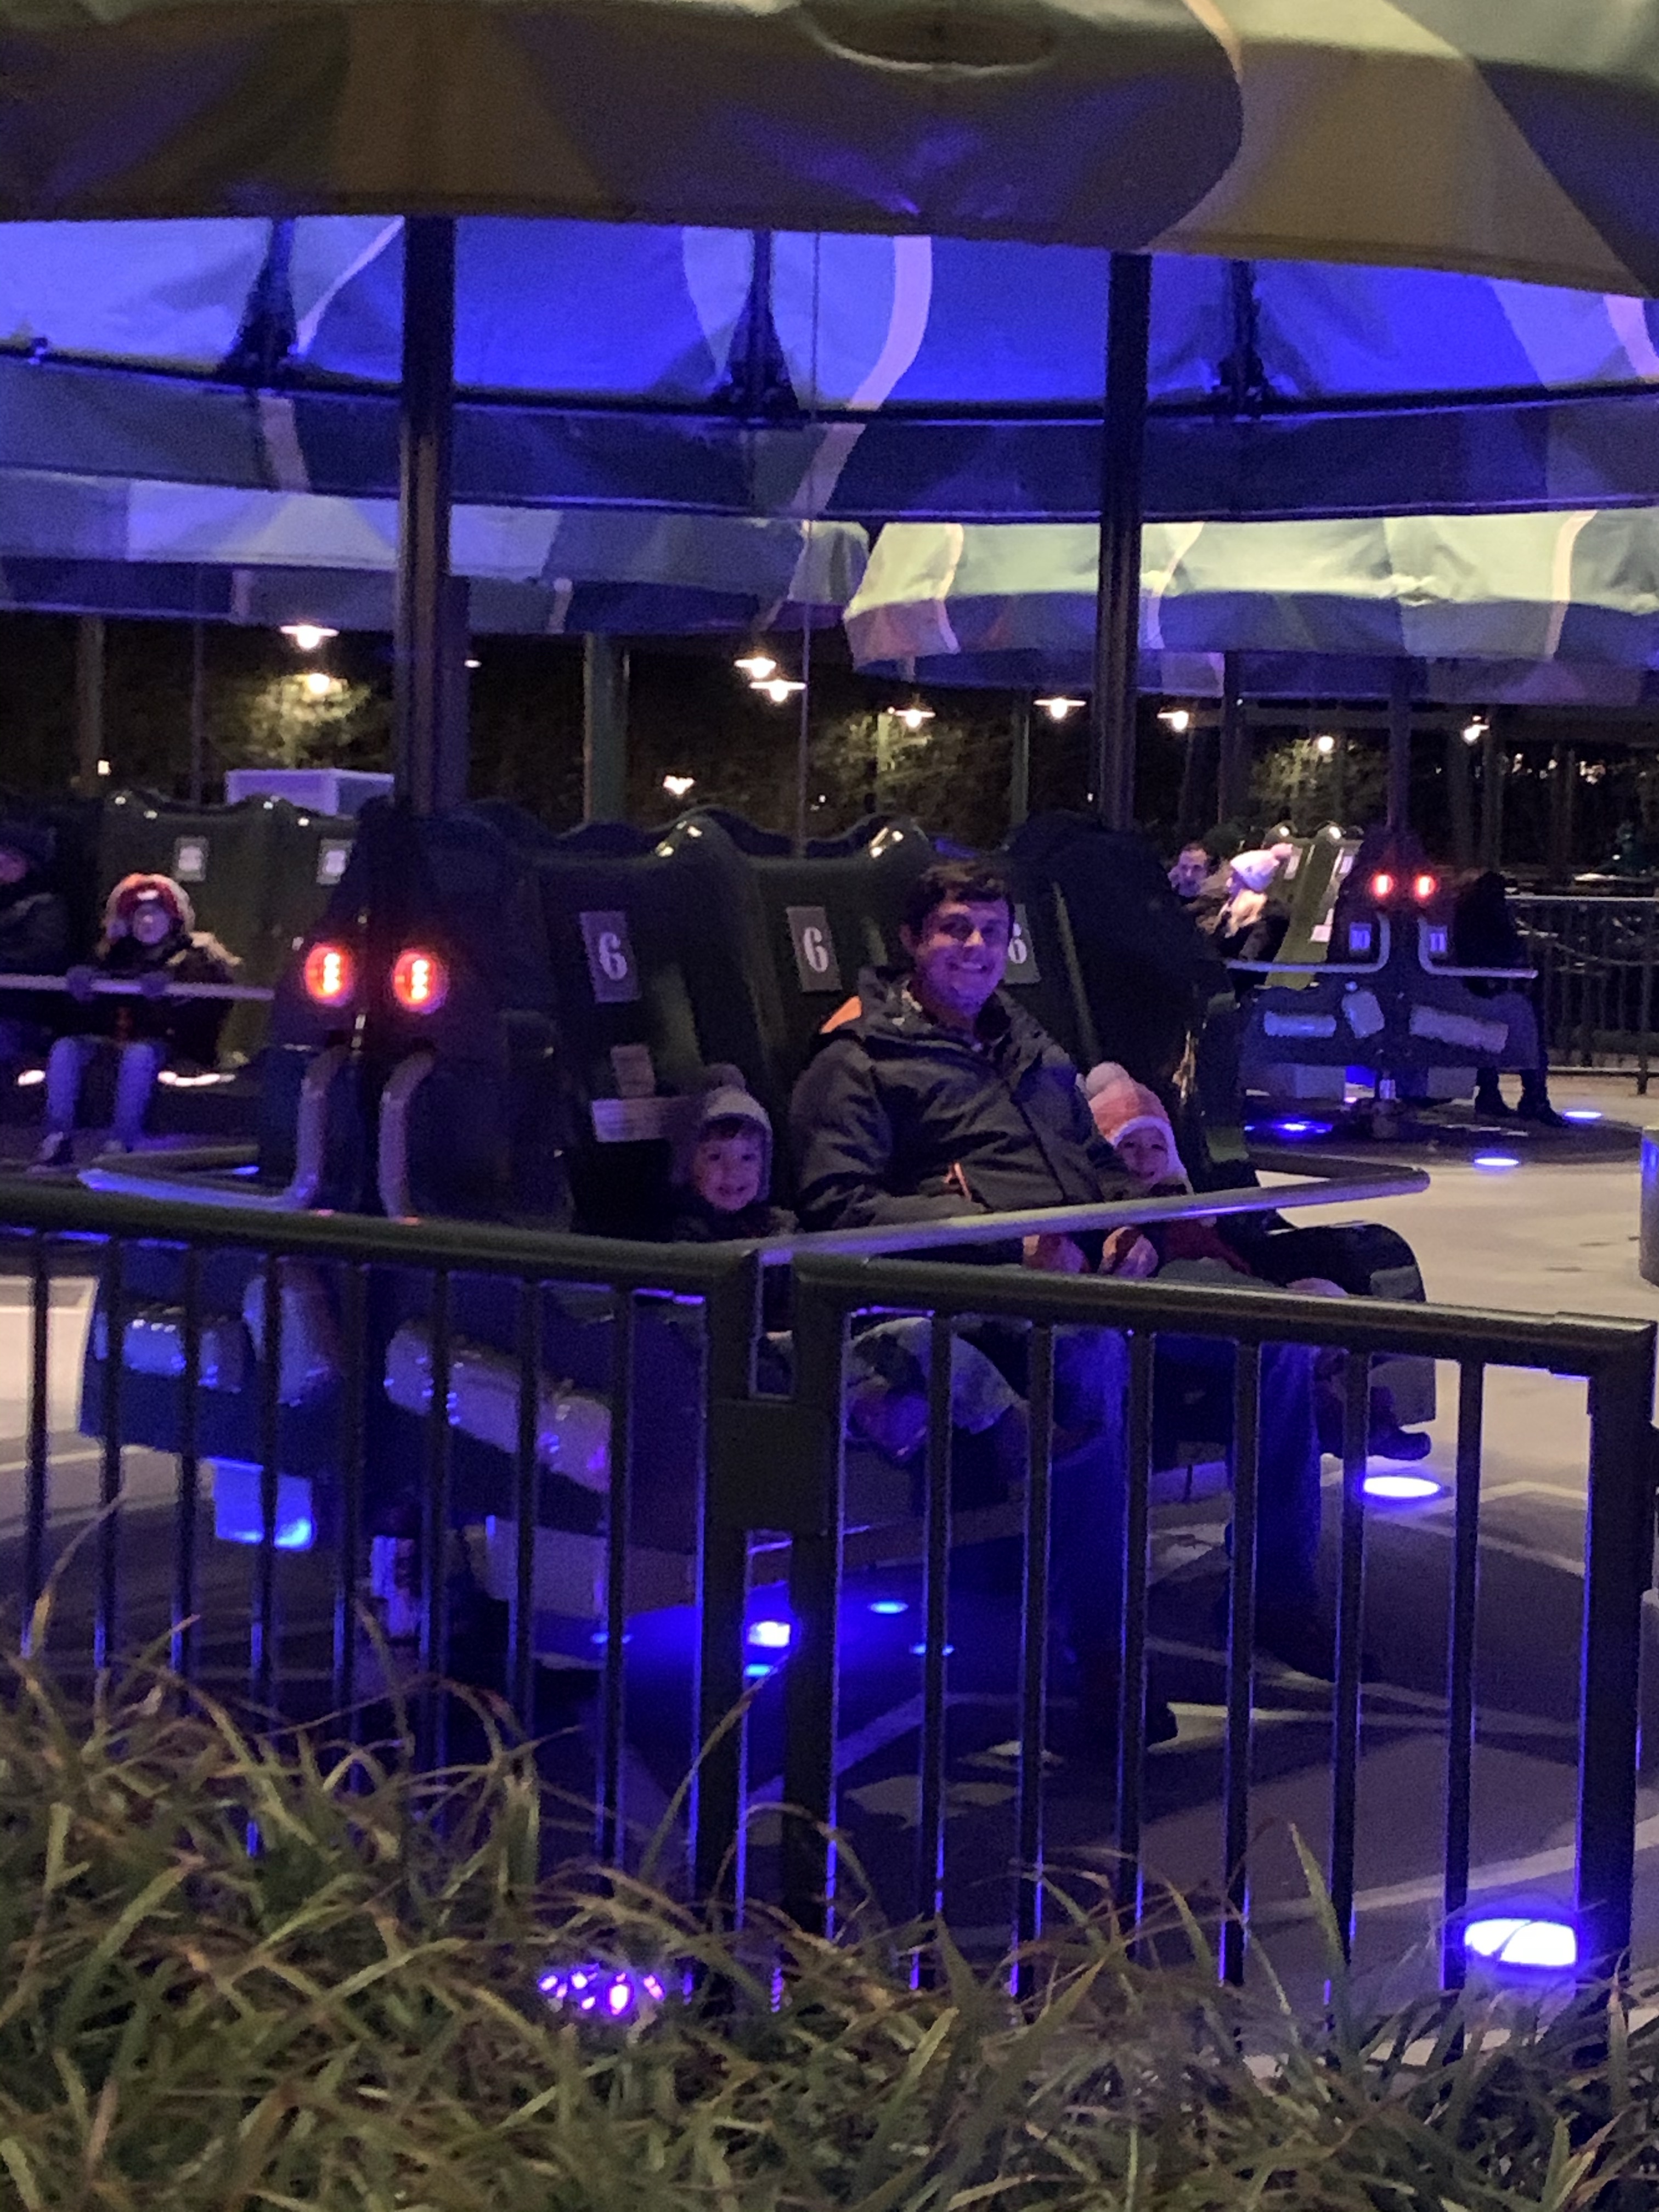
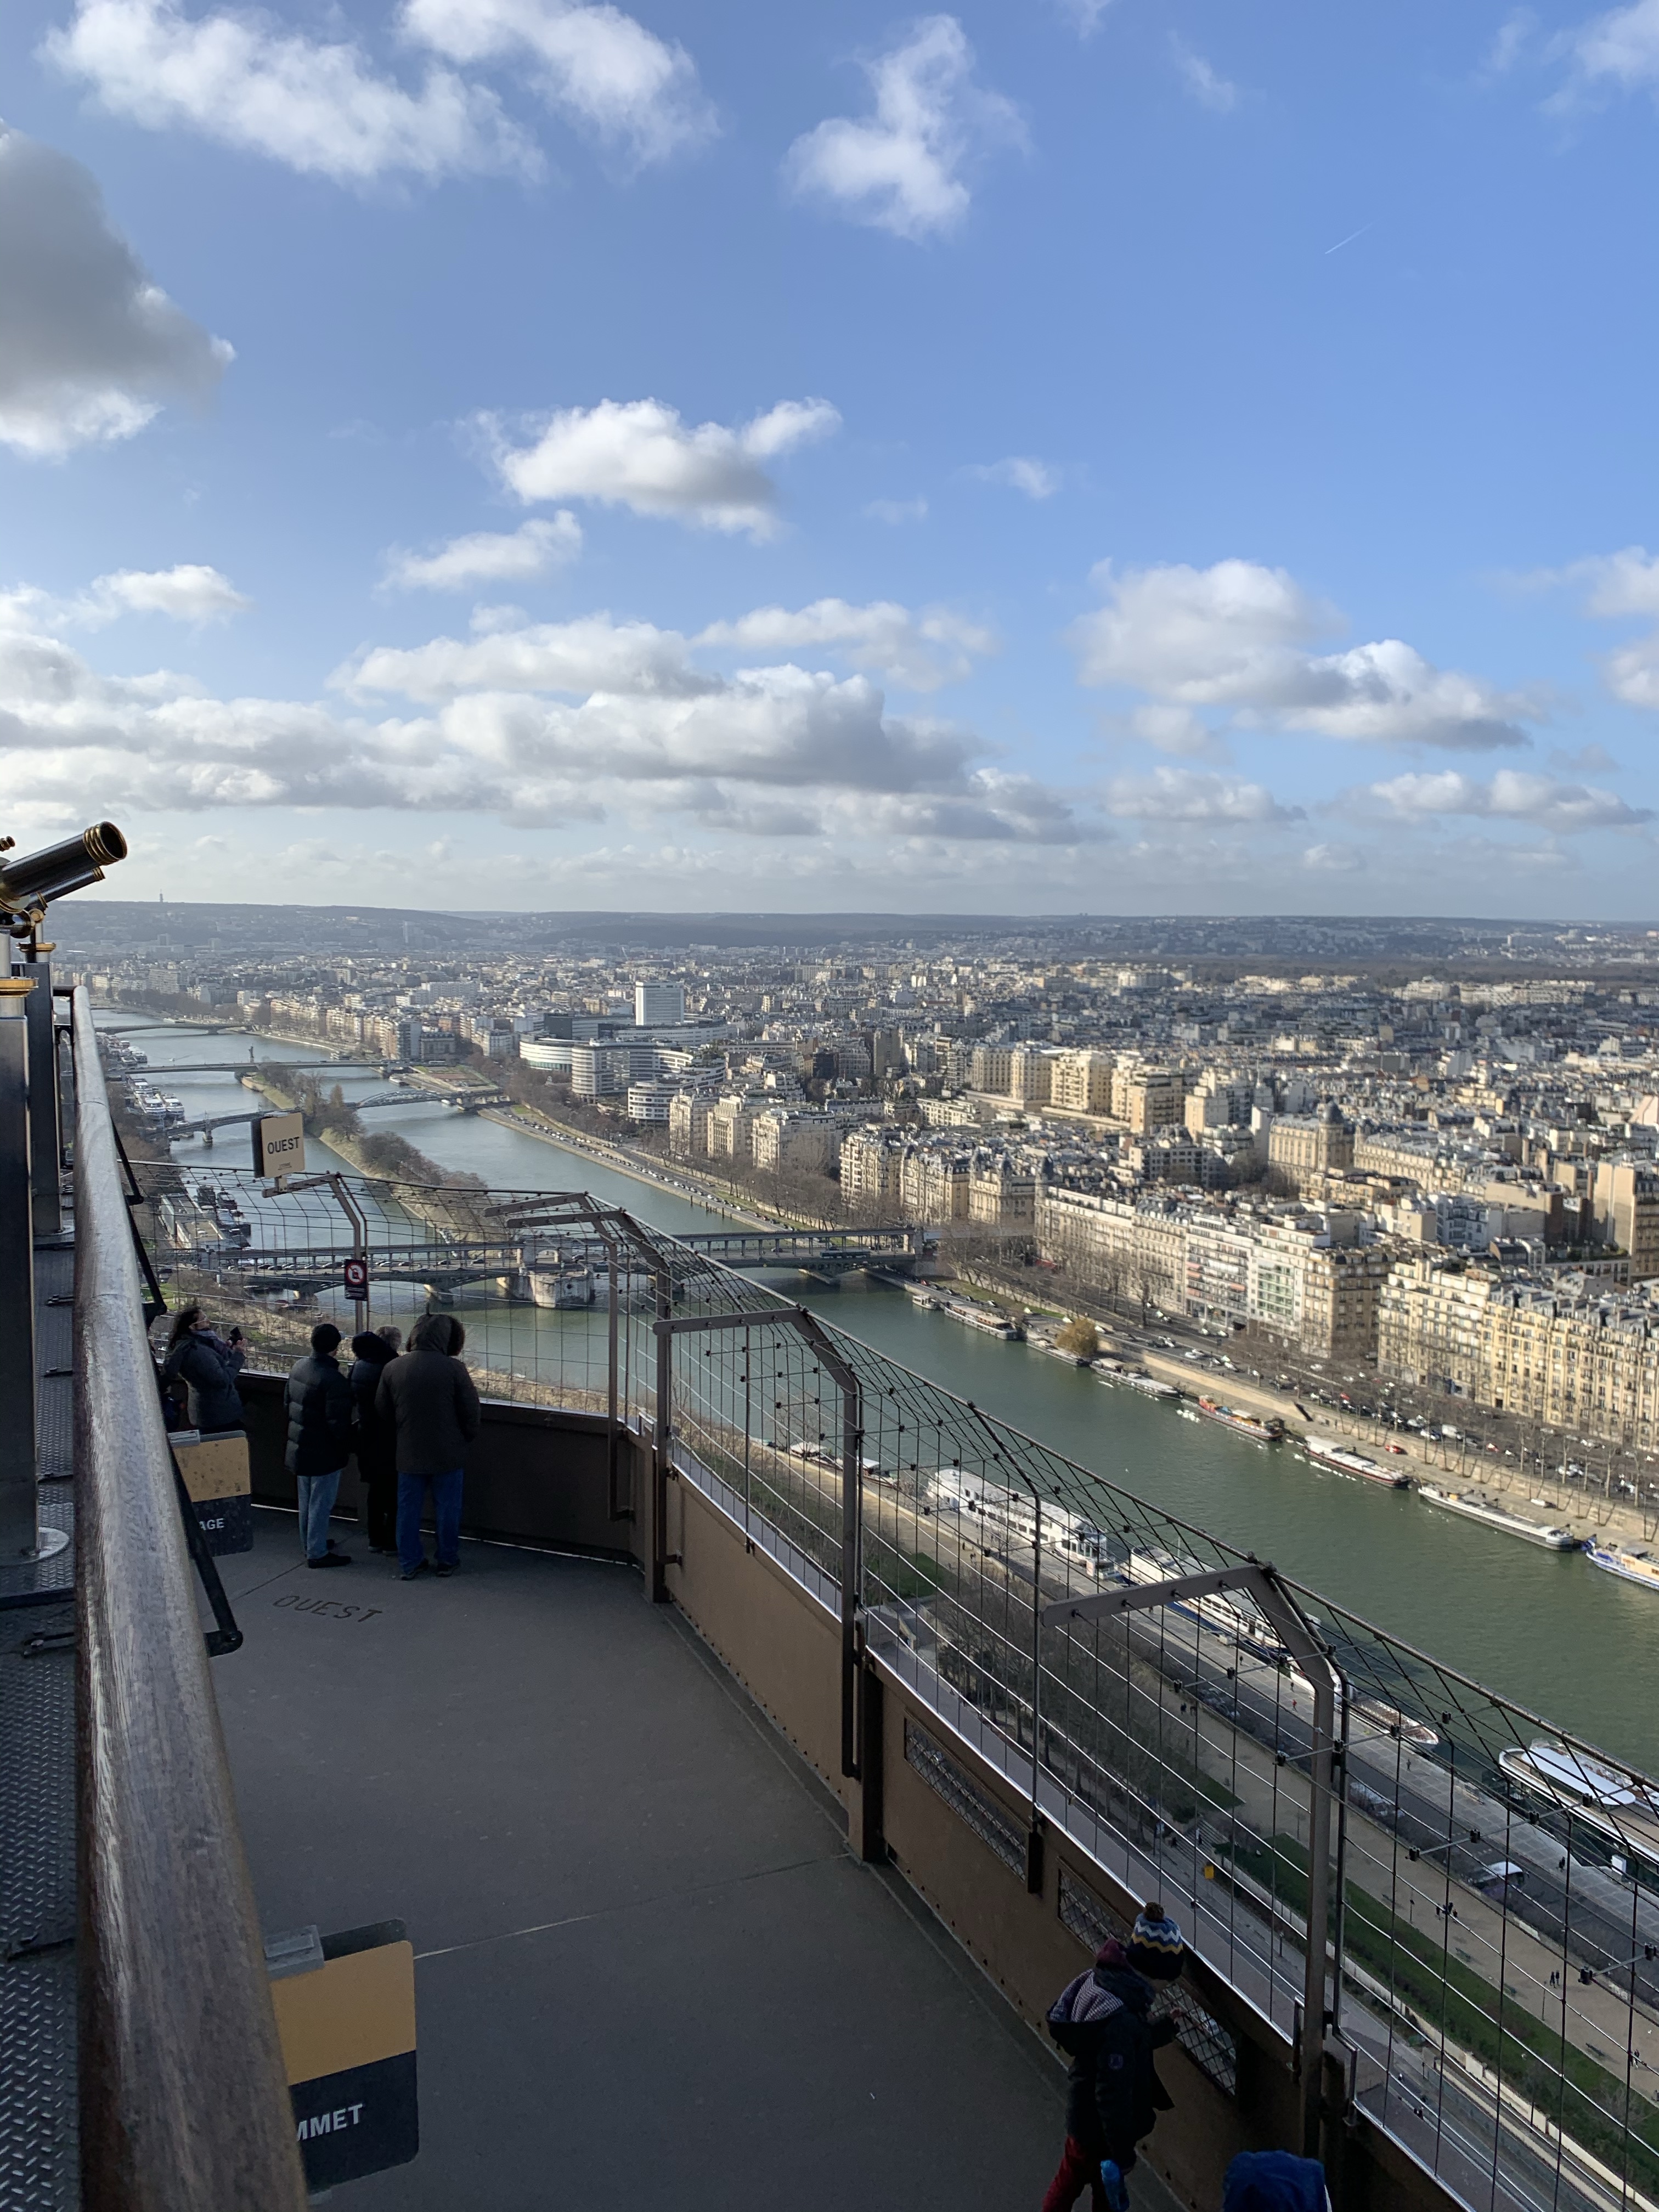
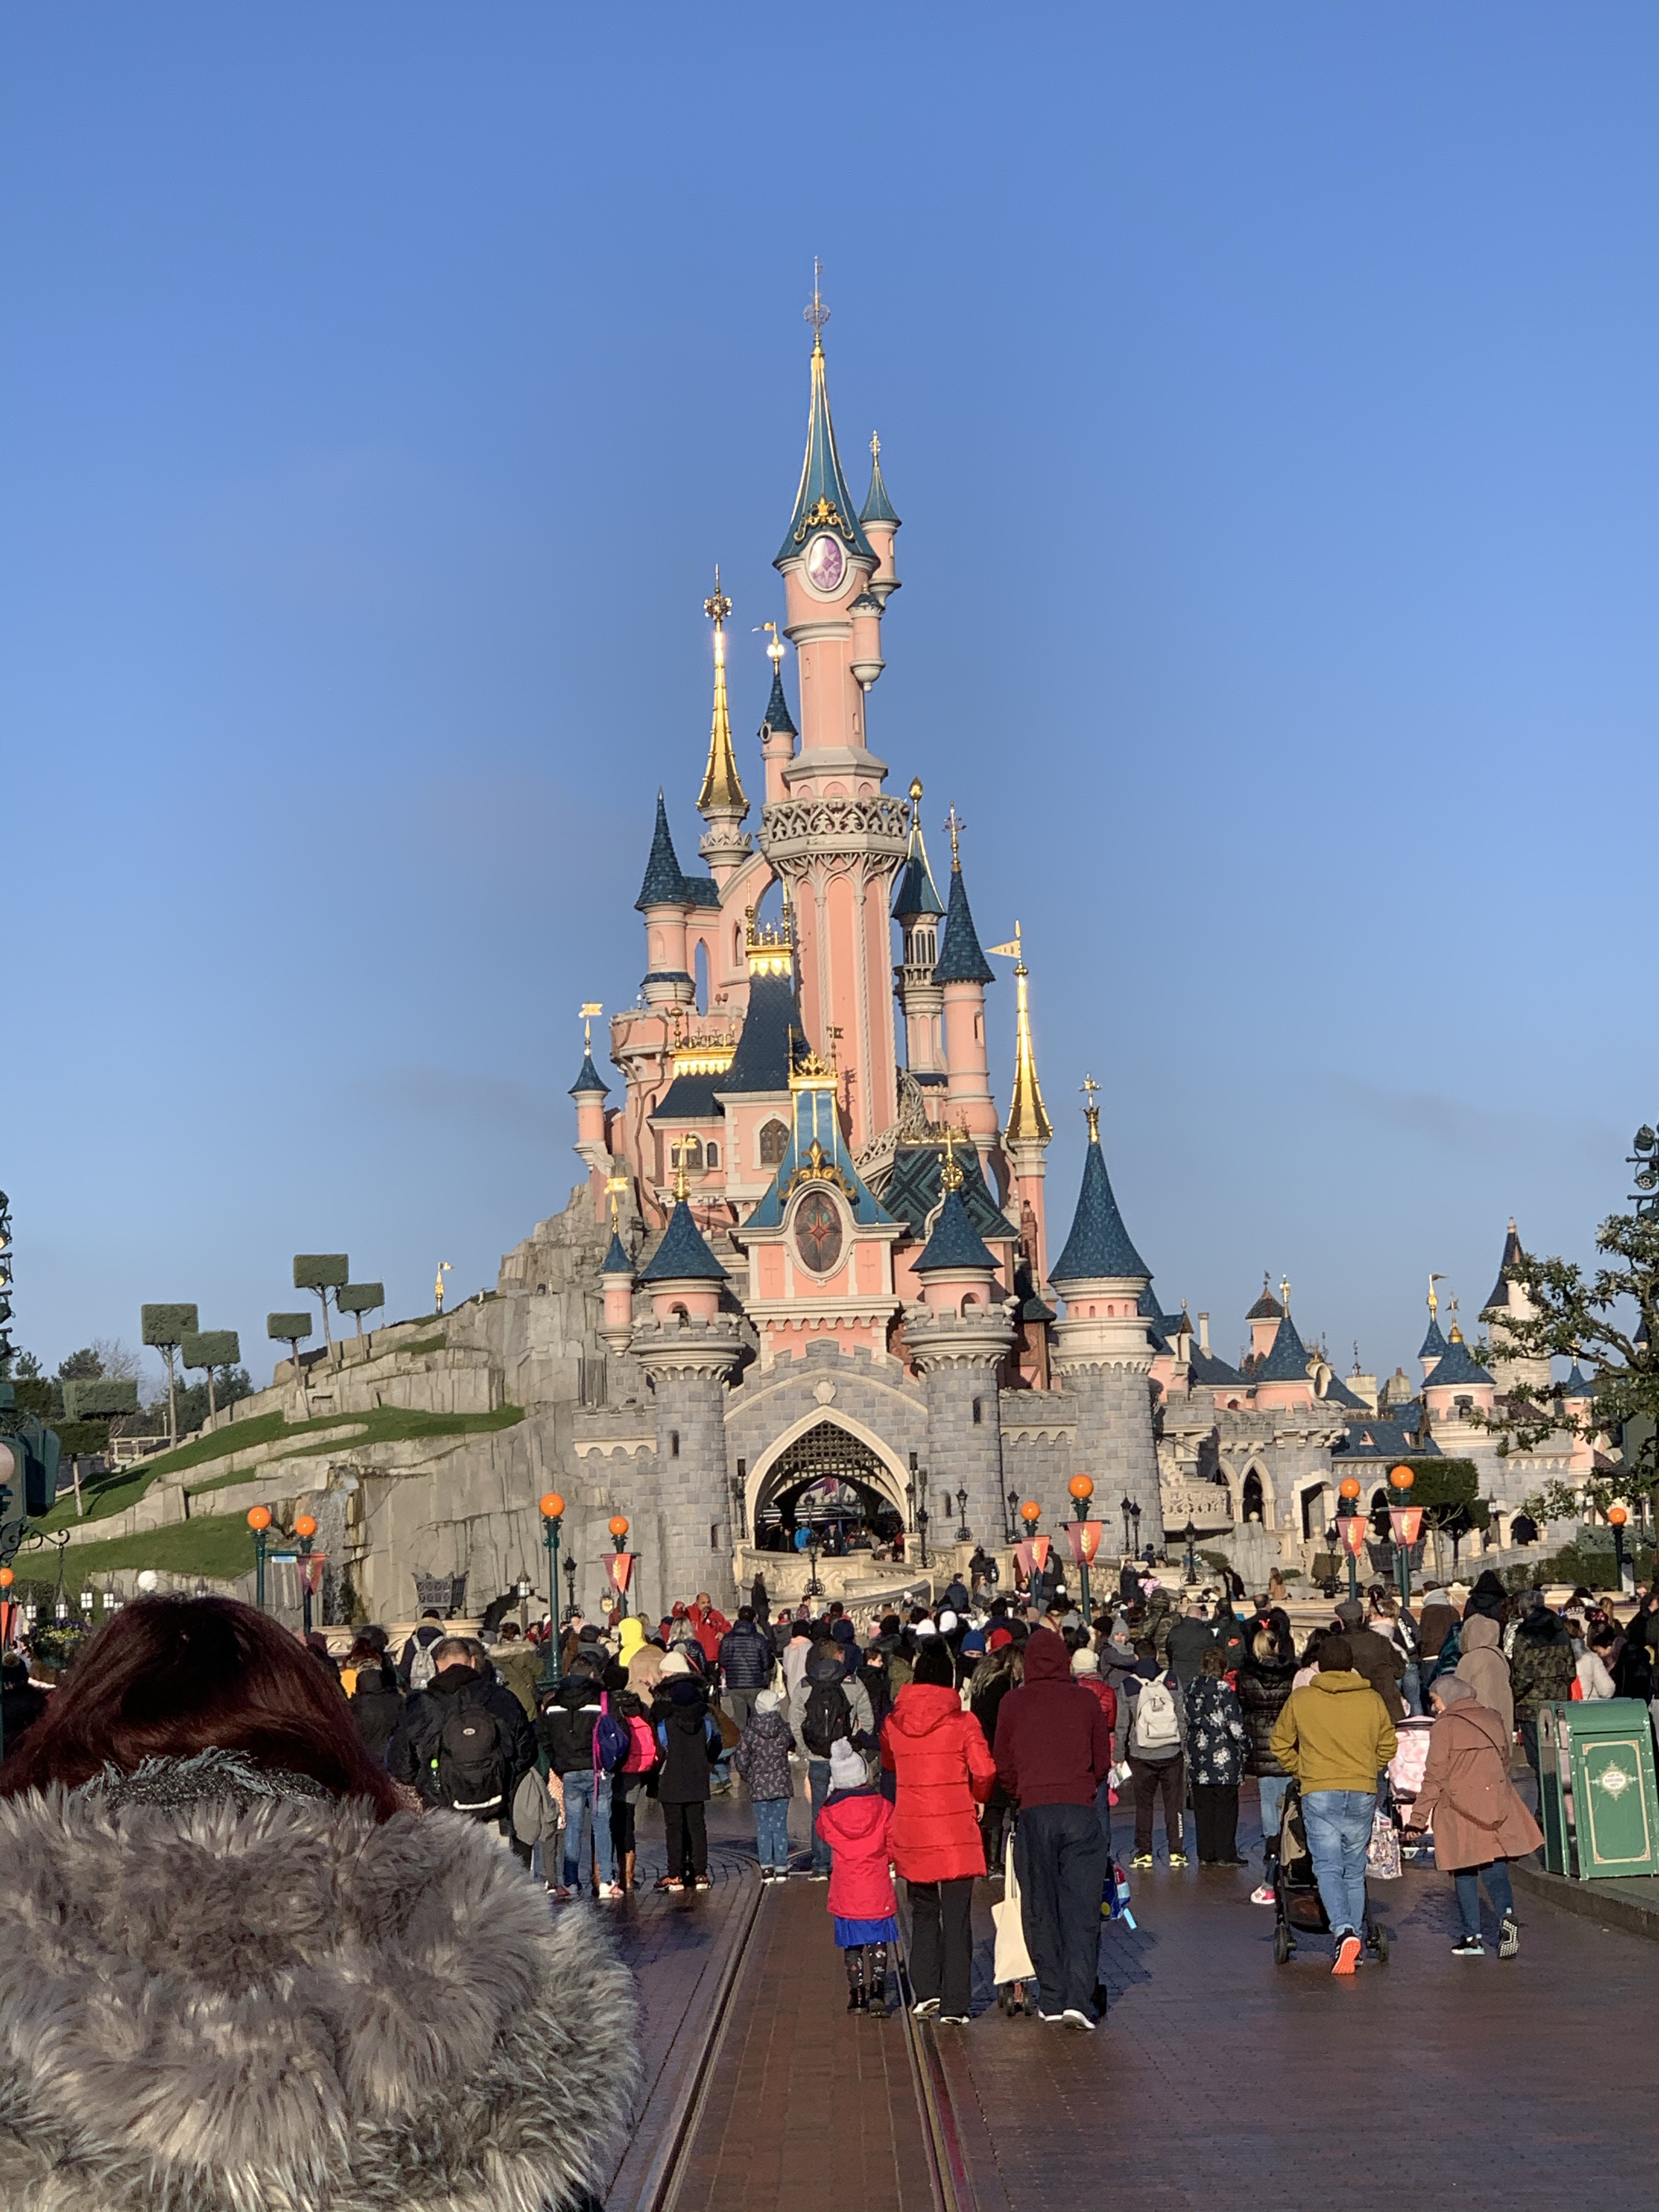
Overall we felt like these strollers were a huge waste of money. 3 days in to an 8 day Disney World trip we hated them so much that we actually ordered new strollers! If these weren’t so expensive I probably would have left them at the dumpster at our hotel.

We decided to go back to the 2016 Baby Jogger City Mini! Since that model is actually discontinued I was able to find them really cheap on a random baby store’s website! We went back to Disney World 10 days later and were soooo thankful to have our City Minis back!

Can You Backpack Through Europe With Small Kids?

The short answer is yes, absolutely!!

When we told people we were planning on spending 3 weeks in Europe as a family of 6 with 4 kids under 5 and nothing but 2 backpacks we got a lot of *unsolicited & mostly unhelpful* advice!

Everyone was quick to tell us that we were crazy, but we’re a pretty adaptable bunch so thankfully we didn’t listen!

Bags:

For me, Kayla, I have a 48L REI Crestrail. This pack has a huge main compartment, top compartment, and lots of side zippers and pouches. The back has a metal frame for support and structure and lots of padding. Plus it buckles around the hips and waist for weight distribution. I had no problems carrying this bag stuffed full while also baby wearing a 1 year old. For reference I’m 5’8 and 120lbs.

Andrew’s bag is a 75L Deuter. Obviously, it’s significantly larger than mine and he also baby wore our 2yo so he was pretty maxed out with his full bag and child attached to his body. His bag also has a steel frame for structure, 2 split large main compartments, large top compartment, lots of side pouches, padded straps and back, and buckles around the hips/waist for weight distribution. For reference Andrew is 6’3 220lbs.

We stayed in each city for 1-3 nights so during the day we left our big bags in our AirBNBs and took out with us a 30L Eddie Bauer Adventurer. This is our go to travel backpack for all our short term trips. It’s been on many flights with us to many destinations and is a true work horse. It’s very comfortable, lots of pockets, and can hold an incredible amount of stuff!

How & What To Pack:

Packing cubes are always your friend! I packed all 6 of us a weeks worth of outfits (shirts, pants, underwear, socks) and then we washed and rewore throughout our trip.

Because we were in Europe for winter which is very cold and wet, we all had 1 pair of waterproof insulated boots that we wore every day. Andrew and the kids all had leather Keens and I had Sperry duck boots.

We carried with us just our toothbrushes, hair brush, a day or two worth of diapers and wipes and small travel size of toiletries. When we ran out of something we simply found a store to buy more. That is probably not the most cost effective way, but we were really trying to limit the amount of weight we were carrying around from place to place so that was best for us. There are drugstores on pretty much every corner in every country so it’s not hard to find whatever you need! Including a pharmacy for adult and kid medicines. Belle ran a fever for about 24 hours in France and it was no problem finding a pharmacy to get her some children’s Advil and the pharmacist explain the dosage for her weight.

How To Get Around:

Trains! Trains! Trains! Europe is so well connected with a fast and efficient rail network. Large cities have incredible public transportation options like buses, street cars, and metros. Europe is so much more easily accessible and family friendly to travel through than the US it’s crazy! Long haul trains will have luggage storage areas, overhead bins, and clean bathrooms. While metros, street cars and buses don’t have bathrooms or designated space for luggage you can still bring them aboard. I was thankful to have backpacks that didn’t take up space but we saw tons of people on the buses and metro with large rolling suitcases.

Let’s talk strollers for a minute. We did not bring our strollers because it just would have been too much for us but lots of families in Europe rely on strollers for everyday use. We found Germany and Portugal to be extremely stroller friendly. Germany in particular has lots of elevators in their train and metro stations for strollers to get to their platforms easily. Germany is extremely handicap accessible and their infrastructure as a whole is great. Paris was horrible for strollers and wheelchairs. Almost every elevator we saw was out of order. We witnessed so many people carrying strollers ups and down the stairs at the metro stations. I don’t know what someone in a wheelchair was supposed to do! It was horrible.

FAQ:

**What about all the souvenirs we want to buy? -Buy all the things! Seriously! We would stuff our backpack full of everything our little hearts desired then every day or two we would find a post office and ship it all back home! European countries have FedEx, UPS, DHL, and regular national postal services. We used FedEx in France and found Deutsch Post to be the most useful and easily accessible in Germany.

**I’ve heard Europe, specifically Paris, isn’t very kid friendly –We did not find this to be true at all. We are quite the spectacle everywhere we go. Large families, especially with a lot of really little kids, are not the norm anywhere so we get a lot of attention and the vast majority of it is good attention. We even found most restaurants had high chairs which was something I read was hard to come by but we never had a problem. Another issue with a stroller though is I’m not sure what you would do with a stroller while you went in places. Restaurants and shops are tiny so you would not be able to bring one inside which would mean you would need to leave it on on the street? Another very kid friendly thing we experienced in airports (Lisbon, Paris, and Berlin) the airports are sooooo kid friendly! They have special security areas for families only and families are given priority boarding. I actually thing Europe is a lot more family friendly than the US. One of the pictures below is a restaurant owner hugging my 2yo because he was just smitten with them.

If you have specific questions about something I left off, just ask me!

Twisted Chicken Spaghetti

This meal started out as regular chicken spaghetti. I was following a recipe I found on Pinterest and then realized I didn’t have half the ingredients but I had already started. I blame the mom brain? So I decided to chug right on along and make this recipe up as I went. It turned out SO GOOD! I’m so happy with it I’m adding it to my regular arsenal! It was super easy too!

*Disclaimer: I’m feeding 7 people. You would have more than enough food for a family of 4 if you halved this recipe!

Ingredients:

– 4 boneless skinless chicken breasts

– 4 cans cream of chicken soup

– 2 cans Rotel

– 1lb of Velveeta cheese (that’s half of a standard 2lb block). Cut this into small cubes.

– 1 packet of taco seasoning

– 3 cups sour cream

– 2 packages (12oz pkg) of spaghetti noodles (I used 1 package of thin noodles & 1 package of regular noodles because that’s what I had.

Directions:

-Preheat oven to 350° and grease a 9×13 baking dish.

-Cut chicken breasts into small cubes or slices.

-Add the chicken breast pieces to a small skillet and cover with some of the taco seasoning. Cook over medium high heat until done.

-Cook spaghetti noodles in a LARGE pot. Drain noodles & leave in pot.

-Add cooked chicken, cubed Velveeta, sour cream, soup, & Rotel to the pot. Sprinkle in some more of the taco seasoning and mix really well.

-Transfer the entire mixture to the 9×13 baking dish and bake for 20 minutes.

Baby Rowlett #5

Humans are curious creatures by nature and I’ve already had questions so I figured I should head them off with an explanation for those of you who know us personally and were a little surprised by the news of #5!

After the birth of Belle, our baby #4, we were overwhelmed. When she was born we had 2yo twins, a freshly turned 1 year old and a newborn. She was also born right at the beginning of harvest so Andrew immediately went back to work and was basically gone the first few months of her life. So we did what any rational human being would do and decided that we were done having children. We had 4 kids under 3 and I was struggling with postpartum anxiety on top of that. We made that decision permanent and Andrew had a quick in office vasectomy.

We both instantly regretted it. Neither of us admitted it, but we both were crushed. I kept my feelings to myself because I thought it’s what was right for us and my anxiety was through the roof so I also assumed it was still my postpartum rollercoaster hormonal emotions. Andrew kept his feelings to himself because he though it’s what I needed.

After a vasectomy you’re supposed to provide 2 sperm samples 4 weeks apart that are both semen free before they will “clear” you as sterile and good to go. We took Andrew’s first sample in late at 9 weeks post op because we were just busy with life. We figured it was a little later so it should definitely be clear. Most people we knew were clear after the first sample anyway. Until it wasn’t. The doctor told us to bring another sample back in 4 weeks….also not clear. So another 4 weeks and another sample. Still not clear. So the cycle continues. At this point it had been many months since the actual procedure and he definitely should have been cleared.

(Just a side note, the doctor did nothing wrong during the procedure. As a former OR RN he was happy to let me stand next to him and watch the whole thing. He cut both tubes, tied them off, and burned the ends. What ended up happening is one side healed with a ton of scar tissue and that scar tissue created a bridge between the two ends to reconnect and form a small tunnel back together that sperm could still pass through)

I don’t know why it took us so long to bring it up to each other; but at that point we realized his vasectomy was unsuccessful and he finally admitted to me that he regretted it in the first place and we had this “oh my gosh me too thank you for saying that!” moment! We decided to put our fertility and family size back in the hands of God and we haven’t looked back since.

Exactly a year and a day after Andrew’s vasectomy we found out Baby Rowlett #5 would be joining us! We are over the moon excited about this baby and we have so much faith that God has such an amazing plan for his life! The kids are also REALLY excited! The twins have been asking for another baby for quite some time now. They are so excited to have another baby to love on and play with! Rhett is also extra happy to be having a brother!

Honey Oat Bread

About a month ago Andrew bought me a bread maker machine off Amazon. I originally scoffed at his purchase and left it sitting in the box in my laundry room for the past month. Finally a couple days ago I decided to search bread recipes on Pinterest and realized how easy it would be to make bread at home with my new bread maker.

I’m pretty much obsessed with banana nut bread and since my great-grandma is no longer here to make it for me I might as well make it myself. That was my plan until I realized I didn’t have all the ingredients for that recipe and since a quick trip to the store isn’t exactly an option right now I had to go with something I did have all the ingredients to. I ended up choosing this honey oat bread and it was sooo good! We ate the entire loaf in one sitting. It was amazingly easy too. I just threw all the ingredients in my bread maker and pressed start! That was seriously it!

Ingredients:

-8oz water

-1tsp salt

-1.5Tbsp honey

-1Tbsp softened butter

-1/2 cup oats

-2.5cups flour (I used self rising flour and cut my salt content in half. You can use all purpose flour or bread flour and leave the salt content the same)

-1 3/4 tsp active dry yeast

Directions

-All your ingredients should be room temperature and your water should be warm

-Add water, honey, and bitter to your bread maker pan

-Add salt, oats, flour to wet ingredients. Do not stir, just dump them in the bread pan.

-Last add the yeast to the top, making sure it’s not mixed with the salt

-Every machine will have different settings. For mine I used the 750g setting with the medium color setting. This setting time was a total of 2 hours and 55 minutes.

-When your bread is done remove it from the pan and let it cook slightly before cutting.

Disneyland Paris

It’s no secret that we are huge Disney fans. We visit Walt Disney World 5+ times a year and enjoy every second of it! So one would think that it would be a no brainer for us to visit Disneyland Paris while in town, but that was not our plan! We only had 5 days in Paris and we were sure there was too much to do for us to go out of our way to see Disneyland Paris which we knew would eat up at least an entire day.

If you’ve read my post about our Paris trip in general then you know that we really didn’t care much for Paris and did in fact end up going to DLP. After a couple days in Paris we realized there was not enough in the city to occupy us and we were so disgusted with the city itself we though a a Disney trip would save the day!

The Paris A line train goes from the city center straight to the gates of DLP. It is well marked in the train stations that it’s the Disney train. From the city center it’s about an hour to the DLP gates. We arrived at DLP right at park opening and there was almost no one there. We bought tickets at the information booth right outside the gates and proceeded through security.

DLP has 2 parks, Disneyland Park and Walt Disney Studios. These are the equivalent to Magic Kingdom and Hollywood Studios at Walt Disney World Florida.

We only had one day and the two park entrances are right next to each other, literally 5 steps apart, so we bought park hopper tickets and decided to do both parks.

Once inside Disneyland Park we stopped at the entrance and bought Fastpasses. This is nothing like the WDW system. There’s a thrill ride FASTPASS which gives you a FASTPASS to a couple of the taller height requirement rides and then there’s a family FASTPASS which gives you fastpasses to Pinocchio, Peter Pan, and dumbo. These are the only fastpasses you get though, they aren’t unlimited like at WDW. We chose the family FASTPASS because we figured 3 was better than none.

Next we headed over to the stroller rental place and rented 2 park strollers. They do not have double strollers here, only single strollers. This sucked because 2 of our toddlers had to walk all day. The strollers are a lot nicer than the hard bulky plastic ones at WDW though so that’s a plus. They were $25 each for the entire day.

After hitting up the main street coffee shop we walked down towards the castle which is a beautiful pink castle and caught Elsa and the entire Frozen crew for the opening ceremony and parade. My kids love Frozen so this was a huge highlight for them!

Our first ride stop was Haunted Mansion. This is one of our family’s favorite rides at WDW so we couldn’t wait to see it at DLP! I wasn’t disappointed, the ride was mostly the same with a few changes that I enjoyed. The mansion itself was a lot different on the outside too which was neat!

We spent the rest of the morning wandering around and checking out the different rides. There is not near as many rides here as at WDW, but the ones they do have are similar to the ones at WDW with a few different scenes. There is a Pinocchio ride at DLP than is really cute. 

Inside the castle is a gift shop where we had to buy Christmas ornaments and Mickey riding the carousel I hadn’t seen yet!

For lunch we ate at Captain Jack Sparrow’s and this was such a wonderful experience! Our 4yo Rhett is our only boy and it seems like there just isn’t near as much boy stuff as there is girl stuff so I feel like he always gets less. Rhett loves Pirates of the Caribbean and Captain Jack which is why I chose this restaurant for us, but I didn’t realize until we got there that it’s a character meal and Captain Jack came to see us multiple times! Rhett was over the moon excited and we had a wonderful lunch there!

After lunch we rode a couple more rides including the carousel before we were going to head over to the other park. After riding the carousel we came out to one of our strollers missing. DLP isn’t like WDW in that they don’t have designated stroller parking areas and there aren’t cast members moving strollers around to keep things organized. One of our strollers was exactly where we had left it and the other one that had been parked right beside it was gone. We searched for it but never could find it. We went back to the stroller rental stand to tell them what happened and they said people steal strollers all the time there. We’ve never had anyone mess with our strollers at WDW! Good thing we hadn’t left anything in it!

I was eager to get to Walt Disney Studios park because it has the Ratatouille ride like the new one opening at WDW Epcot next year. The ride was really cute and we enjoyed it! We also had dinner at Ratatouille Remy’s restaurant and the food was wonderful so I can only hope the new Epcot version, Gusteau’s, is just as good or better!

Walt Disney Studios has classic rides like Tower of Terror and a smaller version of Slinky Dog Dash, but our favorite was a ride we had never seen the parachute drop with the toy soldiers for Toy Story. Only our 4yos were y’all enough to ride it but it was so cute and they loved it! My husband rode with them and said it was awesome!

Overall it was really neat to see and experience Disneyland Paris, but it’s nowhere close to as nice as Walt Disney World. One thing I noticed was the lack of cast members. WDW has a cast member helping and directing people pretty much every 5 feet and every ride line queue has multiple cast members but there were no cast members at DLP except for one or two working each ride. The people at DLP were awful too; everyone was really rude and cranky. Besides the fact that some stole our crappy park rental stroller, no one understood the concept of how to form and wait in lines. It was crazy how confused and chaotic the lines were because people couldn’t follow the queue and there were no cast members to direct them. Thankfully it was the middle of January and freezing cold so the parks were not crowded at all! I cannot imagine visiting DLP on a high crowd day because it was kind of a nightmare on a super low crowd day!

Paris France January 2020

If you have a fantasy like dream of visiting Paris sipping espresso and eating macaroons beneath the Eiffel Tower in a picturesque setting then I advise you to stop reading now.

I too had romanticized Paris. I took French throughout school as my foreign language and was smitten with it. When cheap flights to Paris popped up and we were open for time I was so excited to book that trip!

Our flight to Paris was uneventful. By this point our kids are pros at long haul flights. We try to book our longest flights for overnight so that we can feed the kids dinner as soon as we get on and get settled in and sleep. This has worked out very well for us with our kids sleeping eight or nine hours on an overnight flight.

We arrived in Paris at 10 o’clock in the morning. We walk straight out the airport and found a taxi that could accommodate our family. There are lots of taxis outside the airport there’s a little area where you wait and the attendant will get you the next taxi in line or call for a taxi that fits your family.

We were quickly disappointed in Paris though. The city is disgusting. The sidewalks were littered with trash, panties, dirty clothes, dog poop, and puddles of urine (the human and domesticated animal kind). We saw men peeing on the sidewalks, steps down to the river, and even in front of the Eiffel Tower. Unfortunately this nastiness wasn’t limited to one neighborhood, we experienced it all over the city. I would venture to say that Paris is Europe’s equivalent to New York City.

We stayed in an Airbnb apartment right in the city center. The apartment was wonderful as was the host. It was in a great location just a short walk to the Louvre Museum and several Metro stations.

Getting around Paris using public transit is fairly easy. Their bus system is not that great, but Metro is accessible almost anywhere. The metro stations do not run on the honor system like Germany and they’re a little complicated to use. First not all stations have ticket kiosks and you have to have a ticket to even enter the station. This caused a problem for us on our first day because our nearest station didn’t have a ticket kiosk. We ended up having to walk until we can to a metro station with a ticket kiosk. Once you have tickets you slide them through and go through the doors one at a time. This is hard to do with a bunch of kids because the doors do close on you quickly! For us Andrew would go through first and wait on the other side while I scanned and pushed each kid through! The mentor station lines and stops are posted on the walls of the stations and easy to read. Once inside the train you can watch the map or listen to the overhead audio of which stop is next. If you can’t hear or see the maps each station has the station name in huge letters on the wall so you will be able to see if it’s your stop when you pull in.

Paris metro stations and just Paris in general is not stroller friendly! We didn’t have strollers with us so this wasn’t an issue but I know most people travel with their strollers. There’s a lot of stairs and if there is an elevator it’s most likely not working. Also keep in mind if you are traveling with someone in a wheelchair or mobility issues.

Along with not being stroller friendly, Paris is not very big party friendly. Our kids were welcomed and accepted everywhere, but we found almost all restaurants just had tables for 2 and it was hard to find places to eat that could accommodate 6 people.

Our first day in Paris we stayed close to our apartment and just wandered around a bit getting familiar with the area. There was a national worker strike going on that day and protesters out in big public areas so we decided to steer clear of most places. This also caused a breakdown in public transit due to no workers so a lot of metro lines were down that day.

The next day we found a little bakery right down from our apartment that served breakfast and cappuccinos. We ended up eating breakfast here every day because it was so good and close!

After breakfast we took the metro to the Eiffel Tower. We had planned on eating lunch in the restaurant inside the Eiffel Tower but it was closed for renovations. Most likely because January is freezing and dreary so not exactly a popular tourist month. Nonetheless we were about to go up in the Eiffel Tower and the kids thought that was really cool. You have the option of taking the stairs or paying extra for an elevator ticket. We definitely opted for the elevator, I didn’t see anyone using the stairs as that would be a hefty climb!

Although there was a pretty long line to get in and buy tickets I didn’t feel like it was too crowded overall. As I said earlier though January is not a very popular month for tourists.

We had lunch at a very traditional French restaurant on the corner across from the Eiffel Tower and then walked over to the Arc de Triomph. The ADT is a hugely famous monument to celebrate Napoleon’s victories of war. It is also surrounded by an enormous chaotic roundabout that would give me nightmares to drive through!

Because of the national strike The Louvre museum was closed the entire time we were in Paris which was a bummer so we decided to spend a day at Disneyland Paris! There is a train that goes from Paris city center directly to the gates of Disneyland Paris that is about an hour long ride but very comfortable, convenient and cost effective. I’m going to dedicate an entire post to Disneyland Paris later, but I will say it’s definitely not up to par with Walt Disney World!

Our last full day in Paris we had breakfast at our favorite little bakery then decided to at least walk over to the Louvre and have a look around even though it was still closed.

We then walked down the Seine River to Notre Dame Cathedral. Unfortunately the cathedral caught on fire just 9 months before our trip so we could not get very close as they had the entire block closed off with walls up. Our walk down the river between the Louvre and Notre Dame was probably the highlight of our entire Paris trip though. There were so many artists set up along the river selling their paintings, artwork, and other goods. We had the beat time admiring all the stuff and even came home with several paintings!

The next morning we got up early to head to the airport. For our trip to the airport our apartment host set up an Uber for us with a friend that was a driver. Our trip to the airport with him was the same price as our taxi from the airport on arrival but took less than half the time! Instead of driving us through all the crazy side streets like the taxi driver did, he took us directly to the airport. We accidentally left our paintings at the apartment and didn’t realize it until we were already at the airport. Our Airbnb host was the sweetest and she mailed the home to us! They arrived safely a few days later! Her name is Julie and her apartment is listed on Airbnb right in the city center. If you need the direct link to it just ask, she was wonderful!

Baby Jogger City Mini Double Stroller Review

A few years ago in 2017 we were at Disney World with one of our old crappy double strollers (we’ve had a few) and we saw a man get on the bus and fold his stroller flat so effortlessly. I spent the rest of the bus ride trying to figure out what kind of stroller it was and online shopping for it because Andrew and I were both amazed. That stroller was the Baby Jogger City Mini double. We immediately bought 2 of them and never looked back.

The stroller drives like a dream! It is so easy to push and maneuver. The wheels in the front can be locked in place or they have a full 360° swivel. Since we have 4 kids under 4 we have 2 of these strollers and I can easily push them both side by side at the same time!

The stroller seats have a 5 point harness with shoulder straps and belly straps or you can just use the belly straps. I really like The 5 point harness because toddlers can easily crawl out of just the belly straps.

Each seat fully reclines separately of the other. This is probably my kids favorite feature because it makes the stroller perfect for naps! You can adjust the angle to recline to any position you want so you can recline it just a little to accommodate smaller babies or lay it flat for a nap.

The sun shade canopies also adjust separately from each other and they come down really far! This offers great sun protection and creates a dark environment for sleeping. The canopies come out in stages so you don’t have to pull it all the way down if you don’t want. The canopies also have 2 clear peakaboo windows on the top so you can peak in on your sleeping kiddo without pulling the entire canopy back and waking them.

When the seats are reclined the back panel can be opened up to just a mesh backing which allows great airflow through to keep your baby cool and comfortable.

The handlebar is not adjustable like the newer models, but it comes out pretty far back from the rear wheels and I’ve never had an issue kicking the rear wheels. I’m 5’8 and Andrew is 6’3 and that’s not a problem for either of us. The wheel brake is located on the rear wheel frame with a foot flip piece. It’s easy to flip up and down but it does stink if you have on sandals.

The absolute best part about these strollers is how they fold! There’s no buttons to push, pieces to remove, etc. you simply pull the handles in the middle of the seats and the stroller folds in half! It is seriously so easy and it folds down pretty flat for easy storage.

My only major complaint with this stroller is the bottom storage basket is hard to access because there’s a bar to the farm that runs through the middle of the opening. If you can fit stuff in around the basket the basket itself is pretty large.

Our 2 strollers have been to Disney World about 15 times and gate checked on about 20 flights. They are still inreally great shape! They don’t have any rips or holes in the fabric and aren’t stained up too bad. We don’t bag the strollers for flying either so they have been completely exposed to the elements of airline travel.

The video below is much more detailed and shows the features I talked about above! We just upgraded to the brand new body style of these strollers and we are taking them to Disney World next week so I’ll be back soon with a review of those!